Here’s How To Make Great Bread
At its simplest and most straightforward, yeast bread is made up of flour, water, salt and yeast. That’s it. Let me list them again: flour, water, salt, yeast.
This page will teach you in detail what you need to know to make great bread at home but if you want to get right into the process, check out my Basic 4 Ingredient Bread Recipe below.
Just four little ingredients, but never have four ingredients sparked such fear and awe. People say in reverential tones, “I would love to make homemade bread like my mom!”
All kidding aside, making bread can be a very intimidating proposition, even for the most seasoned home cook. Someone who doesn’t think twice about putting together a traditional cassoulet with an ingredient list as long as their arm might experience a pang or two of doubt when faced with a bread recipe with those four little ingredients.
It’s All In The Technique
Baking bread is really all about technique. It’s about developing a feel for the ingredients. And you can’t do that without practicing. Let’s all swallow our fear and take a closer look at the magic that is yeast bread. Remember, flour is cheap, so if you really want to do this, get ready to practice.
First, we’ll take a brief look at bread’s basic ingredients and find out what makes them tick. Then, we’ll address the necessary equipment and techniques you must master to make great bread. Last, we’ll look at additions and/or substitutions you can make with the basic ingredients to change the taste, texture and look of bread. Take a deep breath, and get ready to get up close and personal with one of the oldest prepared foods known to man: bread.
What’s In The Bread?
There are so many factors involving bread making ingredients. I have a separate post called How Ingredients Change Bread Characteristics that I suggest you look at to learn more about how ingredients can affect the bread you are making.
What Equipment Do I Need?
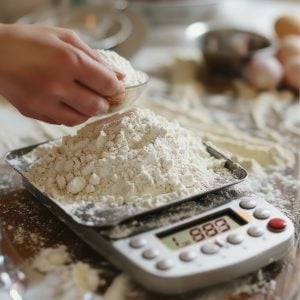
The absolute essential pieces of equipment necessary for baking bread are two hands and an oven. Honestly. Purists will mix and knead their dough right on the counter—no bowls necessary. For most of us, though, it’s nice to have a large, heavy bowl on a non-skid base (a damp towel will do) and a scale.
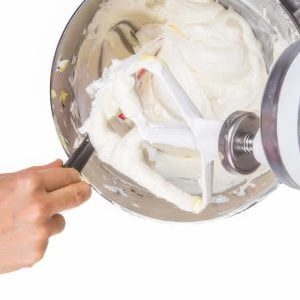
If you are going to be baking a lot of bread, you might consider investing in either a baking stone or just lining the bottom of your oven with a clean unglazed terra cotta tile. If you are interested in making homemade bread but not so enchanted with the idea of kneading for ten or fifteen minutes, invest in a very sturdy stand mixer with all metal gearing and a dough hook. Loaf pans of different sizes are nice to have as well, for sandwich bread, but wonderful breads can be made right on a stone.
Steps To Great Bread
There are quite a few steps to making bread. Don’t worry, most steps flow naturally from one to the next. Here they are: scaling, mixing, fermenting, punching, dividing, rounding, benching, panning, proofing, baking, cooling and storing. Whew!
First, you have to measure/weigh all your ingredients, then mix them together. This is where the kneading happens. Then, you have to give the yeast a chance to work, or ferment. (That’s where lots of recipes tell you to “let dough sit in a warm place until doubled in bulk”). After that, you need to gently press out the gasses in the dough and redistribute the yeast.
After that, you’ll divide the dough in pieces the weight that you need (if you’re just making one loaf, you’ll of course skip that step). Next, you’ll round your dough and let it hang out, covered for a few minutes. These two steps are optional, but follow them, if the fermentation has really heated up your dough.
The rest period gives the dough a chance to cool off a bit—you don’t want to kill those little yeasties by getting them too hot before they’ve given you all the rise that they can. After that, you’ll pan up your dough, and let it proof in the pan. Last, you’ll bake, cool and then store (or eat) your creation.
The step that most of us have the most difficulty with is mixing. Two questions come up:
“How do you know when you’ve put in enough flour?” and “How/how long do I knead?”
I’ve seen the same recipes you’ve seen. Ones that say “5 to 6 cups of flour.” How frustrating is that, not to know exactly how much of an ingredient we’re supposed to put in something?! It kind of makes you get a little hot and sweaty as you slowly keep adding flour, hoping that the dough will eventually look “right.” The sweating continues as you frantically knead, eyes on the timer. When it goes off, you still wonder, “Have I done enough? How do I know if I have done enough?” Let’s look at these techniques one at a time.
Mixing the Dough
First, almost any bread recipe will give you a range for the amount of flour called for. This is because, on any given day and depending on the protein content of your particular flour, it will accept more or less water depending upon the humidity and temperature in the air and the humidity and temperature of your flour.
If making a standard, four ingredient bread in a stand mixer, a good rule of thumb is to add the last few ounces of flour a bit at a time, stopping when the dough doesn’t stick to the sides or bottom of the bowl when kneading. If you’re making the dough by hand, knead in the last few ounces a bit at a time until the dough is no longer sticky. Even that is a vague instruction: add flour until the dough is soft and smooth, not wet and sticky, but not completely dry, either. (See why I say that this takes practice)?!
To get a better feel for this, make your dough with a stand mixer, and then take it out of the mixer bowl when it clears the sides and bottom. Now you can examine it for feel and texture before you knead.
Here’s another rule for you: never add more than the maximum flour called for in the range. If you have to err, err on the side of too little flour rather than too much flour—a bit too little flour will give you a very good rise; too much flour will yield a dense loaf.
Now, on to kneading.
First, here’s a quick definition: kneading is the process by which you align and elongate gluten strands to develop them to the point that it can hold the gasses that the yeast give off. This makes your bread rise and then set in the oven. The more well-developed your gluten “web,” the more gasses your bread will hold, the higher it will rise and the more open and airy its texture.
Kneading also helps to evenly distribute the yeast and the gasses it creates throughout your dough. This will result in a more even crumb in your finished loaf. Everything you try so hard to avoid doing to pie dough, you try to do when making bread.
Pie dough = minimal mixing.
Bread dough = long mixing time.
Pie dough = short, weak (or no) gluten strands.
Bread dough = long, tough gluten strands.
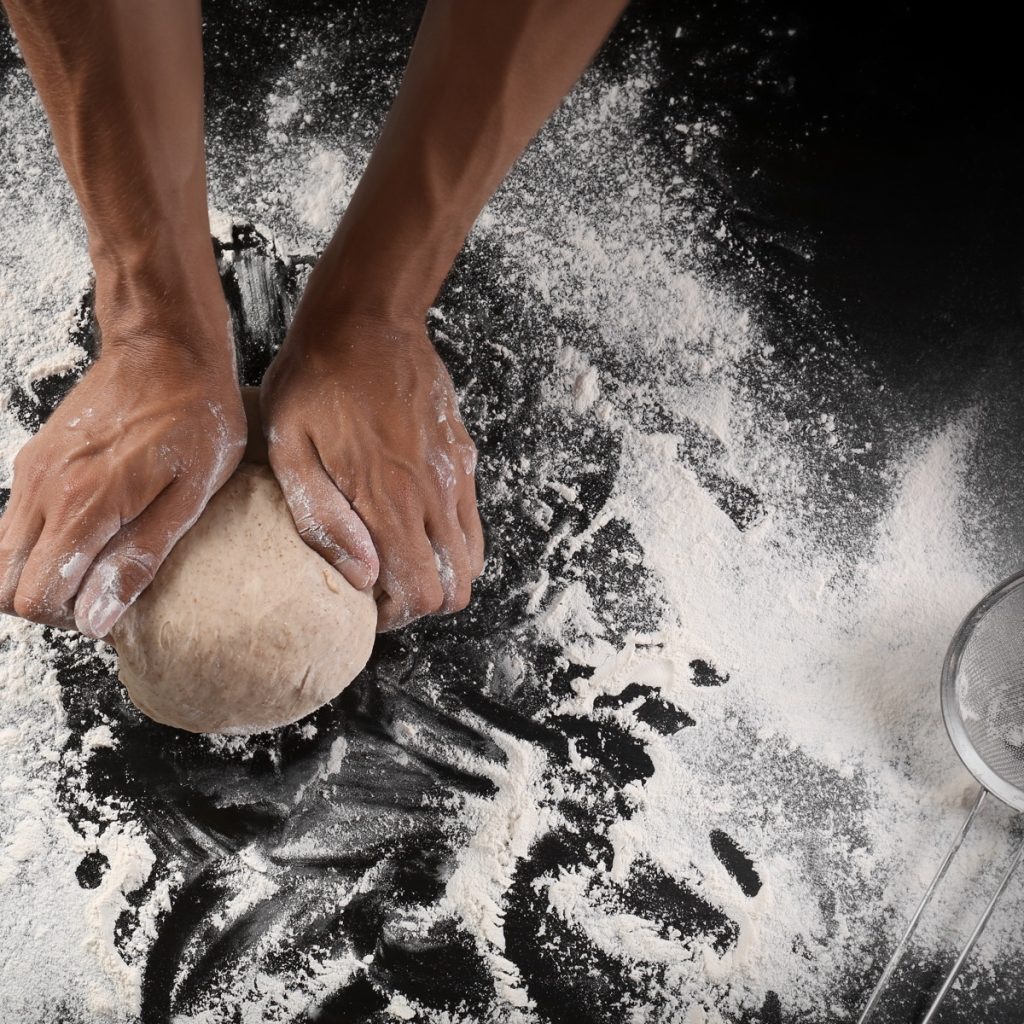
You can accomplish kneading in a variety of ways. As long as you have enough water in your dough and work it well, you’ll get good gluten development. The most-often described method of kneading is to push the dough away from you with the heel of your hands, fold the dough over, give it a quarter turn, and do it again. I’ve seen people lift the dough up and slap it on the table to develop the gluten.
The trick is to work the dough as a continuous mass – if you tear the dough into little pieces, you break the gluten strands you’ve worked so hard to form. So, however you choose to knead, put some muscle into it, put on some good music, and develop a rhythm.
The next trick is in knowing when you’ve kneaded the dough enough. When your dough is well kneaded, it should be very smooth and springy—it should bounce back when you pull on it or poke it.
Windowpane Test
You can also double check to see if you’ve got good gluten development by doing the “windowpane” test. Take about a one ounce piece of your dough, shape it into a ball and then start pinching it flat like a little pizza. Once you’ve gotten the dough thinned out, spread it out with your fingers. If the dough stretches until translucent, and you can see the gluten strands, you’re done. If the dough tears or doesn’t stretch to the point of translucence, keep kneading.
Some cookbooks warn you not to over-knead to avoid breaking the gluten structure down, but if you are using bread flour and kneading by hand, you shouldn’t have to worry about that. If using a stand mixer set on low for kneading, check your dough after 5 minutes and every minute after that to guard against the possibility of overworking it.
Now that you have an idea of the function of the basic ingredients of bread as well as the fundamentals of making it, check out this basic 4-ingredient bread recipe. It will walk you through the entire process in simple step-by-step instructions.
Substitute Ingredients To Make Different Types of Bread
There are many kinds of breads on the market as well as products made similar to bread but are know as something else like bagels, pizza, croissants, cinnamon rolls, etc. They may all be based on the basic four ingredients in classic yeast bread, but these substitutions are important for the final end product.
Click on the link to learn more about these bread ingredient substitutions and how they affect the bread’s characteristics.
Basic Bread Recipe
Ingredients
- ¾ oz active dried yeast
- 1 pinch sweetener consisting of sugar spoonful of honey or dark corn syrup (just to kick-start the yeast)
- 2 cups warm water about 115 degrees, F, is good
- 2 pounds bread flour
- 1 tablespoon salt
- extra flour for dusting
Instructions
- Mix the sweetener with the warm water until dissolved.
- Add the yeast, and stir again, until dissolved.
- Combine the salt with most of the flour - leave out about 6 ounces or so.
- In the bowl of a large capacity heavy duty stand mixer (or in a bowl or even on the table for you purists), mix the water into 1 pound of the salted flour until well combined. Mix well to start incorporating air. This step will assist in the final rise you will get.
- Add the rest of the salted flour, and mix again until the flour is incorporated.
- At this point, turn out the dough if you're doing it by hand. Knead in as much of the remaining flour as is necessary to achieve a smooth, non-sticky, not to wet or dry dough. Knead by hand or with the dough hook until the dough is very smooth and elastic and passes the windowpane test.
Fermentation Stage
- Shape your dough into a smooth ball and let it rest, covered, in a warm place in a greased bowl until it has doubled in bulk. (Turn the dough in the bowl so all sides are greased, and let it rise smooth side up). When you poke your finger into the side of the dough and the dough doesn't spring back at all, you'll know you're there.
- How long it takes depends on the temperature of the room, the temperature of the dough, the barometric pressure outside - lots of factors. A reasonable rule of thumb is give or take about 1 ½ hours. You can do this step on the countertop or in any draft-free place. On top of the fridge is good, since heat rises, it's probably a little warmer up there.
- I've also done this step in a cold oven with the oven light on. Remember, though, the longer you can draw this out, the better the bread will be. If you have the time, a longer time at a cooler temperature is fantastic, say 3 hours at 68 degrees F.
Benching Stage
- Roll the dough out of the bowl onto a surface very lightly dusted with flour and press out all the gasses. Now, decide whether you are making one jumbo loaf, two loaves (either in pans or just rounds) or rolls.
- Divide the dough accordingly, or leave it in one piece. Form each piece (again, it's up to you how many) into a round, cover with a clean, lint free towel or even some plastic wrap, and let rest for a few minutes.
Shaping Stage
- Shape each piece however you want. If you are making a round loaf, round your dough on the table. You've probably seen bakers do this on TV and this is how to do it: take your ball of dough and place it on the table in front of you. Cup your hands around the dough on either side of the dough ball, with the pinky side of your hands touching the table. Without lifting your hands, begin to firmly push the ball in circles on the table.
- You can do this slowly or quickly. The end result will be the same, although you will get faster with practice. The friction between the bottom of the dough and the table should cause your dough ball to smooth and tighten. This will allow for a more even rise and a prettier loaf. If you're not getting any traction on the table, smear a bit of water on the table - just enough to make it a little damp, but not wet.
- If you're making a pan loaf, press out your dough and stretch it into a rough rectangle whose long sides are as long as your pan. Roll the dough up fairly tightly jelly-roll style, tuck the end under and place they cylinder of dough, seam side down, into your pan. Shape your rolls however you want.
Proofing Stage
- Put your rolls or loaves on or in whatever you'll use to bake them - baking stone, cookie sheet, loaf pan. Cover them with a clean, lint free towel or a piece of plastic wrap and let them double again. Since the yeast have been happily multiplying in your dough all this time, it will take about half the time it took during the fermentation period.
- Preheat your oven during the proofing time to 375 degrees, F.
Ready to Bake
- When you're ready to bake, if you want to, you can slash the tops of your loaves with a very sharp knife. This is generally done for appearances, although it can boost the final rise in the oven (oven spring - the impressive rise you get during the first few minutes in the oven, before the crust sets), and help to keep the crust from stretching and tearing in the oven.
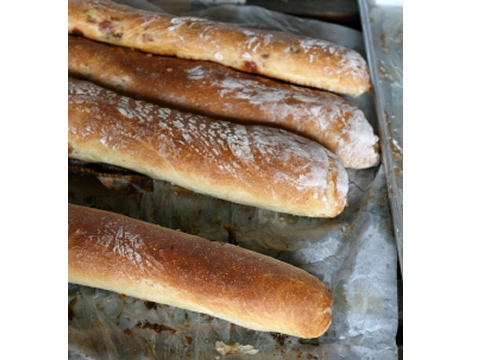
- Your bread is done when it is a lovely golden brown color, when it sounds hollow when you tap it on the bottom, and when the internal temperature has reached 200-210 degrees, F. This could take as little as 10-15 minutes for small rolls and upwards of half an hour for large loaves. When you can smell the bread and it is starting to look done, start checking.
- Once the bread is out of the oven, let it cool on a rack - if you have panned the bread, take it out of the pan to avoid having a soggy loaf.
- Cool to room temperature, then store in a paper bag at room temperature.








20 Responses
very helpful thank you!
I want to make a yeast free bread for communon, how do I do that, and what temperature do I bake it at, and for how long?
Thanks
I used to make short bread for communion. Scotch shortbread. 2 Lb flour, 1 Lb butter, 1/2 Lb sugar. cream together. Roll or press 1/2 inch thick on a cookie sheet, prick with a fork. use parchment paper to bake on at 280 degrees F for 30-40 min. No yeast and taste delicious.
You’ll really want to look for a recipe for crackers or lavash @Allan since that is pretty much what an unleavened bread is. You could probably also go with something like a flour tortilla. A quick google search yielded over 27000 results for “unleavened bread recipe for communion.” This one looks promising: http://www.food.com/recipe/unleavened-communion-bread-115865 Good luck!
enjoyed your lesson
verrrrry helpful! Question — I have a pullman pan and want to make sandwich bread with a SOFT crust? I have not had luck with getting the right inside texture and soft outside crust?
thanks for any advice.
Lisa
It’s a great information PEACE AND LOVE -Peeta
how do I get a good crust on my bread
I feel I gained knowledge after reading this article, because I am currently working as a pastry and bakery cook at a hotel in Bali. I hope someday to become a pastry and bakery lecturer currently in Bali because there are many schools of tourism. so that such expertise will be greatly needed in the future
I need to make a bread for church only using flour yeast and water and I am really confused on how to do so… Please help!
How many different times are you supposed to knead the dough? I like mixing the ingredients in my bread machine, then taking it out and doing the rest by hand. Is it mix (my bread machine calls this first step kneading), rise, knead, place in baking container, rise, bake? or did I miss a kneading step there?
No measurements listed?
Lena, this is a basic description of the bread making process. If you want an actual recipe with measurements listed, try going to http://www.reluctantgourmet.com/basic-bread-recipe/
Hope this helps.
Your description of bread making is like a never ending Soap Opera,
you never say anything except to lead people in circles from
one site to the next and still not say anything about making
a loaf of Bread.
Thomas she explained the basics. The chemical reaction and the science behind bread making. You should’ve Googled bread recipe instead of bread making secrets.
Thank you so much for explaining everything so well. I’ve always wondered how each ingredient does its bit when it comes to bread. I finally understand.
Very credible recipe! Thank you
Thanks a clear and informative article that delivered what I was expecting
Aside from the standard 2% bakers percentage for salt and 0.5 to 1% for yeast, how does one figure out the proper yeast to salt ratio?
Most bread recipes use these percentages based on high gluten flour, but other than copying a recipe, what is the method one should use to solve the “trick” ?
This is very enlightening. I love this publication has it would help me redefine my baking proficiency.
Well done!!