Step-by-Step Guide to Deconstructing a Turkey This Thanksgiving
This Thanksgiving, try a new approach by deconstructing your turkey. This technique is gaining popularity with both chefs and home cooks.
By breaking the bird into parts before cooking, you have more control over texture and flavor. The breast, legs, wings, and thighs cook separately, letting each piece reach its best tenderness without overcooking or drying out.
Deconstruction offers several benefits. Cooking times are shorter, and you can avoid the problem of overcooked breasts or underdone thighs. It also boosts flavor, giving you more opportunities for seasoning, marinating, and flavor adjustments.
Plus, carving is easier at the table, leaving a polished presentation for guests. Though unconventional, this method enhances flavor and texture, making your Thanksgiving meal even more memorable.
In the next guide, we’ll walk you through each step of deconstructing a turkey for a Thanksgiving feast with extra finesse.
The Reassembled Roast Turkey
This turkey cooking method is called “Deconstructed Turkey,” adapted from Julia Child’s The Way to Cook, which she called “The Re-assembled Roast Turkey.” We first tried it last year, and it was such a success that my wife requested we do it again.
One big advantage of roasting a deconstructed turkey is the reduced cooking time—almost half the time of traditional methods. However, the real benefit is controlling internal temperatures. This ensures the breast stays juicy while the legs and thighs cook to perfection.
For example, a 20-pound whole turkey takes about five hours to roast. A deconstructed turkey, however, only takes about 2¾ hours for the breast and 2 hours for the legs and thighs. Interestingly, the cooking time for a 14-pound bird isn’t much different from a 20-pound one. As Julia Child noted, “Timing is more dependent on the thickness of the meat than its total weight.”
Another great perk of deconstructing the turkey is the chance to bone and stuff the thighs. When sliced at the table, the dark meat reveals a ring of dressing, making for a beautiful and tasty presentation. To make it even better, we’ve added two extra legs and thighs for stuffing this year.
Appearance
Some may wonder if a deconstructed turkey can match the visual appeal of the traditional bird in Norman Rockwell’s famous Thanksgiving painting. While it won’t look exactly like that iconic whole turkey, following Julia Child’s “re-assembled” method brings you close.
In many homes, the turkey is sliced in the kitchen or served banquet-style, so the focus on presentation is already less important. As a result, concerns about the visual aspect may not matter as much as expected.
When arranged thoughtfully, a deconstructed turkey can still be visually appealing. The juicy breasts, tender legs, and flavorful thighs can be beautifully garnished and presented to showcase their unique qualities.
This method makes serving easier and highlights the distinct flavors and textures of each piece, ensuring that while the look may differ from tradition, the taste is what truly stands out.
Special Equipment
I can tell you from experience it’s good to have a meat cleaver and meat pounder (rubber hammer) on hand to remove the backbone. You’ll also want a sharp boning knife to remove the thighbone, although you might get away with a sharp paring knife.
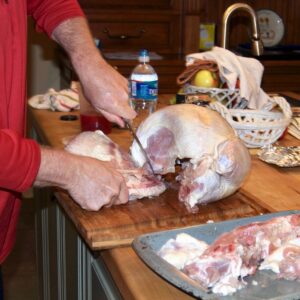
Remove the Backbone – With the help of a meat cleaver and rubber hammer, remove the backbone by cutting on both sides until it comes free—Reserve for making stock for gravy.
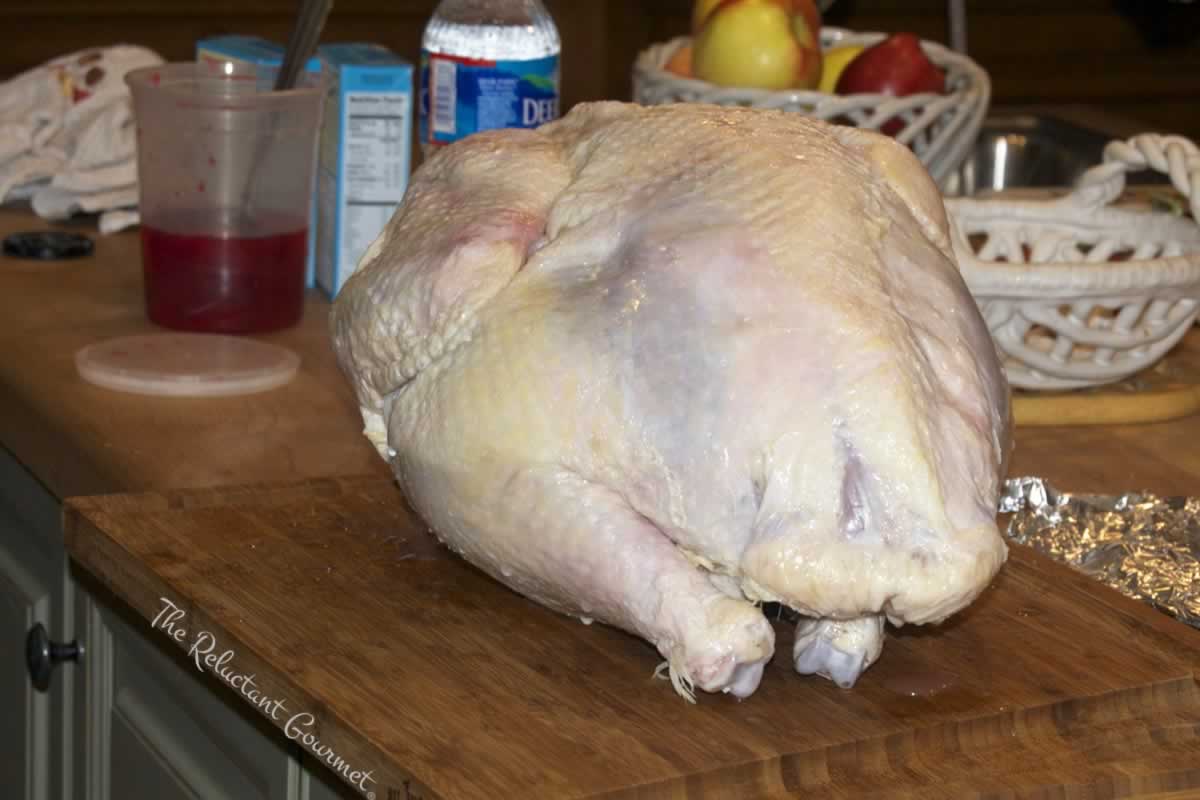
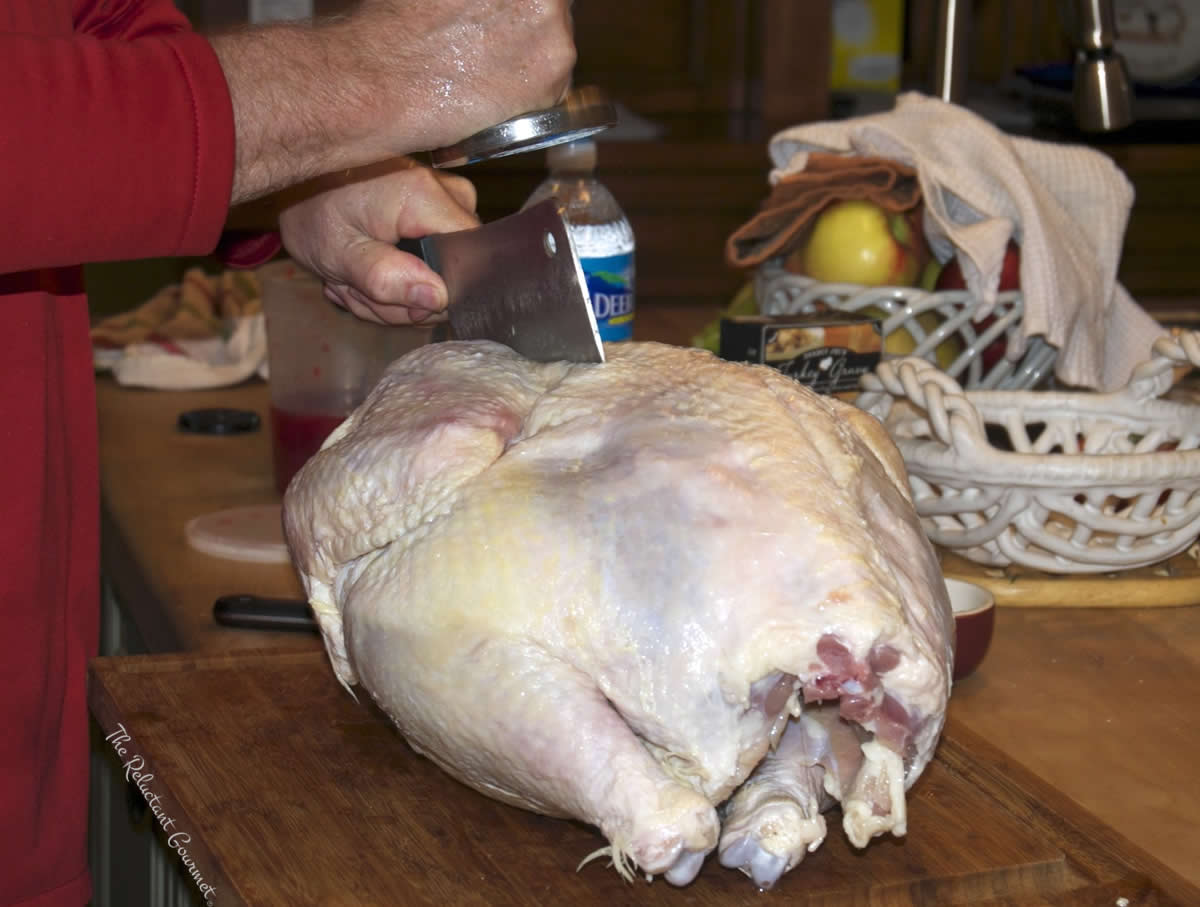
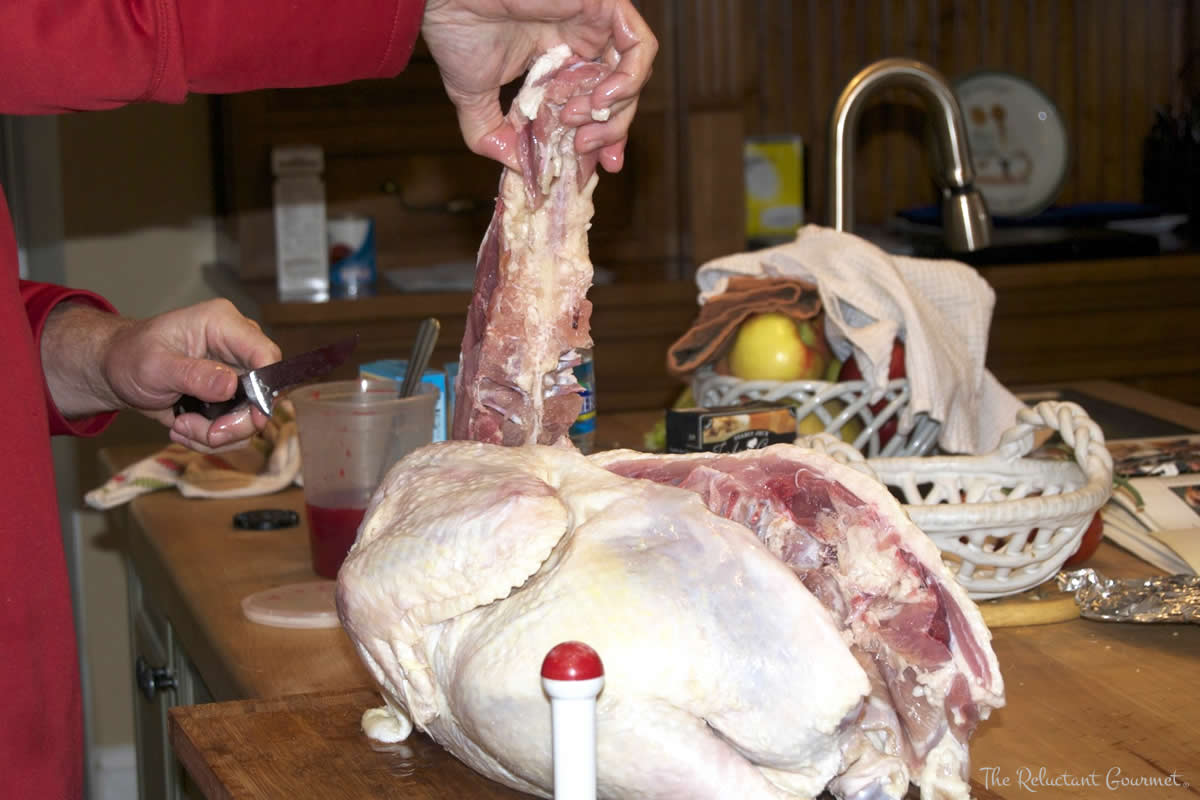
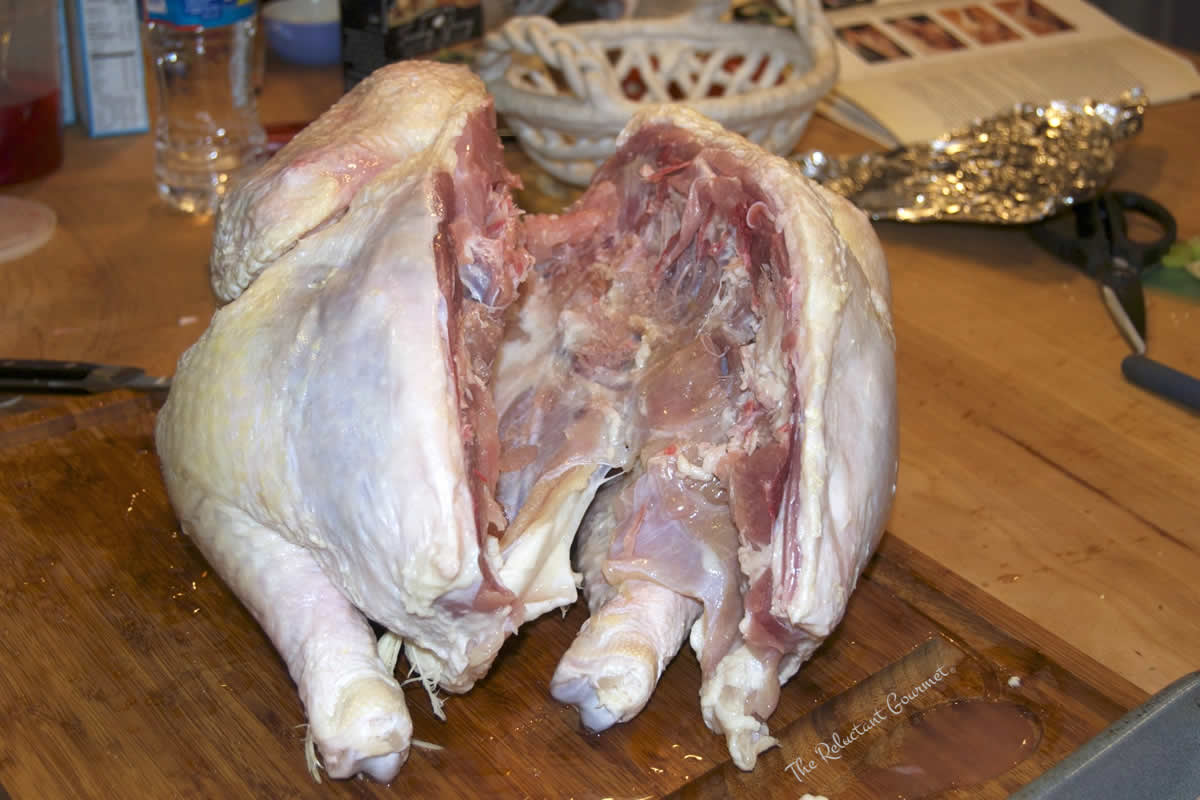
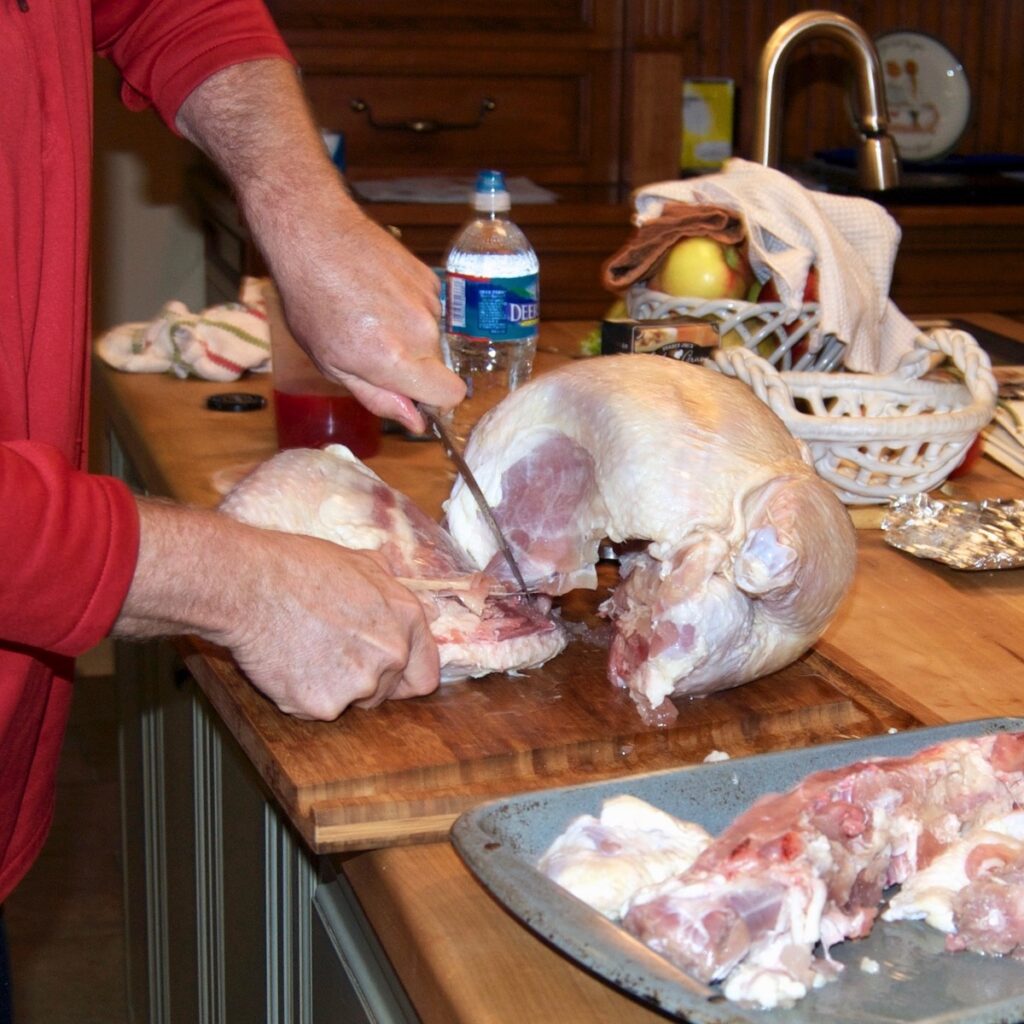
Remove the Leg and Thigh – Use a sharp boning knife to remove the leg-thigh from the body. The thighbone attaches to the backbone and should have been separated when you removed it from the turkey.
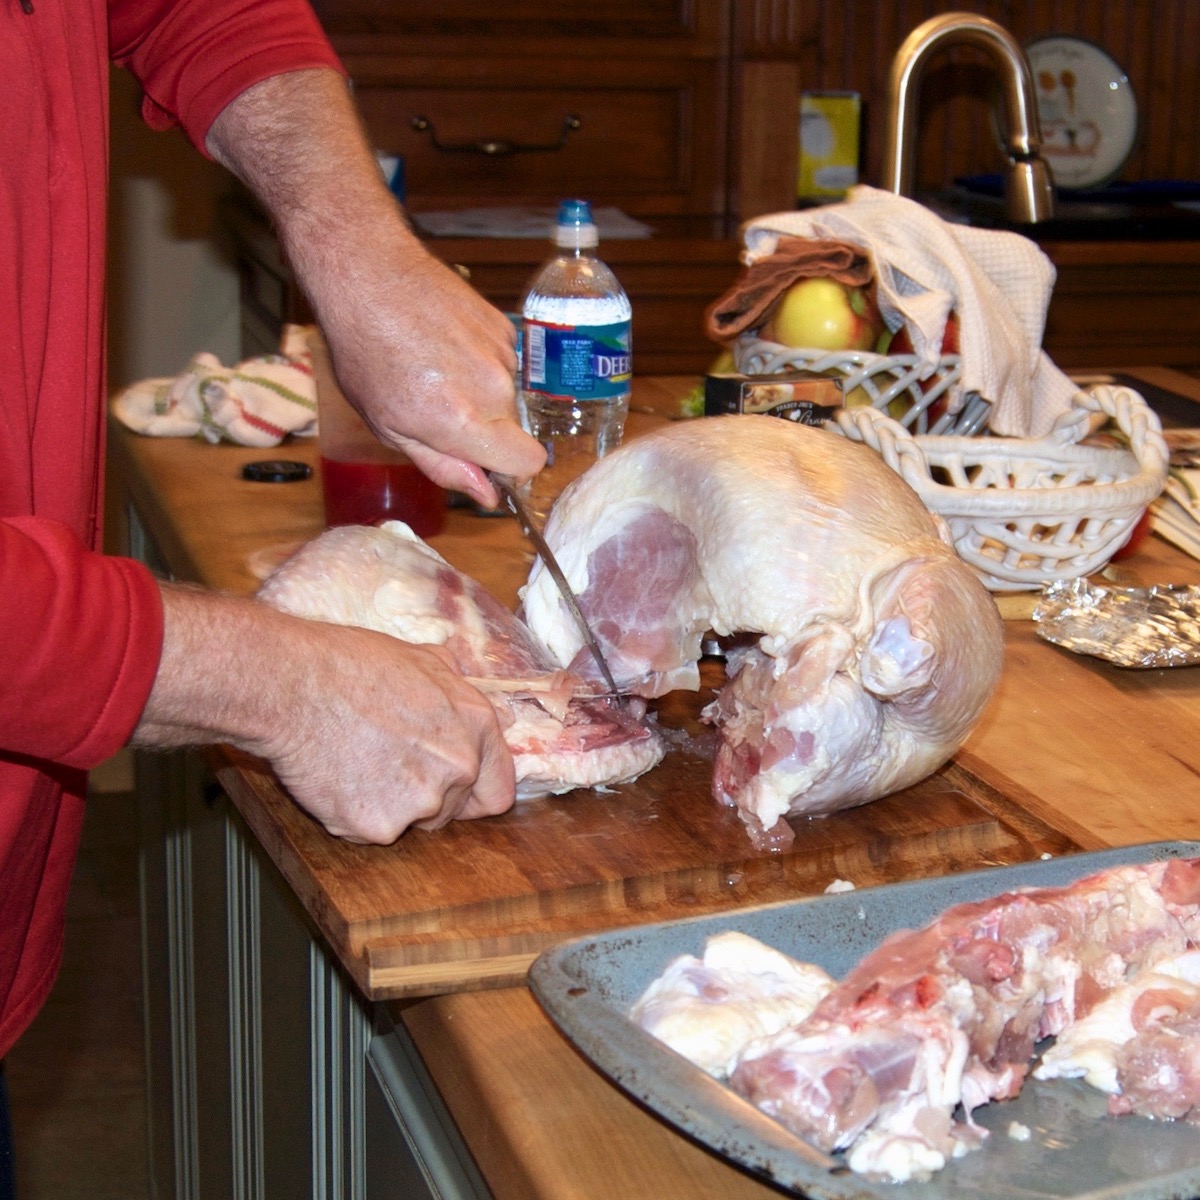
Remove the Thighbone
This is the trickiest part of the process, mainly because I don’t do much butchering at home. The goal is to remove the thighbone so you can stuff it with dressing and tie it to look like a whole leg once it’s cooked. Be careful not to separate the thigh meat from the leg meat.
Use a boning or paring knife to cut and scrape along the thighbone, starting at the backbone and working up to the bottom of the leg bone to expose the ball joint. Carefully scrape the meat from the bone on all sides. Cut through the ball joint without cutting the meat. Once the thighbone is free, set it aside for turkey stock.
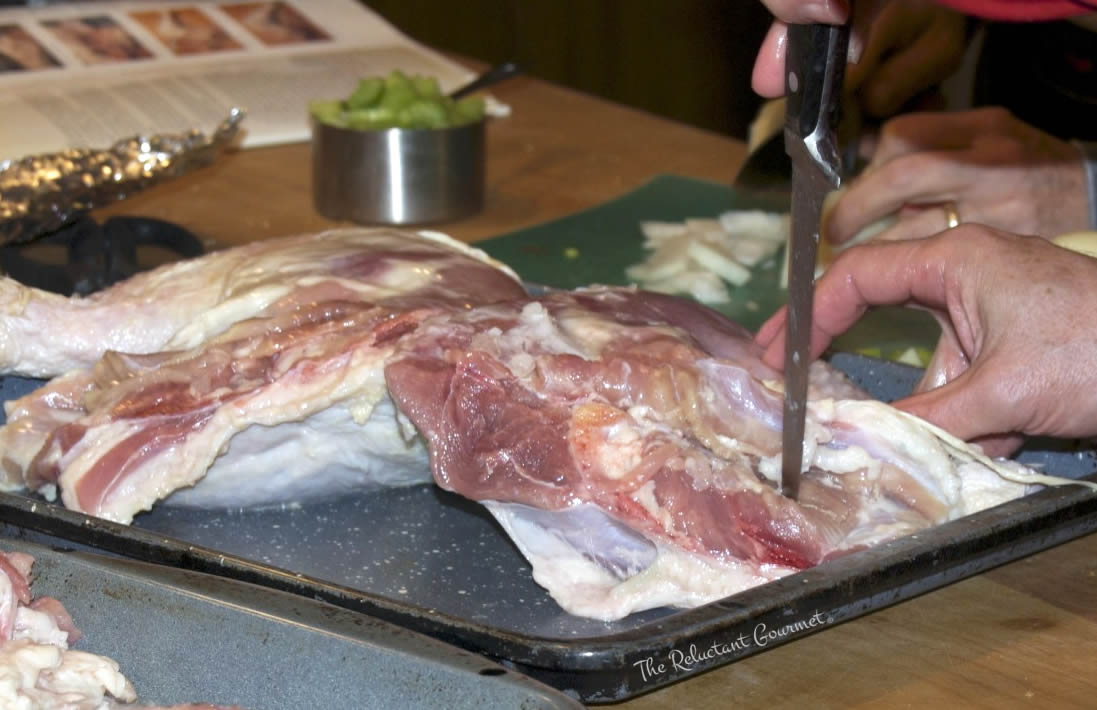
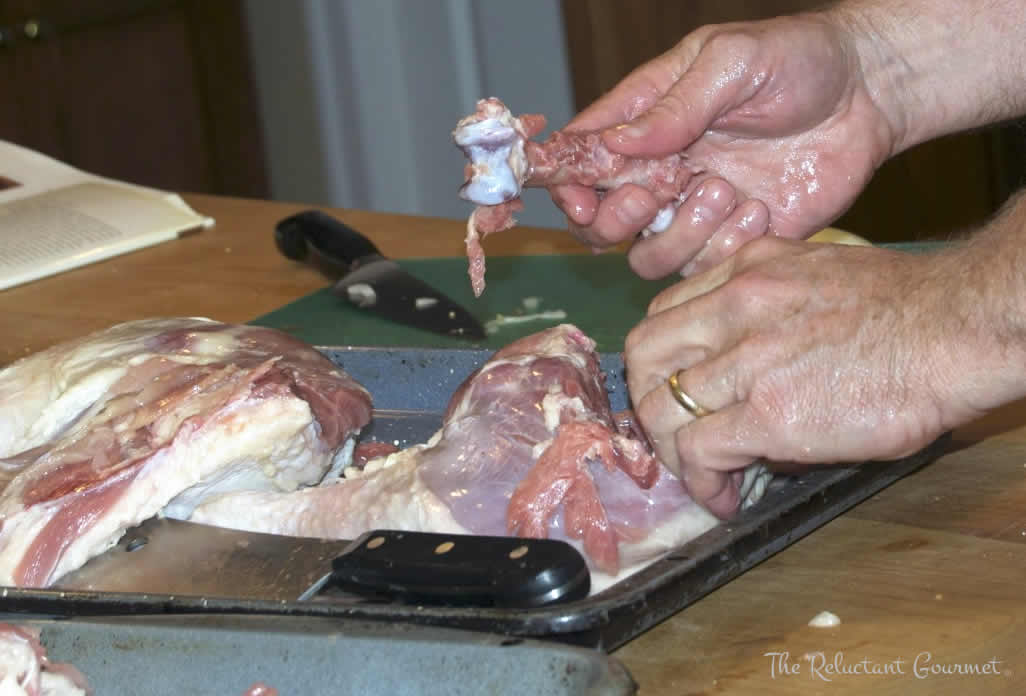
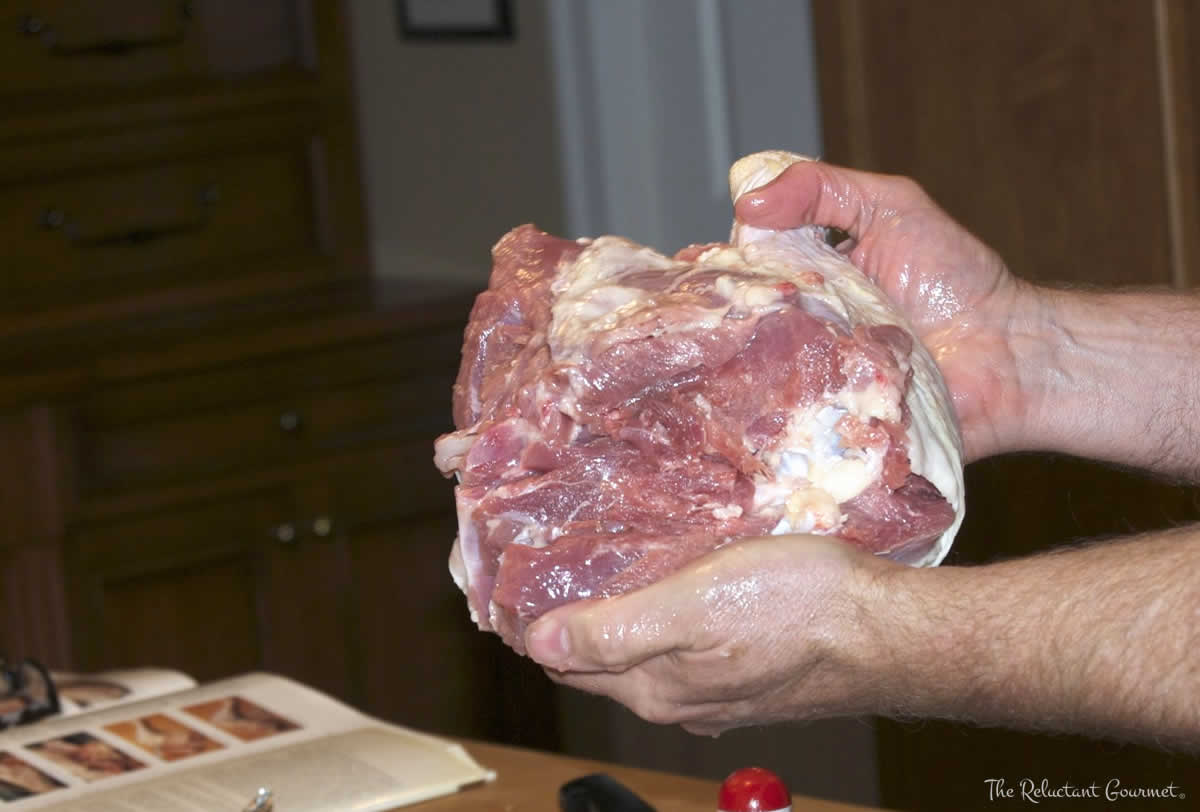
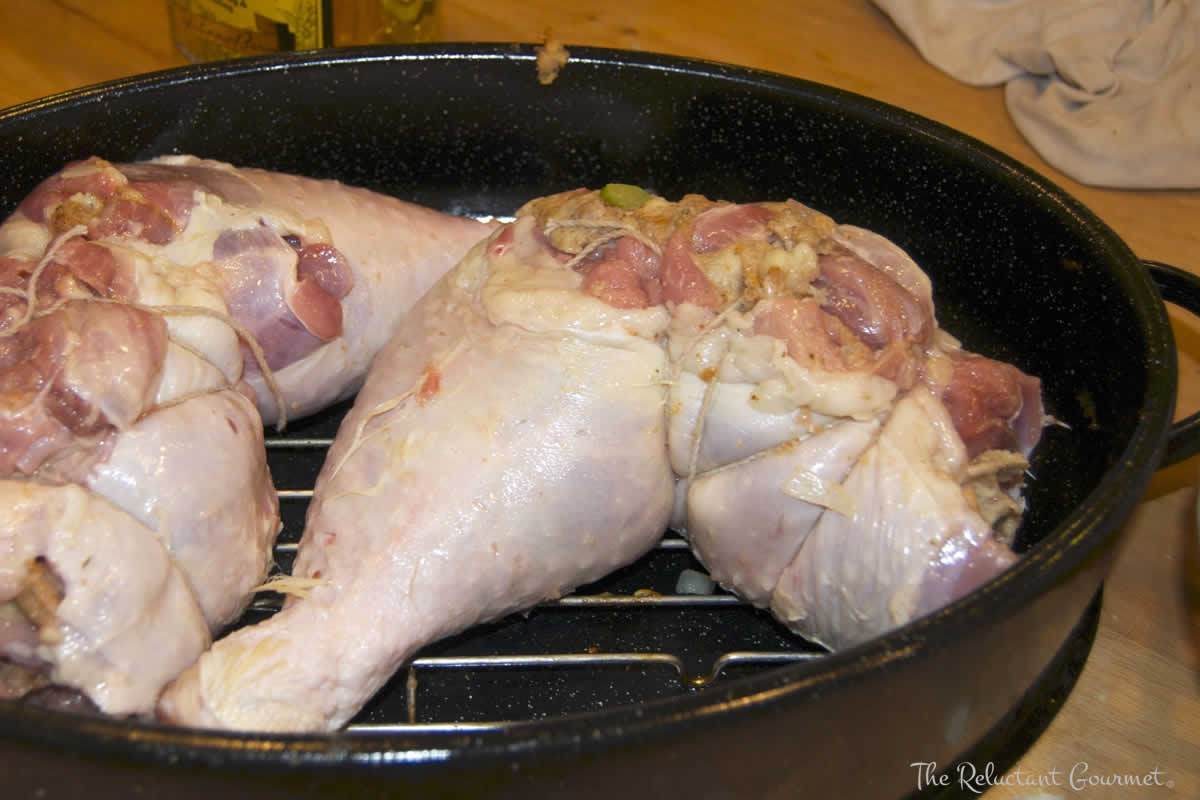
Truss the Thigh – Still attached to the leg, but now without a thighbone, the thigh is ready for seasoning and stuffing. After stuffing the thighs, use wooden or metal skewers and butcher’s twine to close the thigh, as shown in the photo.
Coat with some olive oil, season with salt and pepper, and the leg and thighs are ready to roast on a rack inside a roasting pan. The rack is to keep them from burning and sticking to the pan.
Truss & Mound the Breast
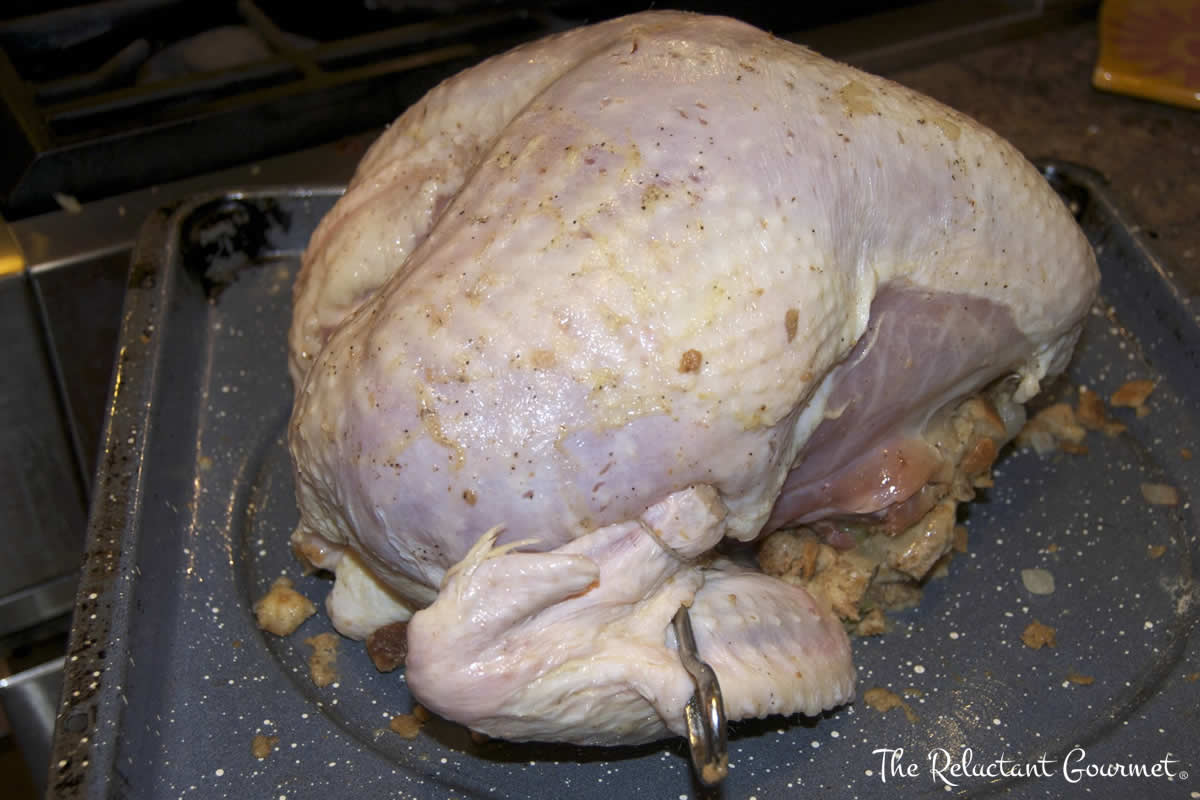
Remove the wishbone from the neck cavity with a sharp boning knife. Use a skewer to pin the neck skin to the back. Truss the wings with a skewer and some butcher twine, as shown in the photo. Coat with olive oil, season with salt and pepper, and prepare to mound the stuffing before roasting.
If you want to cook your turkey with stuffing, this is an easy way to do it. Mound a heap of dressing onto a roasting pan. Place the turkey breast down onto the mount of the stuffing. In The Way To Cook, Julia uses a sheet of aluminum foil to put the stuffing on and then rolls it up to make a little bed for the turkey to sit on. We didn’t do this last year, but we will give it a try this year.
Roast the Breast and Leg-Thigh
The breast and leg-thigh have different roasting times, so they go in separate pans. Preheat the oven to 325°F. Roast the breast and leg-thighs as usual, basting every 20 minutes.
Roasting times depend on the turkey’s size and your desired internal temperature. Let the turkey rest for 20–30 minutes after removing it from the oven. The internal temperature will rise during this time, so factor that in.
Use an instant thermometer to check the meat’s temperature, aiming for your ideal final temperature minus the resting allowance. Relying on turkey weight and time alone can lead to a dry bird, and those plastic “pop-up” devices are a guaranteed fail.
Reconstruction
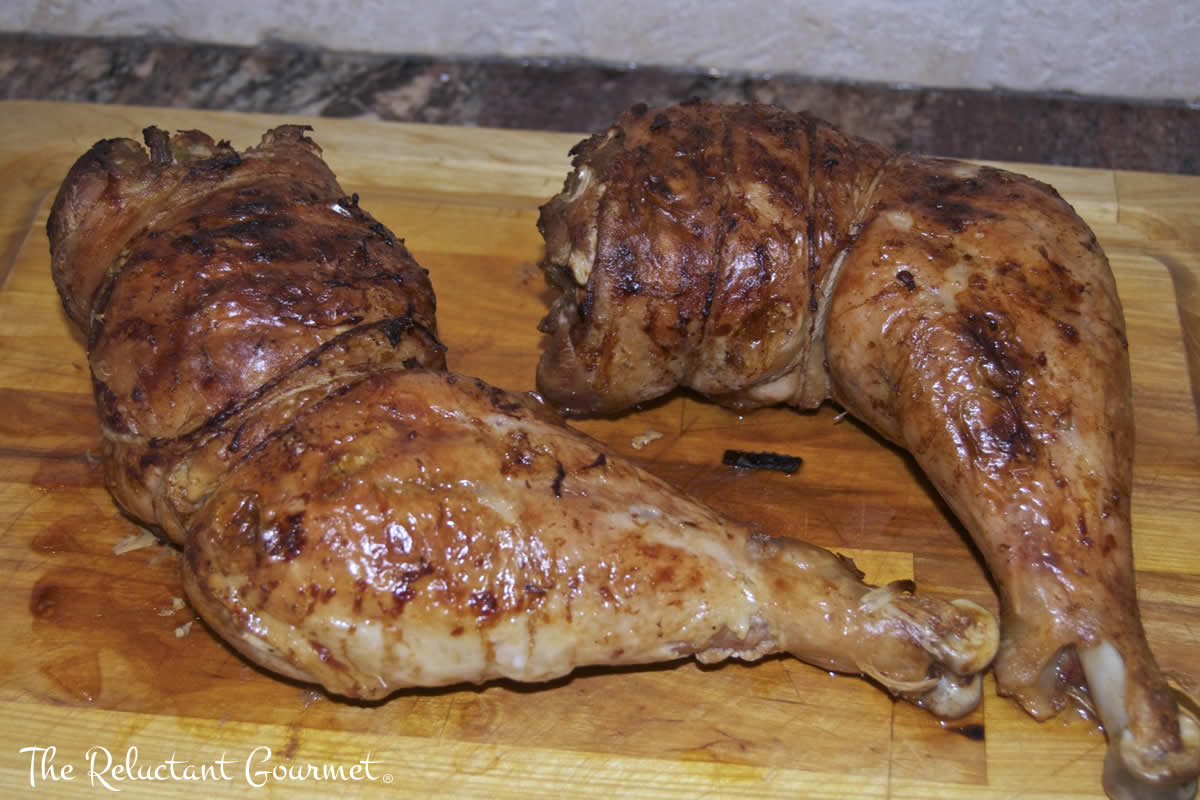
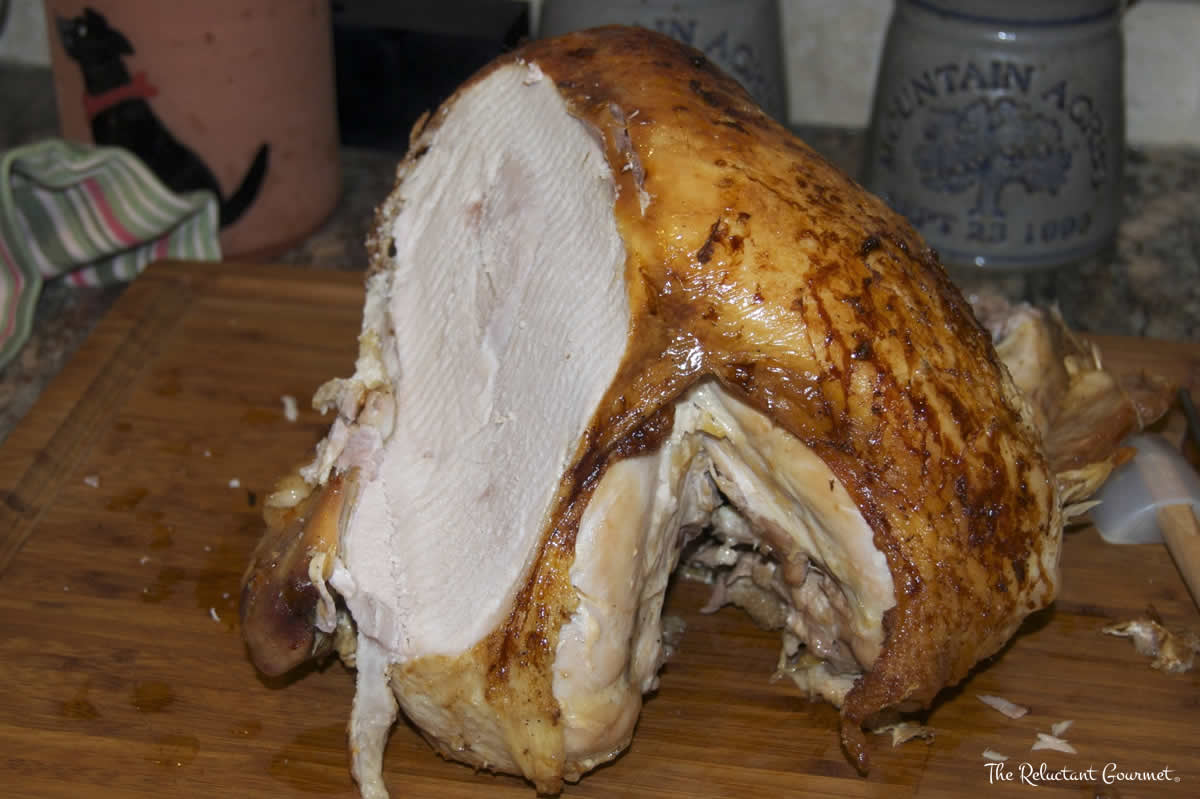
If you want to present a whole bird at the table, you can plate the breast with the stuffing on a serving tray, remove the skewers and string and place the leg-thighs neatly where they belong. It will look great.
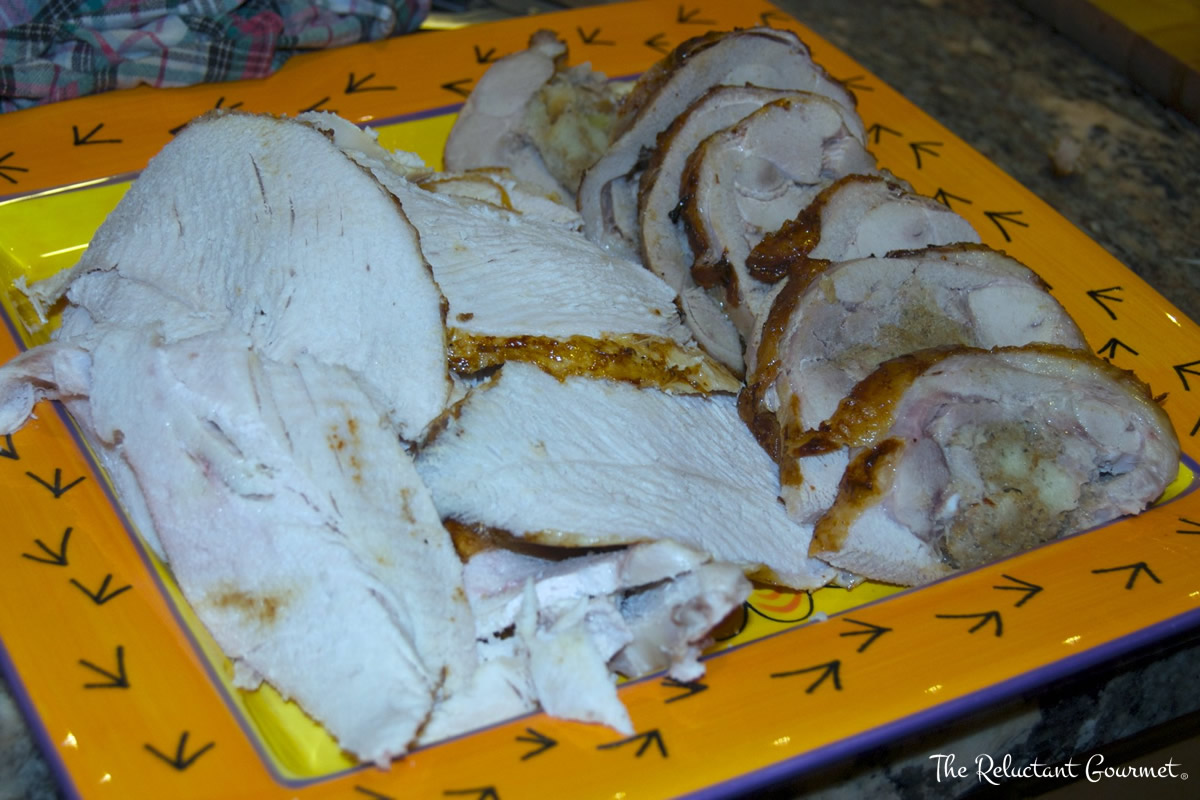
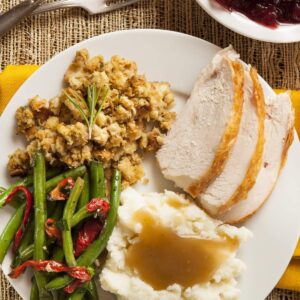
We slice the turkey in the kitchen and bring the slices on plates. As you can see from the photo, the sliced stuffed thighs make an incredible presentation and are a huge hit with my family.
Some of My Favorite Thanksgiving Posts







5 Responses
Hi RG, I love the idea of stuffing the turkey thighs! Probably too risky to try it this year but maybe be next year.
Hope you and your family have a happy Thanksgiving!
Wow–now *that* is impressive!
Looks fantastic, RG. I will also give this a try, but one more time with a tried and
true favorite from Back in the Day:
Adele Davis was the author of a series of cookbooks and nutrition guides that were in
vogue in the 60’s. “Let’s Cook it Right” literally turns turkey roasting on its head by
recommending roasting it overnight and upside down. The fat from the back trickles
down through the bird-no basting. In a 200 degree oven, the bird literally cannot overcook,
at least not for 12-15 hours-light and dark meat come out perfect and juicy. She recommends
the first half hour or so at around 350 to kill any surface bacteria. I have been using this method
for many years and have never had anything but a delicious turkey. Once done, you only need
to keep the bird warm-about 165-till you are ready to carve and serve.
Happy Thanksgiving!
Dan, I have heard of roasting a turkey upside down but never to slow cook it as you describe. Sounds like a great idea and knowing you as a great cook, I’ll have to give this a try. Thanks for sharing and Happy Thanksgiving to you and the family.
I made this for Thanksgiving 2019. It worked great. The breast looked perfectly browned and everyone liked the stuffed thighs. I wrapped the stuffed portion in foil and then tied them, which held them together pretty good, but I’d try to do it better next year. For some extra tips, I also watched the Julia Child / Jacques Pepin youtube video where they cooked Thanksgiving dinner using this method for the turkey.