A Foolproof Beef Wellington Recipe for Your Next Dinner Party
Beef Wellington is the ultimate showstopper. It’s a dish that combines elegance and flavor in every bite. This classic recipe wraps a tender beef filet in a layer of mushroom duxelles, prosciutto, and golden puff pastry. The result is a stunning centerpiece that wows guests and satisfies hearty appetites.
Making Beef Wellington might seem intimidating, but it’s simpler than you think. You can create this masterpiece at home with the right steps and a little patience. The key is balancing flavors and textures. The beef should be perfectly cooked. The mushrooms add an earthy depth. The pastry provides a flaky, buttery contrast. Together, they create magic.
This dish is ideal for special occasions or a celebratory dinner. It feels festive and luxurious, yet comforting. As you prepare it, you’ll enjoy how each step builds toward an unforgettable meal. Plus, you can customize it to your liking with different herbs or seasonings.
Ready to take your cooking to the next level? Follow my recipe and tips for success. By the end, you’ll feel like a culinary pro, and your guests will leave impressed—and full! Let’s dive into how to make the perfect Beef Wellington.
A Tradition in Our House
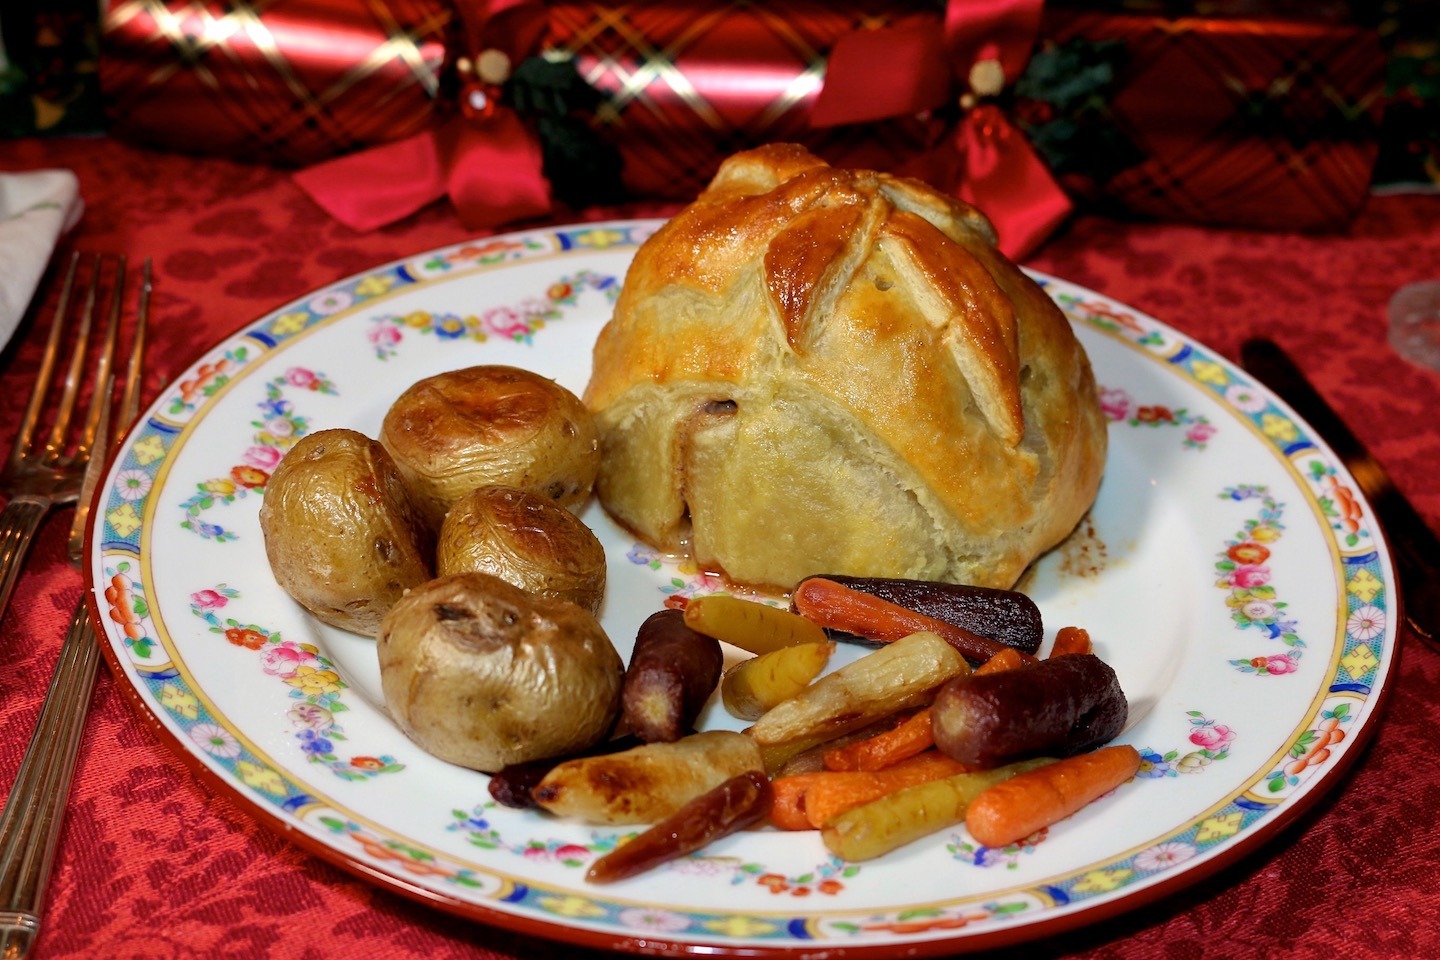
This Beef Wellington recipe has become a tradition in our house. We prepared it every couple of years for Christmas and made it again this year. If I’m lucky, we will have it next year and the year after.
I was fortunate to eat at many great restaurants in New York City while working on Wall Street, but when my wife serves this dish at Christmas, it stands up to anything I’ve eaten in any restaurant. It is that good.
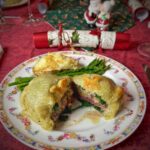
The combination of mushrooms, onions, spinach, and blue cheese flavors is mouth-watering. The puff pastry absorbs any juices released while cooking but doesn’t get soggy. My daughters aren’t big fans of blue cheese, but they still enjoy these steaks.
What makes this recipe even better is that you can make it as far ahead as you want. You freeze the individual Beef Wellingtons before you cook them. What a concept!
If you prepare six individual Wellingtons, as this recipe calls for, and serve only four, you will have the best TV dinners of your life in your freezer.
Warning!
There are many steps involved in preparing this recipe, and my wife suggests prepping the day before so there is plenty of time to freeze the individual packets before cooking. You are not making a simple roast beef, but nothing is too complicated for the average home cook.
Before you start assembling the ingredients using the assembly line technique, make sure all the ingredients are prepped and ready to go (mise en place).
When my wife showed me the article about freezing, I was a little skeptical. Why would you take a fresh cut of meat and freeze it? But this step is essential to keeping the packets from getting soggy, so don’t skip it!
Buying the Steak for Beef Wellington
Wherever I live, I always prioritize connecting with the local butcher and fishmonger, especially at the supermarket where I shop. It’s essential to start a conversation with the person behind the counter. Let them know you’re interested in the quality and specifics of what you’re buying. It’s a fantastic way to learn about your ingredients and ensures you get personalized service when you need special cuts.
For this dish, I bought a whole beef tenderloin and asked the butcher to trim and cut it into individual steaks. This approach is more cost-effective than purchasing pre-cut steaks, and you can specify the size and part of the tenderloin you want. It also gives you more control over your ingredients and saves money.
If you prefer convenience, you can find trimmed beef tenderloins at warehouse stores like Costco or local supermarkets, often at excellent prices.
For this recipe, I needed six center-cut portions of beef tenderloin, about six ounces each. Choosing the center ensures the steaks are uniform in size and cook evenly. I used the ends for smaller steaks, which I froze for grilling later. This method minimizes waste and maximizes value.
Puff Pastry
Puff pastry is a flaky, light pastry made by layering butter and dough through a process called lamination. It consists of many thin layers of butter sandwiched between layers of dough. When baked, the moisture in the butter creates steam, causing the pastry to puff up and become crisp and golden. Puff pastry is a key element in Beef Wellington, providing a buttery, flaky crust that seals in the flavors of the beef and other ingredients.
Best Ways to Handle Puff Pastry for Beef Wellington:
- Keep It Cold: Puff pastry is most straightforward to work with when cold. Keep it refrigerated until you’re ready to use it. Warm pastry becomes sticky and hard to handle. If it softens too much, pop it back in the fridge for a few minutes.
- Work Quickly: Once you start rolling or shaping, work efficiently to prevent the butter from melting.
- Use a Light Touch: Roll out the pastry gently on a floured surface. Avoid pressing too hard, which can compress the layers and affect the puffing.
- Chill Before Baking: After wrapping the Beef Wellington, chill it again to firm up the pastry and ensure it stays flaky during baking.
- Seal Properly: Use an egg wash to seal seams and edges. This prevents gaps that could let juices leak out.
- Ventilation: Poke a small hole or two in the top to release steam, keeping the pastry crisp.
Treating puff pastry carefully will make you the perfect golden crust for your Beef Wellington!
A Little Beef Wellington History
The history of Beef Wellington is a blend of culinary lore and mystery. Its exact origins remain unclear, but several theories attempt to explain its name and rise to fame.
One popular belief ties the dish to Arthur Wellesley, the 1st Duke of Wellington, a British military hero best known for defeating Napoleon at the Battle of Waterloo in 1815. Some say Beef Wellington was created to honor the Duke, though no solid evidence supports this claim. The connection may stem from the dish’s grand presentation, befitting a national hero, or from its supposed resemblance to the shiny boots (known as “Wellingtons”) the Duke made famous.
Another theory suggests that Beef Wellington is a British adaptation of the French dish filet de bœuf en croûte (beef fillet in pastry). This makes sense historically, as French cuisine heavily influenced British cooking in the 19th century.
Others argue that the dish is an American invention, emerging in the mid-20th century as a showy entrée for special occasions.
While its true history remains debatable, one thing is sure: Beef Wellington has become a symbol of culinary elegance, showcasing a perfect harmony of flavors and textures. It’s a classic dish celebrated for its rich heritage and unforgettable taste.
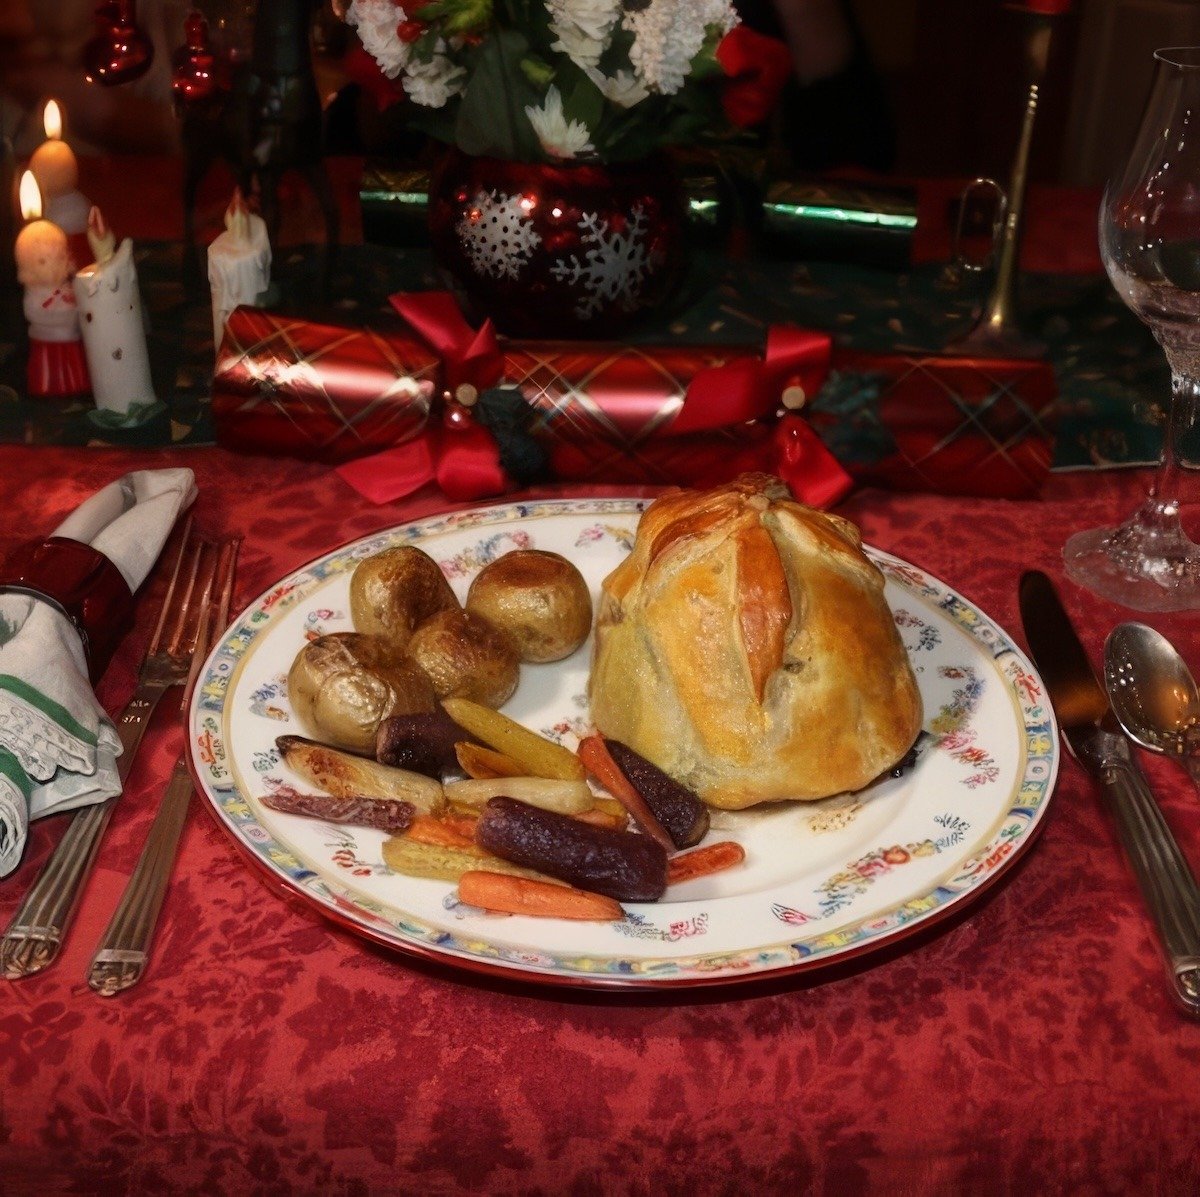
Beef Wellington Recipe
Equipment
- 10 inch pie round
- Rolling Pin
- wax paper
- sharp knife
- roasting pan
- parchment paper
- pastry brush
Ingredients
For the Puff Pastry
- 6 sheets frozen puff pastry each 1 pound package typically 2 sheets
- Flour for rolling
Mushrooms & Onions
- 10 ounces baby Bella mushrooms cleaned and stems trimmed
- 4 tablespoons olive oil plus more for cooking
- 2 cloves garlic minced
- ½ tablespoon fresh thyme leaves lightly chopped or 1½ teaspoon dried
- ½ tablespoon fresh rosemary chopped or ½teaspoon dried
- salt and freshly ground black pepper coarse
- 4 tablespoon unsalted butter
- 3 medium onions thinly sliced
- ½ cup medium-dry sherry or Marsala or other cooking wine
- salt and freshly ground black pepper
Spinach & Blue Cheese
- 14 ounces spinach tightly packed
- 2 tablespoons unsalted butter
- 6 ounces blue cheese Maytag, Roquefort - better to get a block of cheese than crumbled since you will want slices
Steaks
- 6 pieces filet Mignon about 5 to 6 ounces each
- salt and freshly ground black pepper to taste
- olive oil for searing and cooking
For Egg Wash
- 3 - 4 eggs
- Water
Instructions
Prep All the Ingredients
Puff Pastry
- Carefully remove the frozen puff pastry sheets from their wrappers. Be careful not to tear them. Roll each sheet to a thickness of about ¼ inch using a rolling pin. Then, using a 10-inch plate or pie pan, cut out a 10-inch round from each sheet using a sharp knife.
- (Use the extra puff pastry scraps to make the decorative leaves as shown in the photos. You don't need this, but it covers up the seams and makes them look fancier.)
- Stack the puff pastry rounds by layering them between sheets of waxed paper.Then, carefully wrap the puff pastry in plastic wrap and stick it back into the freezer.(This is the step my wife combines with the assembly process described below. If you decide to do that, don't defrost the sheets until you are ready for the assembly step.)
Mushrooms & Onions
- In a medium-sized bowl, add the mushrooms and toss with 4 tablespoons of olive oil, garlic, thyme, and rosemary. Cover with plastic and stick in the refrigerator to marinate for a couple of hours.
- After 2 hours, remove the mushrooms from the refrigerator. The mushrooms most likely absorbed most of the oil. If not, remove them from the excess oil and season with salt and pepper.
- Heat a frying pan or saute pan over medium heat, and when hot, add a little olive oil to coat the bottom of the pan. When the oil is hot, add the mushrooms and cook until they start to brown and soften up. This should take no more than 8 to 10 minutes.
- When the mushrooms are done, transfer them to some stacked paper towels to absorb any extra oil. When cool enough to handle, cut them into small pieces and reserve.
- In the same pan, add the butter and melt it over medium heat.
- Add the thinly sliced onions and caramelize them by turning down the heat to medium-low and cook slowly until they are golden brown, soft, and smell heavenly. This can take 20 to 30 minutes so have some good music to play while cooking.
- Add Marsala wine and cook down until most of the wine has cooked off.
- When the onions are soft and sweet tasting, season with a bit of salt and pepper, taste, and adjust the seasoning. Transfer the onions to a colander sitting in a bowl so the onions can drain.
- When the onions are cooled down, transfer to a small bowl, cover them with plastic wrap, and put them into the refrigerator.
Spinach & Blue Cheese
- If you didn't buy pre-washed spinach, it's time for a bath. First, wash the spinach and remove the stems. Then, get a pot of ice water ready to give the spinach another bath after sauteing to stop the cooking process and maintain the spinach's color.
- Heat a large saute (fry) pan over medium heat. Most likely, your pan won't be big enough to cook all the spinach at once, so cook half of it in 1 ounce of butter and a little salt & pepper.
- Then saute the rest of the spinach with another 1 ounce of butter and a little more salt & pepper. If you use pre-washed spinach, sprinkle a little water on top after adding it to the pan.
- As soon as each batch wilts, transfer it to the cold water bath. After a few seconds, remove from the bath and transfer to a colander. Squeeze a handful of the cooked spinach to remove as much water as possible. Repeat with the rest of the spinach.
- Transfer to plates or a cutting board, cover with plastic wrap, and refrigerate until it's time to assemble the Wellingtons. My wife wraps the spinach in paper towels inside of the plastic wrap to get out as much moisture as possible.
- Cut the blue cheese into six 1-ounce portions. Transfer them to a plate or the cutting board with the spinach, cover them with plastic wrap and refrigerate.
Prep the Steaks
- Season the steaks with salt & pepper.
- Heat a saute pan over medium-high heat, and add a little olive oil to the pan when hot. Coat the bottom of the pan with the oil, and when hot, add the steaks and sear until browned, about 2 minutes per side.If your pan is not large enough to accommodate all the steaks without crowding, sear the steaks in batches. You want to avoid steaming the meat, which can happen if they cook too close together.
- When nicely browned, transfer the meat to a plate, cool down, cover with plastic wrap, and place in the refrigerator until you are ready to assemble all the ingredients.
Assembling the Wellingtons
- Here's where you practice mise en place (everything in its place). Take the onions, mushrooms, spinach, blue cheese, and steaks out of the refrigerator. Do not assemble until all the ingredients are cold.
- You will divide all the ingredients into 6 portions, one for each Wellington. See my photo below. Try to squeeze any extra liquid that may still be left in the onions and spinach. Paper towels work well for this.
- Cover a large baking pan, one that can fit into your freezer, with parchment paper. We have a chest freezer in the garage so I know I can make enough room to place a large baking sheet.
Prepare the Puff Pastry
- You'll measure and cut the pastry rounds into shapes that accommodate all the ingredients. You'll need a paring knife, pastry brush, a ruler to measure your cuts, and egg wash made by whisking 2 of the eggs with a tiny amount of water.We have a small notebook that is exactly 4 inches by 3 inches, the exact size you'll need for scoring the pastry round. You can either measure using a ruler or make a template with a piece of paper or cardboard.Remove one of the round pastry rounds from the freezer. Spread some flour on your work counter so the pastry doesn't stick and place the round on top.
- Using a template or a ruler, score a 4x3 inch rectangle in the center of the pastry round. You don't want to cut through the dough; only score it.
- Extend the lines of the rectangle and remove all four corners, so all you are left with is a pastry cross.
- Save any pieces you cut out for making leaf decorations that will be attached to the Wellington if you didn't do it earlier.
Let's Start Assembling
- From one of the six piles of spinach, grab half of it and place it over the center of the pastry cross.
- Add 1 of the piles of chopped mushrooms.
- Next, grab a full portion of blue cheese and place it on top of the spinach.
- Now add one portion of onions, one of the tenderloin steaks, and then the rest of the spinach portion. The goal is to spread out all these ingredients as evenly as possible to make sealing easier.
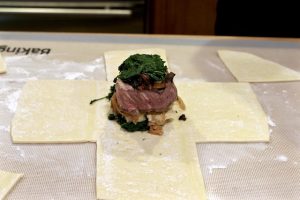
- By now, the pastry dough should be pliable enough to work with, but if not, give it a few minutes to thaw enough to fold easily. Using your pastry brush, coat a little of the egg wash onto each of the four corners of the pastry cross.
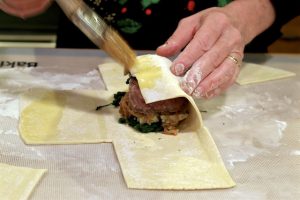
- Carefully fold the left and right sides of the pastry dough onto the top of the spinach. You want the dough to overlap each other slightly. A little stretch here and there might be necessary.
- Do the same folding with the top and bottom panels but seal all of them together by pushing down on the top panel so it seals with the bottom panel. Then work the sides by pinching all four corners together until they create a nicely sealed unit.It's essential to get these seals right, or there is a chance some of the cooking liquids will lead out while they are cooking.
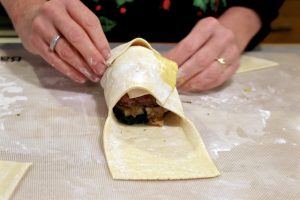
- Pick up the assembled Wellington and use your fingers to ensure all the joints are sealed and the pastry is nicely shaped.
- Place the Wellington seam side down onto the counter and shape it with your hand to get them as even as possible. This will help ensure even cooking. Brush all the sides with the egg wash.
- Using the extra dough from making the pastry crosses, cut out little dough leaf decorations that you can place on top of the Wellington and seal with some more egg wash.
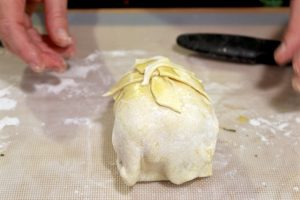
- Transfer the Wellington to a baking sheet lined with parchment paper and place in a freezer.
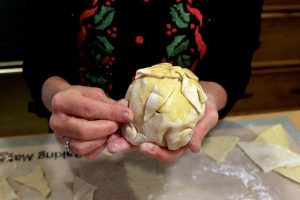
Five More To Go
- Now that you have the technique down, continue preparing the remaining 5 Wellingtons the same way you prepared this one. Again, it gets easier each time you make one.After completion, remember to add each to the baking sheet in the freezer.
- When all the Wellingtons are prepared, let them chill for a good hour and then remove from the freezer, wrap them individually in plastic wrap and place them back into the freezer until ready to use.
How to Cook the Beef Wellingtons
- Before you are ready to start cooking, preheat the oven to 400°F. There is no need to thaw the Wellingtons before cooking. They go right from the freezer to the oven.
- Using the remaining eggs and a little water, make an egg wash and give each Wellington another coat.
- Lightly grease a roasting pan or heavy-duty rimmed baking sheet with olive oil, spray olive oil, or a little butter. Transfer the Wellingtons to the pan and bake for 20 minutes.
- Lower the heat to 350°F and continue baking until the internal temperature reaches 110°F. This should take about 35 more minutes, depending on your oven's accuracy and the thickness of the steaks.
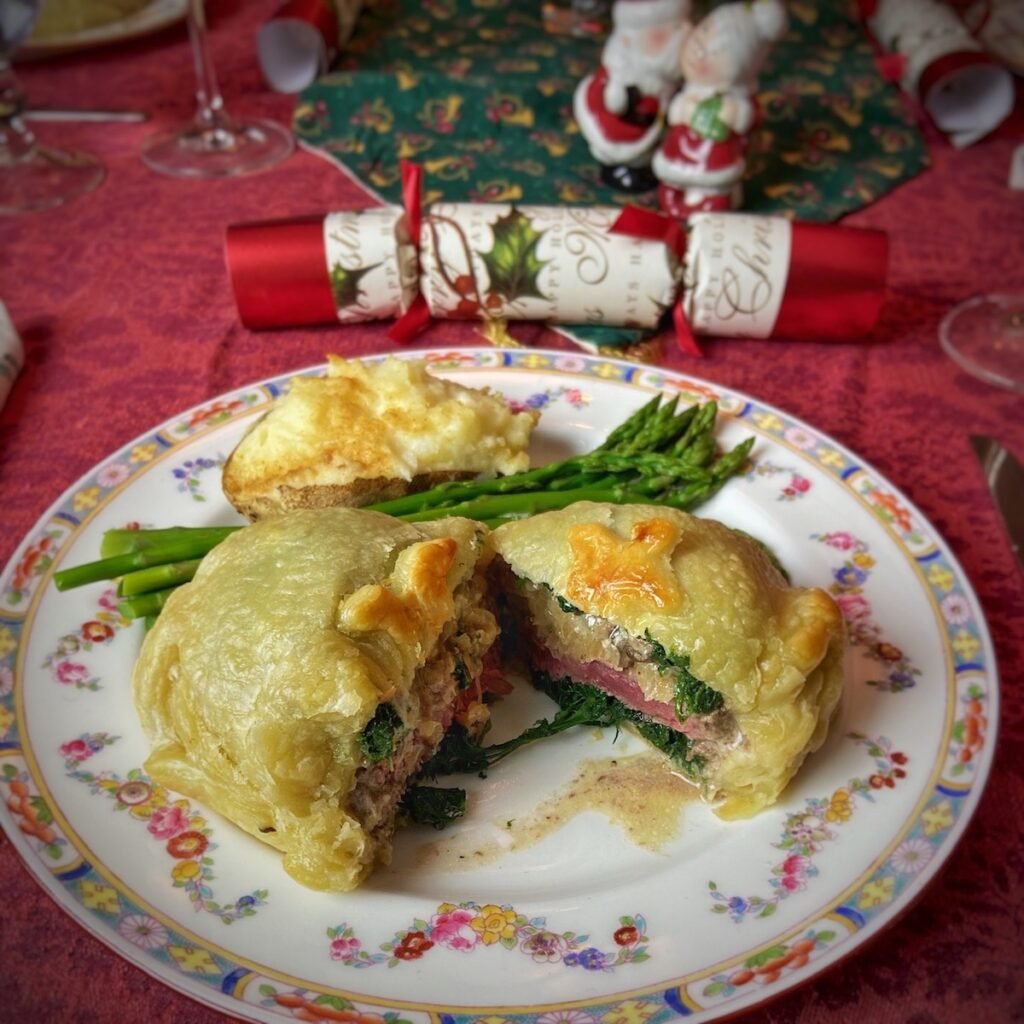
- Remove the Wellingtons and let them rest for 8 minutes, and serve immediately. Remember, the tenderloin will continue to cook while in the pastry so you don't want to let them rest too long or the meat will overcook.




15 Responses
Would never freeze them. I’ll stick to Gordon Ramsay’s recipe. Is this whole website a joke?
No joke but I do try to make some funny comments once in a while. Thanks for your comment.
I’m excited to try it your way after seeing someone else comment about how the freezing part keeps the pastry from getting soggy. I have made this before and was told pretty good now I just want to compare. Plus yes takes so much stress out of the prep. Making for Valentine’s day, let you know how they come out. Oh and this time I will be adding priscutto and he doesn’t like onions, darn it but we shall see, thanks for the tips!
Hi Karen, yes, please let me know how it turns out and of course you can leave out the onions or substitute prosciutto to make it work for you.
If you haven’t tried this, you should not comment. This is an incredible recipe and if you ever read the entire article form the January 2001 Fine Cooking Magazine you would understand the importance of this step!
I have made this recipe for Individual Beef Wellingtons many times for holidays and special occasions. Preparing a day ahead makes entertaining so much easier. Freezing the Wellingtons also results in perfectly prepared medium-rare filets by simply following the roasting and temperature guidelines. The finished presentation is always a show-stopper and a huge hit with family and guests. We really enjoy the combination of ingredients for amazing color, texture and flavor without a rich pate.
Robert, thanks for sharing.
Hi there! Just wondering how long they can be left frozen? I prep most of our food (either freezing or canning) and it would be lovely to have a special meal like this on demand! Would it being frozen (vacuum sealed) for a couple of months ruin it?
Hi Josette, I have no idea of an exact freezer life but I have kept some in the freezer for at least two months and they were fine. It’s important you wrap them properly, vacuum sealing is good, and don’t let them get any freezer burn. Are they as good as when you first make them? Not sure, they were still pretty tasty.
more or less, a hot pocket
Not quite, but funny analogy.
I have a family of vegetarians. Recently found a Vegetarian Mushroom Wellington recipe on NYTimes Cooking site. Do you think a vegetarian version could be prepared and frozen ahead? I try not to have too many things to prepare on Christmas Day.
Thank you for the photos.
A good friend of ours served these at a special celebration dinner. The initial silence at the table when everyone first started the meal said it all. We were all in culinary heaven. I am grateful that he was able to share the recipe with us. Well worth the work. We had a Wellington prep party… lots of wine and good conversation. When those went into the freezer, our guest took out some that he had previously made. It was a fantastic idea. We saw the work that went into them and were able to enjoy sheer perfection and his freezer was restocked!
Thanks for letting me know.
I want friends like this!! A great meal and he taught you how to make it!