Common Braising Mistakes & How to Avoid Them
Braising is a moist heat cooking method that is very forgiving. I always say, “You could braise an old leather baseball glove in beef stock, and it would taste good with enough time.” So let’s look at how to braise.
A braise can be done on the stovetop or in the oven. Some of the most soul-satisfying and comforting dishes are produced by braising: pot roast, coq au vin, cassoulet, Osso Bucco, and Beef Stroganoff, among many others.
Braised dishes bring to mind frosty winter days, and for a good reason. In colder weather, fires were stoked all day long, allowing pots of tough meats and/or vegetables to be cooked in a bit of liquid for a very long period in the gentle heat at the edge of the hearth.
These pots were tightly lidded, ensuring that moisture and flavors were trapped in the pot instead of evaporating away. As a result, no other cooking method can take a challenging, almost inedible piece of meat and turn it into a tender, warming bowl of goodness and love.
One of the best things about braising is the walk-away-and-forget-it-for-hours nature of the cooking method. You can put a braise on the stove or in the oven and then be about the rest of your day while dinner cooks merrily away.
Braising is a combination cooking method, combining the dry-heat searing method with the moist heat of a long and gentle simmer in liquid. Braising is magic when challenging pieces of meat with a lot of connective tissue.
The moist, slow heat allows that connective tissue to melt, slowly leaving tender meat and a gelatin-rich sauce. But, as almost foolproof a way to cook as braising is, there are some common mistakes. Let’s look at each mistake and learn how to avoid them.
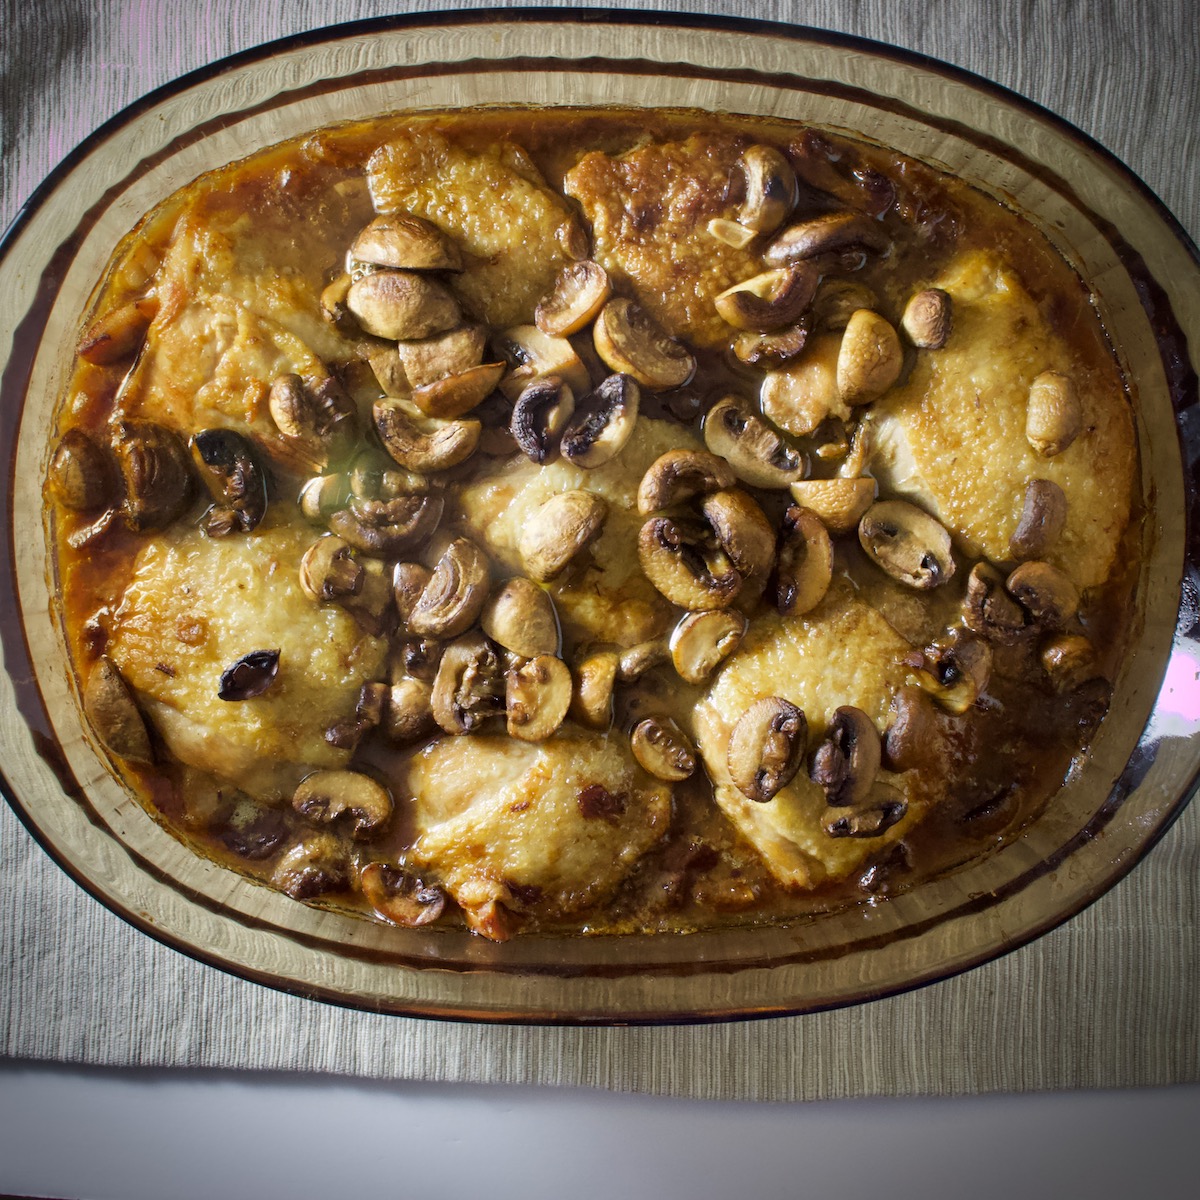
When you take a bite of pot roast or beef bourguignon, you expect it to have a very complex flavor. But, this time, you are disappointed. Instead, the flavor is a little thin and two-dimensional.
You think back over all the steps you took and realize that you didn’t brown the meat first. You thought you’d save some time by just going straight into the liquid, but now your dish, while tasty enough, lacks the depth of flavor characteristic of braises.
You also realize that you used water for your braising liquid and wonder if that could also be part of the problem.
The Fix, Part 1: Brown Your Meat
While you can get away without browning your meat to save time, technically, braising is a combination cooking method: sear + covered simmer. So, it can be argued that if you skip the sear, you aren’t genuinely braising.
Aside from that technicality, you are missing out on serious flavor if you don’t brown the meat first. The chemical reactions that occur when meat browns, collectively referred to as the Maillard Reaction, create a layer of flavor that adds depth and hints of caramel to the meat.
This flavor base is then transferred to the simmer. To fully realize the flavor potential of the Maillard reaction, sear the meat all over and then deglaze your pan with a cold flavorful liquid, scraping up the browned bits (fond).
Then, use this liquid as part of your braising liquid. You will not be sorry that you did – what it takes up in time, it more than makes up for in flavor and “Wow Factor.”
The Fix, Part 2: Don’t Use Water for Braising
Water is known as the universal solvent. As such, water will undoubtedly suffice to draw out flavors in the meat and break down the connective tissues.
The problem?
Water has no unique flavor of its own. So, while it is possible to braise in water, it’s a much better idea to use a liquid with a flavor of its own to bring to the party. If it weren’t so important, chefs wouldn’t spend literally hours (or have their cooks spend hours) making stock.
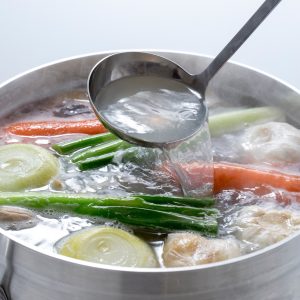
An acidic element often aid braises in the liquid, so good choices are wine, tomato juice, beef or chicken stock, beer, or any harmonious combination of two or more liquids. I recommend balancing wine or beer with stock to keep the flavors well-rounded.
Back to the boring pot roast: Wouldn’t it have tasted so much better if you braised it in beef stock and wine? Or stock and tomato juice?
Or even stock and cream of mushroom soup? A braise is supposed to be complex, so never pass up an opportunity to add extra flavor!
You spent top dollar for tenderloin at the Fresh Market. “What a great meat to make beef bourguignon,” you thought.
Four hours later, it smells heavenly, but you can barely cut into the meat. Congratulations—you have managed to turn one of the most tender cuts of beef in the world into an inedible gray puck.
The Fix: Use the Right Cut of Meat
Save your expensive, tender cuts of meat for a quick sauté, grill, or roast. The beauty of a braise is that you can take the cheapest, toughest and grisliest cuts of meat and, with low, slow, moist cooking, transform them into achingly tender and flavorful fare.
This is the true genius of the French – taking the “trash” and turning it into gold. What other culture could elevate organ meats, so they are de rigueur at State Dinners?
But that’s another book. Good idea – Kitchen Trash to Culinary Treasure. The cuts of meat you want for braising are tough old hens (if you can find any), lamb or veal shanks, oxtail, short ribs, blade or chuck roasts, and brisket.
You’ve browned your meat, using the proper cut and flavorful liquid, and your meat is still tough. It’s four hours later. It smells good, but the meat is still gristly.
You’ve browned your meat using the right cut and flavorful liquid. Then, four hours later, you open the lid, and your liquid is gone. All that’s left is scorched goo on the bottom of the pan where the liquid used to be.
The Fix: Braise at the Right Temperature
Poaching is another moist heat cooking method that you might confuse with braising. Poaching is best used for tender, delicate foods, such as eggs, tender fruits, fish fillets, or chicken breasts.
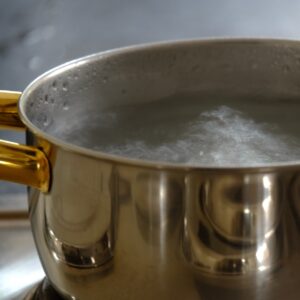
The idea behind poaching is that it is almost impossible to overcook delicate food because the temperature of your cooking liquid, ideally, should never exceed 185°F. With poaching, the cooking liquid might be bubbling gently around the edges of the pan, but there should be no bubbles breaking the surface.
You should see gentle convection—herbs or spices slowly rising and falling in the hot liquid. This sounds great, and it works brilliantly for delicate foods.
Unfortunately, the ideal food for braising is far from delicate. The collagen in tough cuts of meat will not break down into luscious gelatin until it reaches around 205°F.
Hence, the temperature of your braising liquid should be at least that. You can braise on the stovetop on low heat—the liquid should be at a gentle simmer. In the oven, set the temperature to 250-300°F.
It will take longer to braise at these lower temperatures, but the trick is, if you heat the proteins in the meat too quickly, they will coagulate quickly and seize up, squeezing out all the moisture and gelatin.
It is best to reach the proper temperature slowly, allowing the meat to “ease into the braise.” This way, the proteins will coagulate slowly, allowing the collagen to dissolve gently into gelatin.
Just as trying to braise at too low a temperature will not go well, trying to braise at too high a temperature has its own set of problems. Braising at 350 degrees or higher means that your braising liquid boils rapidly.
Not only will the meat proteins seize up and dry out in this harsh environment, but you run the risk of all of your liquid evaporating. Braising at the correct temperature with a tight-fitting lid will help guard against this.
IMPORTANT NOTE
One last note: you must cool your braises in the cooking liquid. If you remove your delicious, moist, braised meat from the braising liquid right after you take it out of the oven/off the stove and then put it in the refrigerator, I guarantee that you will end up with tough, gray meat once it has cooled.
This is because all of the moisture and gelatin you have coaxed out of the meat are now in the braising liquid. So if you let the meat and liquid cool together, some moisture and gelatin will find their way back into the meat.
If you cool the meat without the liquid, the moisture and gelatin will never find their way back into the meat. Once the meat has cooled in the liquid, you can separate them. If you’ve cooled the meat alone, though…well, you’ve been warned.
I know I have said it dozens of times, but make sure you are using the right equipment for the right job. This will make you a better cook and save you money in the long run.
The Fix: Use the Right Pan
Since a braise can be completed entirely on the stovetop or finished in the oven for more gentle, consistent heating, you need to ensure that your braising pot, handles, and lid are all oven-safe.
Cast iron is ideal for a braising pot because it holds heat and releases it evenly, but you do not have to go out and buy a $200 enameled cast-iron pan for braising.
Ideally, your braising pan should be heavy to reduce the chance of hot spots. This is especially crucial for stovetop braising.
The lid should be tight fitting, but I have done successful braises by crimping heavy-duty aluminum foil over the top of the pot. You could also place a piece of aluminum foil over the pot and then put it on the lid. This will help to ensure that you have a tight seal.
Whatever type of heavy braising pot you use, ensure the handles are sturdy and tightly secured to the pot. When dealing with a heavy pot full of meat and hot liquid, you want to ensure you can count on your handles.
Your crock pot was taking up space in your kitchen, and you decided to sell it on Craig’s List. Your buyer is pleased that you did.
The Fix: If You Have One, Use It
Crock pots were prominent in the late ’70s and throughout the ’80s. They were supposed to liberate the modern woman from the rigors of the kitchen. And to a certain extent, they did.
You could throw meat, vegetable, spices, and some liquid in the crock before you left for work, turn it on, and dinner would be ready when you got home. Somewhere along the line, though, the crock pot got the reputation of being a shortcut.
Shortcuts that don’t negatively affect the final product are great, and there is nothing wrong with working smarter, not harder, I say.
Part of the reason the crock pot’s reputation has been tarnished might be due to some of the shortcut ingredients that started appearing in crock pot cookbooks. Unfortunately, many of these shortcut ingredients aren’t good for you and can be full of sodium—a packet of onion soup mix. Wow.
I am here to say that you can have the best of both worlds. You can make great food using a shortcut appliance, not ingredients.
Here’s how: Sear your meat the night before. Deglaze with flavorful liquid, and then put the seared meat and liquid into the crock pot. Add any other dry ingredients to the pot before you go to bed. Leave the crock in the fridge.
The following day, add vegetables, seasonings, and the remaining liquid you’ll be using, and turn on the pot. Walk away, and return hours later to a flavorful and healthy meal.
One of the great features of the crock pot is that, even on high, the temperature stays at a steady 200 degrees or so—the ideal temperature for a braise! So, don’t sell your crock pot short. Please don’t sell it all.
You’ve braised your meat. Now what? You go to the cupboard and grab a jar of pre-made gravy. “This’ll be perfect with my pot roast!” you think.
The Fix: Use Your Braising Liquid, Silly
Stop. Put the jar down, and think about what you are doing. You have (or at least your stove or oven has) spent hours getting this braise just right: right cut of meat, right liquid, right pot, right temperature, and you’re going to use a jar of gravy?
Use the liquid left in the braising pot—if you’ve sealed it well, you’ll have at least as much as you started with—to make a gravy.
Cool the meat in the liquid completely, then reheat the liquid to make the sauce. Taste the liquid.
It might not need any additions at all. However, you might want to reduce it a little to concentrate the flavors or thicken it up.
To reduce your sauce, bring it to a gentle boil on the stovetop, and taste it every once in a while. It’s done when you like the flavor. The reduction can thicken your sauce some, as well.
To thicken the sauce, you could add a cornstarch slurry or thicken it with a roux (cold roux for hot liquid; hot roux for cold liquid) or use your immersion blender. If you blend all the vegetable pieces with the liquid, the vegetables will act as a thickening agent without introducing more starches or fats.
Another way to get a leg up on thickening your sauce is to flour the meat before you sear it. Voila: instant roux. You could also put potatoes or other starchy root vegetables in your braise. Again, the natural starches will aid in thickening your sauce.
While we are most used to thinking of meats—beef, lamb, poultry—when we consider braising, there is no reason not to braise other foods.
The Fix: Don’t Forget the Fish and Vegetables
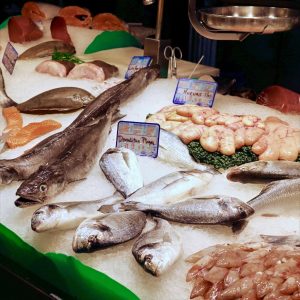
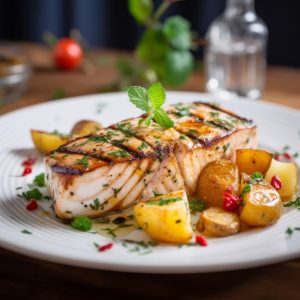
You can also braise fish, but you will want to braise for a much shorter time since you won’t deal with many connective tissues. Look for larger cuts of firm-fleshed fish—swordfish, grouper, or shark steaks come to mind. You will end up with fish soup if you try to braise thin fillets.
Many vegetables are wonderful when braised. Any vegetables you would consider putting in with meat can be braised on their own. Potatoes, carrots, parsnips, turnips—all are good candidates for braising.
You could also consider braising cabbage, celery, leeks, and onions. Then, for a lovely vegetarian stew, braise a combination of these vegetables in vegetable stock with some herbs.
Southerners have long been braising challenging greens: collard greens, mustard greens, chard, and kale. All greatly benefit from a long slow cook in water or stock with some fat back for flavor and perhaps a bit of honey or vinegar.





8 Responses
Great info as usual. I read your site regularly and look forward to new postings.
Thanks for letting me know Elizabeth. Much appreciated.
I‘ve worked in the industry for many years. I appreciate so much the sensibilities in this article. I Just read a braising recipe from a reputable chef that called for a 375 degrees cooking temp (among others with much higher cooking temperatures) I was dumbfounded and second guessed my usual method of “low and slow” …I thought: Has there been a revolution in the braising method, I’m unaware of? Thank you for reaffirming my faith in the old method!
I’ve been following the braised beef in red wine sauce recipe of Marcia Hazan’s. Now i completely understand the braising method and why I should not take short cuts. Thanks for the clear narrative.
There have been so many changes in the meat industry and in ranching. The price you pay for lean cuts of meat are dry tasteless results. Braising is a wonderful solution to that problem but my question is regarding a dish as simple as meatloaf which I used to love but now all ground beef, no matter the fat percentage yields a tough, leathery result. I’ve tried every possible recipe with no good results so I think I have to find a different cooking method. Is it possible to oven braise a meatloaf which you can’t really sear ahead of the braise? Nor do you cook meatloaf immersed in liquid. Would love your thoughts as I am missing that once delicious humble meal.
Hi, Gigi. I suggest using a mixture of ground meats: beef, pork, veal, and turkey. With bread crumbs added, my meatballs and meat loaves are moist and tender.
Just stumbled on your site while trying to find the answer to my question ‘what temperature is braising liquid in a 350 degree oven’. Your post was super helpful as I’d been wondering if I could braise in my crockpot.
I own a vegan food truck and while I’m not interested in braising meats, I am interested in braising as a method for cooking and infusing flavor into seitan – aka ‘wheat meat’ – for some of my menu items. I’ve been experimenting with a new ‘beef’ and sometimes it comes out too dry sometimes too gummy. I found your basting article super helpful.
Thanks so much for your site. I can’t wait to read and learn more.
Hi Gina, glad my post was helpful and thanks for letting me know.