Common Roasting Mistakes and How to Avoid Them
Ever since Man discovered fire, they have been roasting meat. The prehistoric man probably didn’t realize why their roasted meat tasted so much better than its raw counterpart, but we know now. So we must know how to roast meats and vegetables to prepare great meals at home.
Meats that have been properly roasted have a crisp, flavorful, deep brown exterior and a uniformly cooked interior. That crisp exterior is brought to you courtesy of Maillard reactions–enzymatic reactions that cause sugars and proteins to brown.
Caramelization?
Some cookbooks might call this browning caramelization, but caramelization refers to the browning of sugar alone when it is broken down by heat. The Maillard reactions are essential to developing the best flavor in roasted meats.
Like baking, roasting has evolved over the centuries. Roasting is a dry heat cooking method characterized by relatively high heat and an uncovered pan.
Spit roasting, or rotisserie, involves turning the meat over a flame, so all sides brown evenly while fats (typically drip down into the fire) baste the meat, keeping it moist.
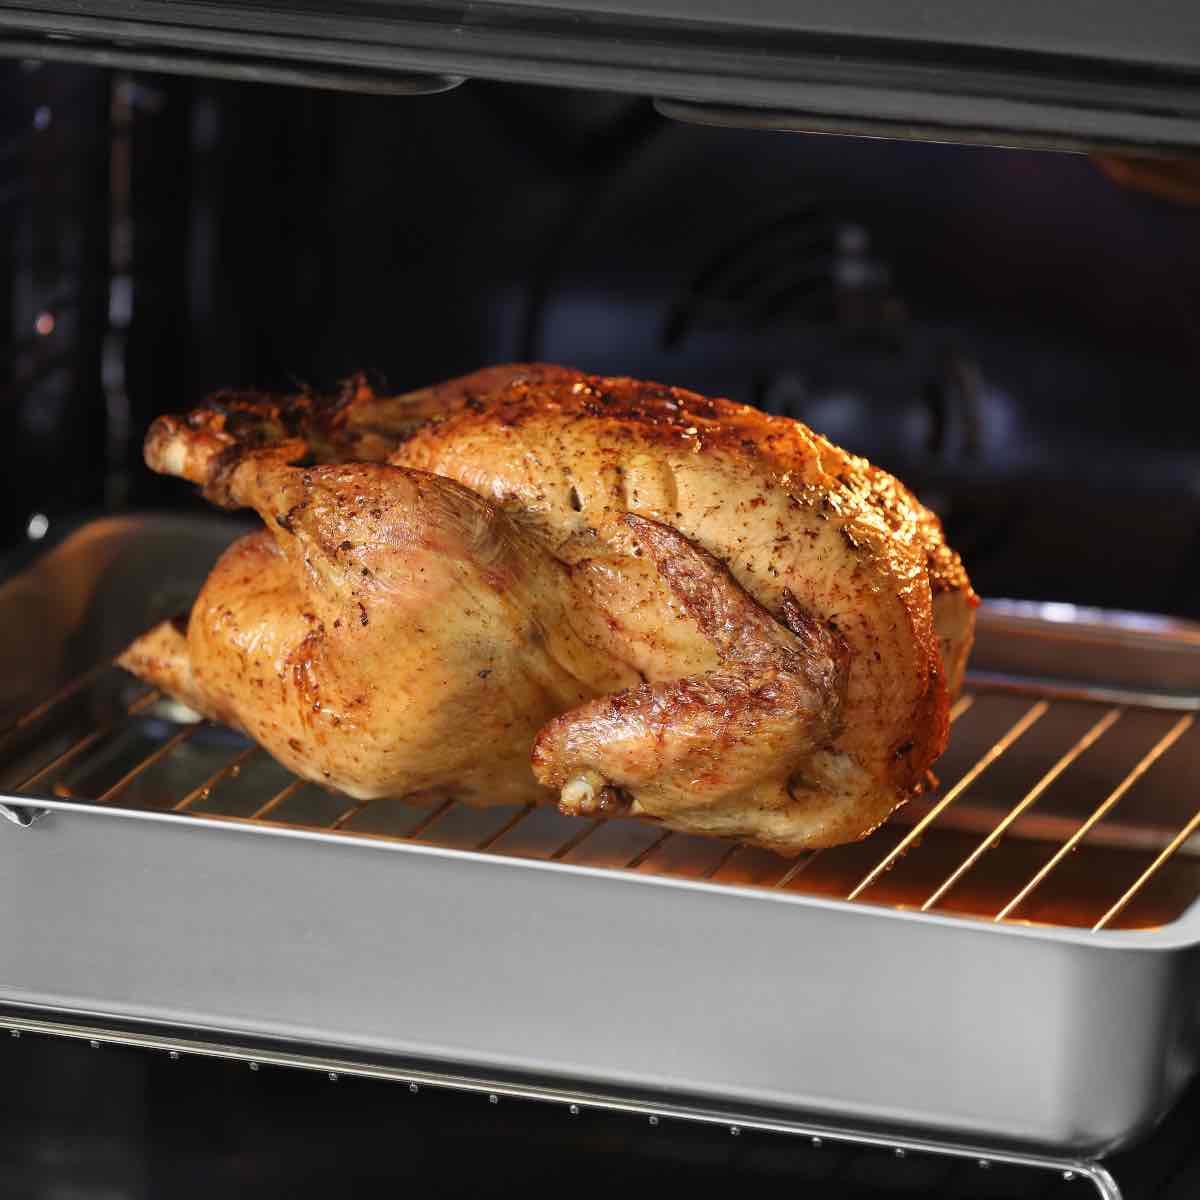
In today’s lexicon, roasting means to cook in an uncovered pan in an oven. To simulate a rotisserie in which the entire surface of the meat is cooked by radiation and convection, oven-roasted meats are often elevated on a rack to keep the bottom of the meat from resting in its own juices and steaming instead of roasting. Moisture is the enemy of a well-developed crust.
Since moisture inhibits browning, but we want the interior of our roasts to be moist, it is understandable why many people have problems roasting correctly. We’re going to look at some of the problems people encounter when roasting and solve them so you, too, can wow your family and friends with your roasting prowess.
First, though, let’s consider some of the variables inherent in roasting that aren’t necessarily mistakes but personal preferences.
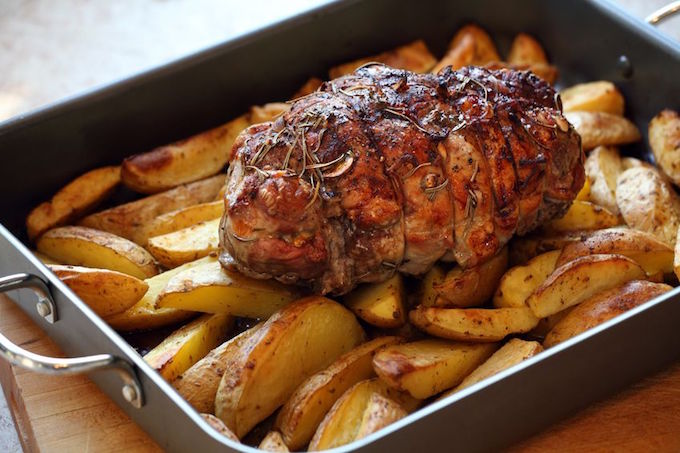
Roasting Preferences – Up To You
To Sear or Not To Sear
To a large extent, searing helps to develop a roast’s flavor. After all, the Maillard reactions produce all those wonderfully complex flavor compounds.
When roasting a large cut of meat, such as a whole chicken, turkey, or prime rib, the meat will develop a nice sear because the meat must stay in the oven long enough to cook through. However, with smaller cuts, such as tenderloin, you might sear the meat on the stovetop before finishing it in the oven.
For a complete discussion of this method, see the chapter on Pan Roasting.
To Marinate or Not To Marinate
Marinating and brining are two methods of introducing moisture and flavor to your meat before roasting. A marinade is a flavorful acidic solution that serves a couple of purposes.
First, it can bring a lot of flavor to your meat.
Second, the acids can begin to denature, or chemically cook, the proteins on the outside of the meat, possibly resulting in a faster cooking time and minimizing the chance of the meat’s drying out.
Then There Is Brining
A brine is a salt-based solution that imparts flavor deep into meat through osmosis. Unlike a marinade, brining brings about purely physical changes in the meat. Specifically, it carries salt and other flavorings into the meat cells.
To marinate or brine meat before roasting is entirely a personal choice. Some of the most beautiful roasts I’ve ever eaten have been seasoned with nothing more than salt and pepper.
If you do marinate or brine to add flavor and as a hedge against drying out, pay particular attention to drying off the meat before putting the meat in the oven. (See Mistake #4)
Bone or No Bone
The benefit of roasting on the bone is that your meat will have more flavor. The downside is that it takes longer to roast bone-in meat. However, if it is a question of time, you can up your meat’s flavor profile by marinating or rubbing the meat with a spice blend.
If you prefer the unadulterated meat flavor and want to season, go ahead and spend the time roasting meat with the bone in. Either way, as long as you follow the rules listed in the rest of this chapter, you will end up with a beautifully roasted piece of meat.
Larding and Barding
Larding refers to lacing your roast with fat strips, running the fat in and out of the meat in a running stitch with a larding needle. This was a prevalent technique in past centuries for adding succulence to leaner cuts of meat.
But that was back in the day before we had ovens that we could hold at a specific temperature for a specified period of time. Today, larding is pretty much a thing of the past.
To bard, meat means to add flavor and fat to meat by laying strips of fat over the meat to be cooked. We still see many examples of barding today: meatloaf baked with strips of bacon on top, a fillet mignon wrapped in bacon; even bacon-wrapped scallops qualify.
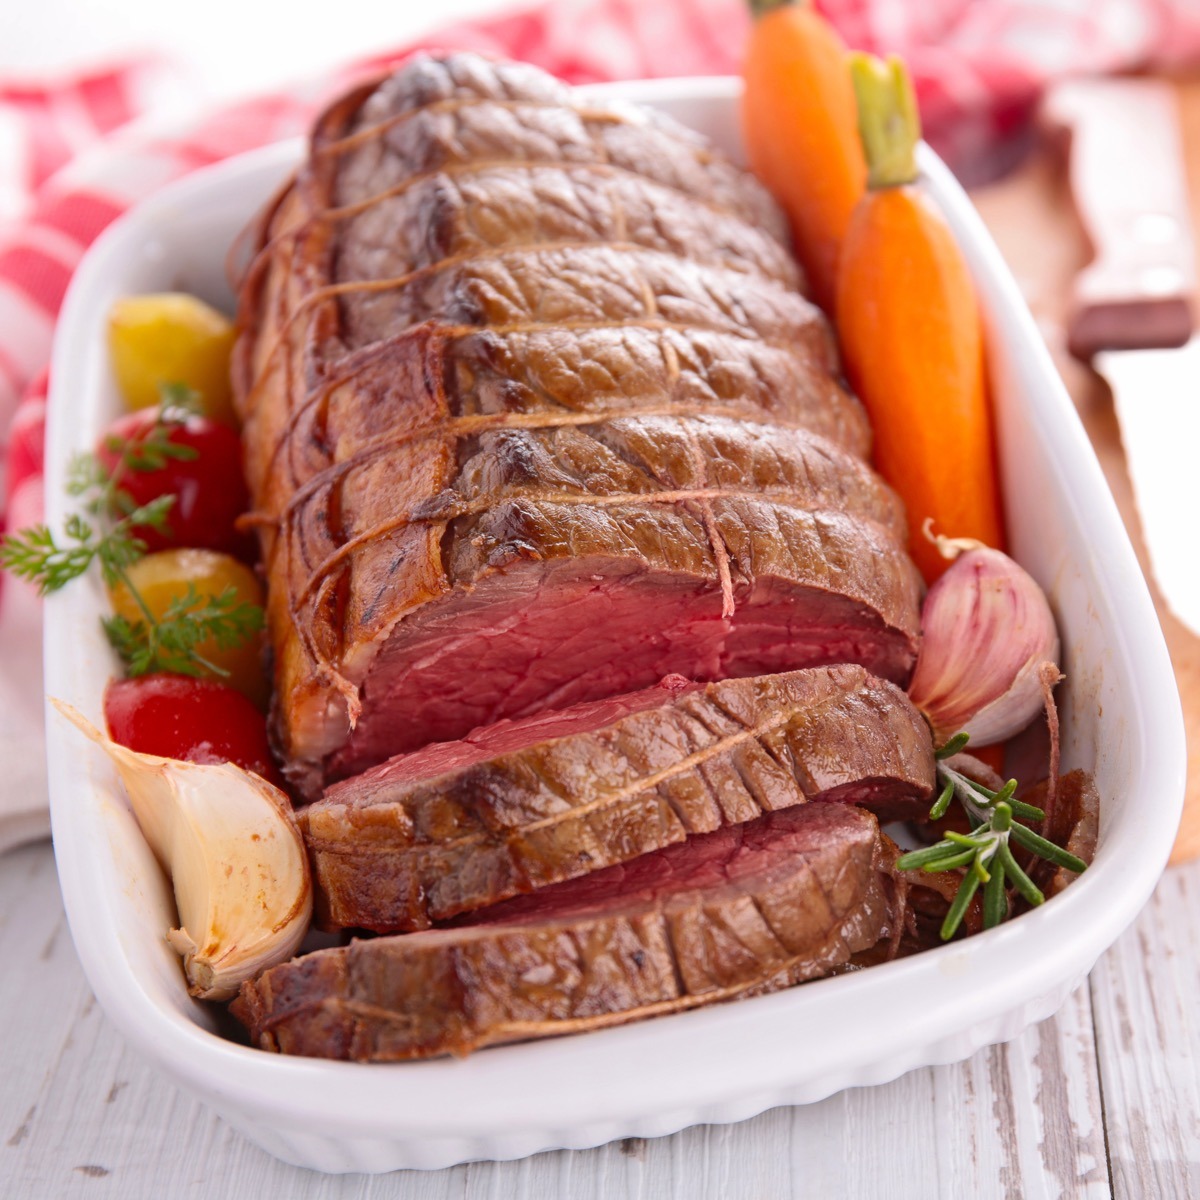
To Tie or Not To Tie
The more even in thickness and uniform in size, your meat is, the more evenly it will roast. That’s why, when roasting a whole tenderloin of beef, pork, or venison, tapered at one end, most recipes tell you to tuck the thin end of the loin underneath.
Recipes that call for you to butterfly a large cut of meat–slice it so it lies flat like a book–and then stuff and rolls it up generally direct you to tie the meat at intervals to keep the stuffing in place.
When deciding whether or not to tie your meat before cooking, consult your recipe. If you’re not using a recipe, consider the shape of the meat. If tying it will help it hold a more uniform shape, you may tie it. But, again, unless the meat is stuffed, tying is a personal preference.
How About Trussing?
Regarding poultry or game birds, some people like to tie or truss, their birds before cooking. This keeps the legs from flopping open and the wing tips from burning.
It also ensures that the meat comes out of the oven ready for the Thanksgiving table in that stereotypical “bird shape.” I tend not to truss my birds. I fold the wing tips up and back to prevent them from burning, but I prefer leaving the legs loose so that the thigh meat cooks more evenly.
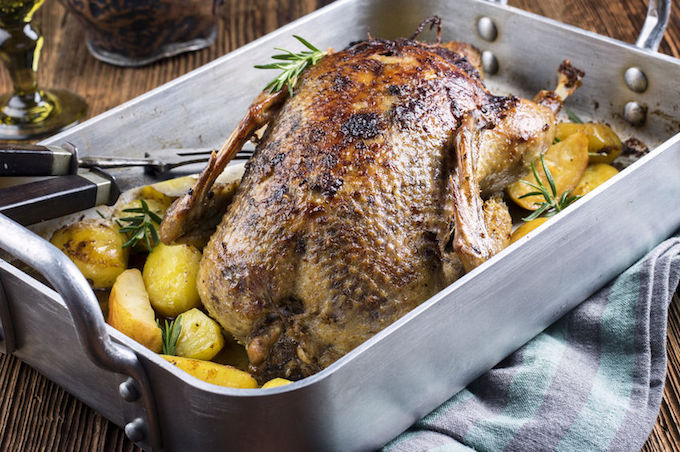
Mistake #1: Oven too hot or too cold
Roasting is primarily accomplished through radiant heat–heat waves directly penetrating the meat. If your oven is set too low, the meat won’t properly brown, and your roast will not be very flavorful. On the other hand, if you set the oven temperature too high, the exterior of the meat can overcook and char before the interior gets cooked, leaving you with a blackened, dried-out mess.
The Fix — Use Your Thermostat
If you have a thick piece of meat, such as a standing rib roast or a turkey, don’t be afraid to adjust the temperature as you roast.
Start roasting at a high temperature–475°F – 500°F is not unheard of–for the first fifteen minutes to ensure deep browning. Then, reduce the heat to 325°F – 350°F to let the meat finish roasting at a less harsh temperature.
The higher the heat, the more aggressively the heat waves penetrate the meat, and that could mean dry meat as the heat pushes the moisture out. However, once you have achieved optimal browning, there is no need to continue roasting at match speed.
There is an alternate method of dual-temperature roasting that I want to address as well. Rather than starting the roast in a high oven and then backing off the heat, you can also start the meat in a low oven and turn up the thermostat.
There is no wrong or right way, but know that there will be more carryover cooking with a start low/finish high method because there will be more of a thermal load that must dissipate once the meat is out of the oven.
Mistake #2: Putting the Meat Directly in the Pan
As stated earlier, roasting is a dry-heat cooking method. Therefore, it is in the roast’s (and our) best interest to keep the meat as dry as possible when in the oven. Placing the meat directly in the pan inhibits browning on that part of your roast.
Even if the meat and pan are dry, fats and juices will collect in your roasting pan. Suddenly, you find your meat in liquid, steaming rather than roasting. Since the temperature of the liquid won’t exceed the boiling point, browning the submerged meat is impossible.
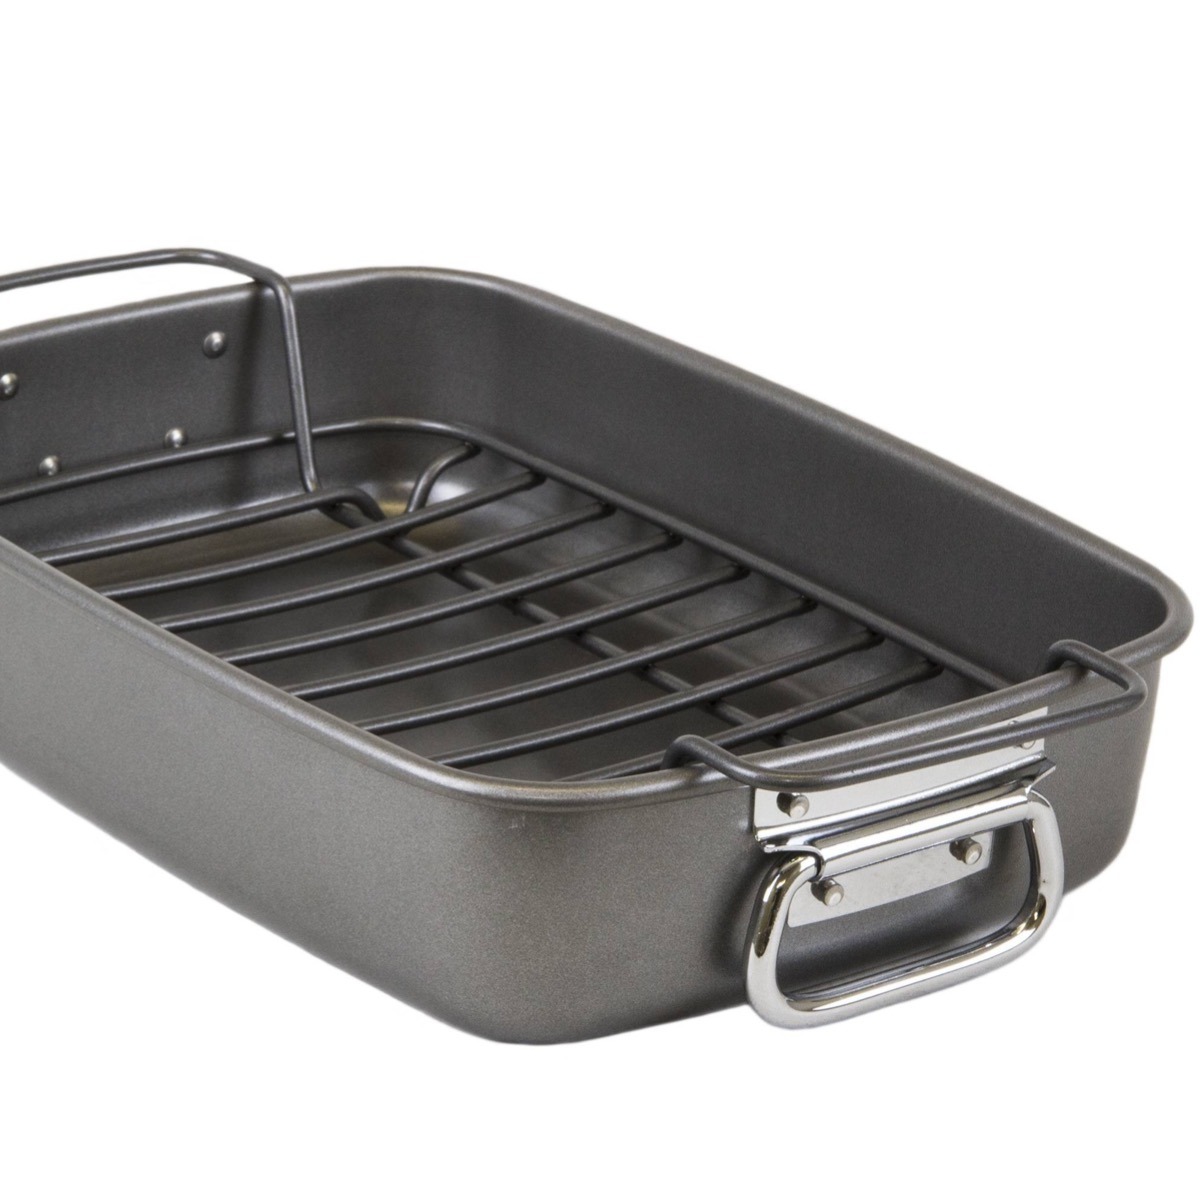
The Fix — Use a Rack
To keep the meat out of the cooking liquids that accumulate in the bottom of the pan, it is essential to elevate the meat. This can be accomplished in a couple of ways.
Many roasting pans come with a metal rack included. Spray with some pan spray and place the meat on the rack.
If your pan does not come with a rack, you have a few options: a flat rack or a V-rack. A flat rack is just that, a flat rack not unlike a cake cooling rack. A V-rack has a flat section at the bottom, and each side comes up at an angle.
The idea behind this type of rack is to help the meat keep its shape. They are trendy for roasting turkeys.
I Like a V Rack
Of course, the option is your own, but I find that meats roasted in V-racks take longer to cook because they are “bunched up.” This means you have to leave your meat in the oven longer and risk some portions being overcooked while waiting for the bunched-up portions to cook.
I like to raise my meat off the bottom with an edible rack. Choose vegetables with flavors that will complement your meat and use them to build a platform for the meat to rest on.
Celery sticks and whole carrots do an excellent job of this but don’t discount fruits such as apples or citrus. Instead, cut them in half, skin on, and place them cut-side down in the pan.
Mistake #3: Taking the Meat from Fridge to Oven
Taking a piece of meat straight from the refrigerator and putting it in a hot oven is a recipe for unevenly cooked meat. If you touch meat at refrigerator temperature–38°F–40F–the meat feels very firm.
It’s literally uptight– its proteins coiled very tightly. When that uptight meat hits a hot oven, it will contract, squeezing out the moisture and leaving you with a dry piece of meat.
The Fix — Counter Time
Letting the meat sit out on the counter for an hour, or even two, might sound unsafe, but it will give the meat a chance to relax and come closer to room temperature–shoot for around 70°F. If you are worried about surface bacteria, know that you will kill them in the oven.
Even so, ensure you bring your meat straight home from the store and put it in the refrigerator. Better yet, take it home in a cooler. The idea is to minimize time spent in “The Danger Zone,” 41°F – 140°F, thus minimizing worry when your meat comes to room temperature.
Touch the meat when it is at 70F. You’ll find it to be much softer feeling and relaxed, and when you put it in the oven, it won’t contract. The result? A juicy roast.
Mistake #4: Wet Meat
As stated in the introduction, moisture is the enemy of a well-developed crust. However, this doesn’t mean you can’t marinate or brine your meat before roasting unless you want a gray piece of meat. It requires an extra step many of us don’t think to do.
The Fix–Dry It Off
Really. To ensure that your meat has the best chance of developing a lovely, tasty crust, dry it off.
After letting the meat rest on the counter and before putting it in the roasting pan, thoroughly pat it dry with paper towels or a washable, lint-free towel. The surface of the meat needs to reach at least 300°F for the Maillard reactions to occur, and moisture on the surface will stay at 212°F until it has evaporated.
Save that step by removing the moisture before roasting. You’ll end up with a nice sear without wasting time necessary for the water to evaporate.
Mistake #5: Wrong Cut of Meat
Not all meat is created equal. Some cuts, usually those with muscles that do the most work, contain a lot of connective tissue that requires low, long, and slow liquid cooking to break that tissue down.
More tender cuts – those more toward the “center” of the animal – have less to no connective tissue that needs to be broken down. Just because you buy a piece of meat that looks like a roast doesn’t mean that you can dry roast it.
Roasting the wrong cut of meat will result in an extremely tough texture with chewy rubber band-like connective tissue running through it that is impossible to chew.
The Fix–Know Your Cuts
Stay away from words like chuck, round, or brisket. These cuts are at the animal’s shoulder, hips, and front leg areas. This means that they do a lot of work when the animal moves and contain a lot of connective tissue.
Stick with cuts toward the animal’s center: a rib, short loin, or loin is perfect for roasting. If you’re not sure once you get to the grocery store or butcher, don’t hesitate to ask for a cut appropriate for roasting. The butcher will be happy to help.
Mistake #6: Rushing to Serve
Roasting involves the transfer of heat energy, and heat excites molecules. This means that it makes them move around very quickly. However, it also means that the energy needs a chance to dissipate so that the molecules calm down and stop careening about crazily.
Right out of the oven, the meat juices are bubbling and have been partially squeezed out of the muscle cells. This means that if you cut the meat immediately, all those juices will spill all over your counter and leave your meat dry., which would be a shame after following all the rules to keep it juicy.
The Fix–Let It Rest
There are a couple of things to remember once your meat comes out of the oven.
First, the juices are “loose” and bubbling around inside the meat.
Second, the temperature of the meat will continue to rise as the last of the oven heat pushes its way inside the meat.
Allowing the meat to rest, covered, for at least fifteen minutes and up to 45 minutes for very large cuts (or Thanksgiving turkeys) allows for carryover cooking, letting the meat coast to its target temperature. It also allows time for the heat to dissipate naturally, allowing the juices to retreat back into the muscle cells.
Here’s the rule: take the meat out of the oven when it is five degrees shy of the target temperature (for smaller cuts) and ten degrees away from done (for larger cuts), and let it rest for a minimum of fifteen minutes. Follow this rule and you will be rewarded with perfectly done, juicy meat.
Mistake #7: Cutting with the Grain
The grain refers to the muscle fibers in the meat. Muscle fibers are generally long and thin and run in bunches parallel to each other.
Even if you’ve followed all the other roasting rules and have a beautifully seared, perfectly done piece of meat, if you slice the meat along the grain, you will end up with chewy meat. By leaving the muscle fibers intact and long, you will feel like you are trying to chew rubber bands.
The Fix–Go Against the Grain
Some cuts show their grain more easily than others. Look carefully at your cut before you put it in the oven, and notice the direction in which the lines of muscle fiber are running.
Once you remove the meat from the oven, make your cuts perpendicular to the grain. This has the effect of cutting the long fibers into short slices. And short muscle fibers equal tenderness.
One note about seasoning your meat:
There are a couple of different schools of thought regarding salting meats before roasting.
Some chefs swear that your meat will taste much better if you salt it up to three days before cooking and at least 24 hours before. Others insist that you should salt right before cooking or even after cooking. But, of course, both ways have their own merits.
Salting well before cooking will initially draw moisture out of the meat, but given time, it also flavors the meat more deeply because the salt has time to penetrate the muscle fibers.
Salting right before cooking eliminates the problem of drawing out moisture and ensures a good sear. If you have time to salt 24 hours ahead, do so.
Dry the Roast or Ingredient
Just be sure to pat the meat dry before cooking. If you don’t have the time, don’t worry about it. Go ahead and salt right before roasting, following all the roasting rules. Either way, you will have a beautiful roast to serve at the dinner table.
Don’t be afraid of roasting. Indeed, the oven does all the work for you. Just remember to:
- purchase the proper cut of meat
- make sure you let it come to room temperature
- pat it dry
- put it on a rack
- start hot and end low
- take the meat out below the target temperature and let it rest and
- cut across the grain to serve
If you follow the golden rules above, you will likely have a deliciously-made roast to serve to family and friends.
How NOT to Cook Topics |
||
| Introduction | Braise | Roast |
| Start a Recipe | Cook Pasta | Saute |
| Season Foods | Grill | Simmer |
| Bake | Pan Roast | Simmer |
| Boil | Poach | Steam |



4 Responses
Am I missing something you didn’t mention any common mistakes, mistake #4? Where is it?
Hey Joe, this is part 1 and just covers preferences. The mistakes are coming in part 2 & 3.
Sorry but most, if not all of us are reading for advice! Not to find out “WHAT CAME FIRST THE CHICKEN OR THE EGG”
WHEN YOU WRITE 2,3,4…. Please send it to me, I am in great need of wisdom
Thanks
Hi Greg, you must not have read the post because there are links to Part 2 & 3 at the end of the post. And why so snippy?