How NOT to Start a Recipe
A recipe is more than just a list of ingredients; it’s a guide that transforms cooking from a simple task into a delightful experience. At its core, a recipe provides detailed instructions on combining ingredients, outlining specific techniques and cooking times to create a delicious dish.
Whether following a family tradition or experimenting with new flavors, a well-crafted recipe serves as a roadmap, ensuring consistency and helping cooks of all skill levels achieve great results. Starting a recipe requires a few essential steps to ensure clarity and ease of execution.
First, gather all your ingredients and equipment before you begin. This mise en place (French for “everything in its place”) approach streamlines the cooking process. It minimizes confusion. Next, take a moment to read through the entire recipe to familiarize yourself with the steps and techniques involved.
This preparation allows you to anticipate any challenges and adapt as needed. Finally, remember the importance of organization: clearly list ingredients, provide precise measurements, and outline step-by-step instructions. By following these guidelines, you can create a recipe that is easy to follow and enjoyable for anyone eager to step into the kitchen and start cooking.
What Is the Definition of a Recipe
Before I discuss how to start a recipe, I want to define it. Miriam Webster states a recipe is “a set of instructions for making something from various ingredients.“
The second definition is “a formula or procedure for doing or attaining something.“
When it comes to recipes for food, both definitions apply. Not only is the recipe the blueprint for a particular dish, but well-written recipes also teach the procedure for making something.
Many recipes here on The Reluctant Gourmet may seem long and drawn out, but I find it much easier to follow one if I know why I’m doing something rather than just being told to do it. I try my best to take into account that you know the techniques necessary to complete the recipe.
What Is the History of Recipes?
The earliest known recipes were found on a tablet in Babylon and date back to around 1600 BC. From that time forward, there have been books about cooking in many cultures throughout the world. Many of these books focused on elaborate meals that European nobles of rival houses would have their personal chefs make, each house trying to outdo the other.
In American history, for the most part, recipes lived in cooks’ heads. If anything was written down—a cup of milk, say—it meant a particular cup in a particular cook’s kitchen. Procedures were passed down from mother to daughter and from cook to cook.
Even the books of the day gave somewhat limited directions on doing something, and measurements were not universal. For example, consider Martha Washington’s recipe for her “Great Cake,” copied here from George Washington’s Mount Vernon Estates and Garden website:
“Take 40 eggs and divide the whites from the yolks and beat them to a froth. Then work 4 pounds of butter to a cream and put the whites of eggs to it a Spoon full at a time till it is well work’d. Then put 4 pounds of sugar finely powdered to it in the same manner then put in the Yolks of eggs and 5 pounds of flour and 5 pounds of fruit. 2 hours will bake it. Add to it half an ounce of mace and nutmeg half a pint of wine and some fresh brandy.”
It was not until Fannie Farmer wrote her The Boston Cooking-School Cookbook in 1896 that measurements began to be standardized.
The modern recipe written for professional chefs is often no more elaborate than a list of measured ingredients. These recipes rely on the chefs’ knowledge of culinary techniques and do not list procedures.
How to Read a Recipe Properly
Recipes written for the home cook should have the following information:
- An introduction to the recipe, including the origin of the recipe
- Approximate time it will take to complete the recipe
- A listing of the ingredients in order of use
- Any equipment necessary to complete the recipe
- A detailed procedural section explaining the steps involved in preparing the recipe
- The temperature at which the recipe should be prepared
- For items prepared in an oven, oven temperature and time
- Number of servings
No matter how well-written a recipe is, it will not help if you don’t read it.
Common Mistakes When It Comes To Recipes
Mistake #1 Not Reading the Recipe
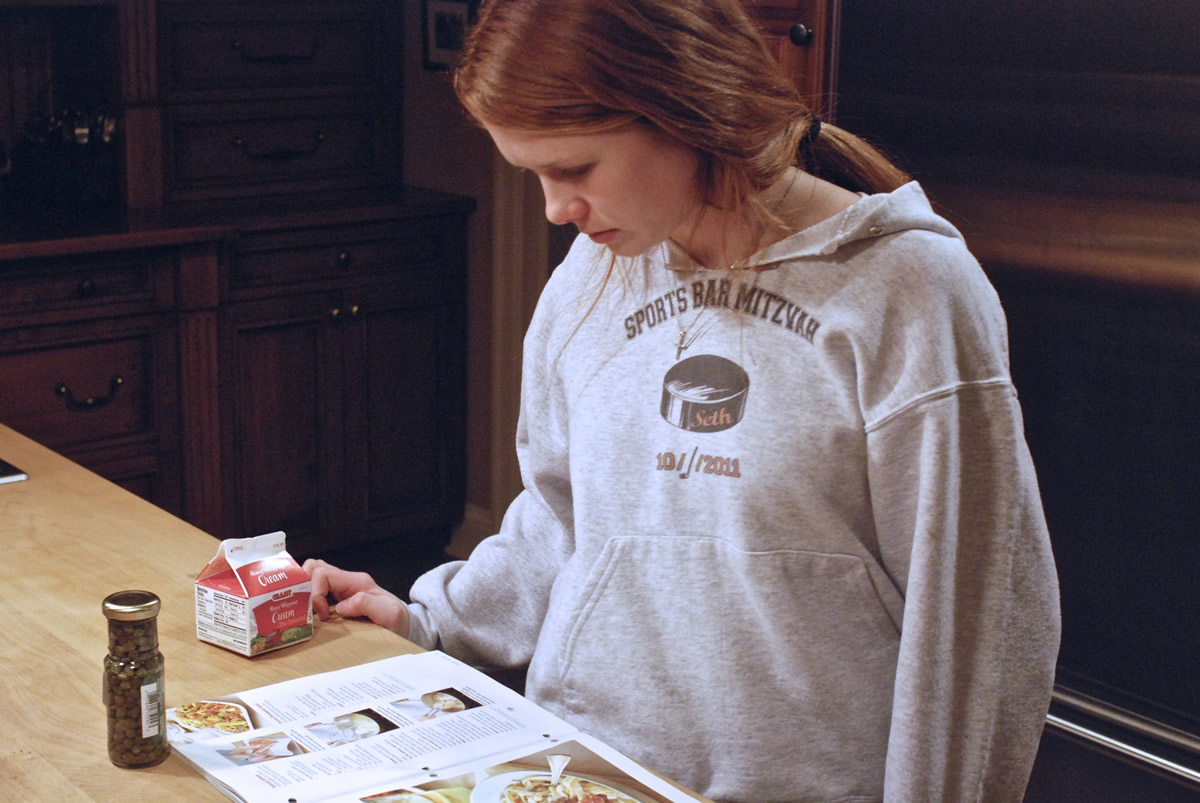
So many home cooks, including me, pick up an interesting-looking recipe, scan it quickly, check out the ingredients needed, and then glance at how to make it. They don’t take the time to understand what they need to do and how long it will take. This is a big mistake!
Many times I have found myself in the situation where I’m halfway through a recipe and then realize I need half a cup of chopped this or I was supposed to have blanched that before the next step. I have to stop everything I’m doing to complete the step I missed, often throwing off the entire timing of the dish.
The Fix—Read, and Read Again
Read a recipe several times before you even think of lighting that stove. Ensure you understand precisely what the author wants you to do before you start. Here are some things to ask yourself:
Do I have all the ingredients?
How much time will it take me to prepare this recipe?
This includes:
- All the prep time
- All active cooking time
- Any time required for marinating, whether fifteen minutes or overnight
- Any time required to plate, make a sauce, rest, etc.
- What do I need to do to prep the ingredients?
- What cooking equipment do I need?
- Do I understand all the cooking terms?
- Is the recipe written in the correct order of events?
- Are there any blatant mistakes?
- And most importantly, does the recipe make sense to me?
Once you have read the recipe and have asked yourself these questions, Read It Again!
Read the recipe carefully for mistakes. It happens. Many people writing cookbooks and cooking articles in food magazines are professional cooks, not writers. Unless they have excellent editors with solid culinary backgrounds, mistakes are bound to be missed. We all find them.
- Ingredients not listed in the recipe up front appear in the procedure
- Ingredients that are listed can’t be found in the procedure
- Ingredients aren’t listed in order of use
- Preparation instructions aren’t given early enough
- Typographical errors
- Cooking times are off
- The cooking sequence is out of order
Just because it’s written in a recipe doesn’t mean it’s correct. Trust yourself, and don’t just assume that the recipe is correct. If you are new to cooking and something doesn’t seem right, consult someone with more kitchen experience.
Once you have established an error in the recipe, you need to decide if you can infer the correct information or if the recipe is so off that you need to find another one. This, too, will depend on the amount of experience you have and your confidence in your abilities.
Mistake #2 Not Giving Yourself Enough Time
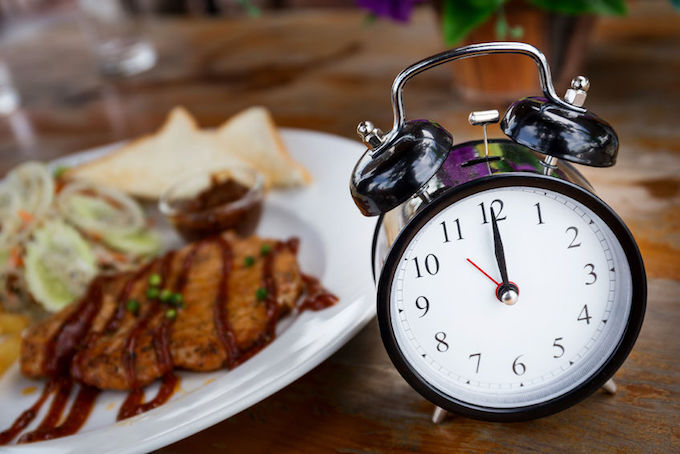 I cannot stress this enough: just because recipes say they can be made from start to finish in thirty or forty-five minutes does not mean that a person unfamiliar with the recipe or the techniques can recreate the recipe in that amount of time.
We have often sat down to what was supposed to be a 7:00 pm dinner at 8:30 pm because yours truly did not realistically estimate how long it would take to prepare the meal.
As much as I would like to say I am, I am not a professional chef. Nor am I, or most of us, a television personality with a staff of behind-the-scenes people to help me out.
The Fix – Know Thyself
When reviewing your recipe to estimate your total work time, be realistic about your strengths and weaknesses in the kitchen. While some time estimates can be taken at face value (e.g., refrigerate for 2 hours, let rest for 45 minutes), others depend, in part, on your skill level.
If a recipe says that total prep time takes fifteen minutes and involves mincing garlic, chopping onions and tomatoes, dicing carrots and celery, and measuring spices and herbs, consider how developed your knife skills are.
If your knife skills are sharp, pardon the pun; it may only take fifteen minutes. However, if you have not achieved samurai status yet, it might take you half an hour to do the prep.
If you have an entire menu planned for the week and know that you’ll need chopped onions and tomatoes for tonight’s and tomorrow’s meal, prep enough for both recipes.
That way, you’ll already have some prep done when you walk into the kitchen to prepare the next evening’s meal. You’ll feel almost like you have a prep cook.
And you do: you were your prep cook the day before! Now you’re the chef, so get cookin’.
The Infamous “Meanwhile”
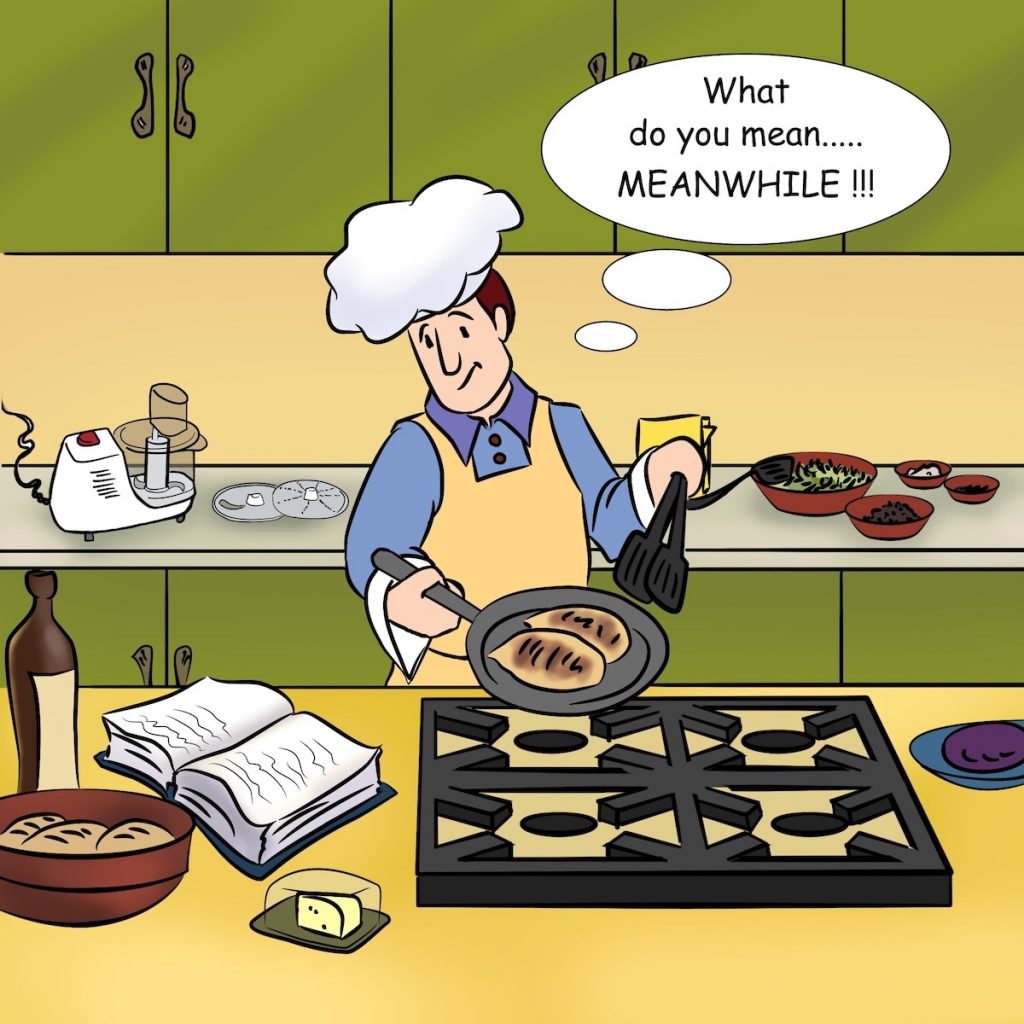
How often have I gotten halfway through a recipe and encountered the dreaded “meanwhile”? It often refers to a task that makes you hit yourself on the forehead and say, “NOW you tell me!”
- Meanwhile, preheat your oven to 350 degrees F
- Meanwhile, grill the vegetables
- Meanwhile, cook the pasta until al dente in a pot of boiling water
- Meanwhile, sauté 2 cups of onions
- Meanwhile, de-bone the entire chicken
Cookbook writers either assume we read their recipes carefully before we start or we are mind readers. For example, did they forget it takes time to get the grill hot or the water boiling?
The infamous Meanwhile also has some cousins you need to be aware of. They include The day before, The next day, and Refrigerate overnight. So, as you read the recipe thoroughly, make sure you recognize Meanwhile and his cousins and plan your time accordingly.
Understand the Terminology
Make sure you understand all the terminology before starting to cook. It does you no good getting three-quarters through a recipe to find out you don’t know what it means to julienne a carrot or flambé bananas.
It’s no fun to run to your computer to learn how to “scald” a cup of milk or “clarify” a stock.
These terms might make you “sweat” and want to “knock back” an adult beverage which means to cook food slowly in a covered pan with a small amount of fat so the juices run into the pan and press out the air bubbles in the dough that has risen before shaping and proofing. See how confusing it can be?
Read the recipe for all the cooking verbs: chop, julienne, sauté, braise, and yes, sweat and knock back. Then, if you are unsure of how to accomplish these tasks, find out before you begin to cook. Either look them up in the indices or glossaries of your cookbooks or find out by searching on the Internet.
Stand Mixer (see my post on stand mixers)
An essential piece of equipment for people interested in baking cakes and cookies. Look for a heavy mixer – you don’t want it scooting all over the counter when it’s running – with at least a paddle-type and a whisk-type attachment.
You’ll also want a dough hook if you’re into baking bread. Look for a mixer with a 5 to 7-quart capacity and one with all metal gearing. Mixers made with nylon gears run more quietly, but they won’t withstand years of heavy use like a mixer with metal gears.
General Gadgetry
Live by the rule: if it feels cheap and looks cheap, it is cheap.
Ensure that all your gadgets and tools – whisks, spatulas, spoons, potato mashers, peelers, garlic presses, measuring cups, etc. – are sturdy and well-made. Never buy plastic tools. They melt.
When given a choice, purchase good stainless steel tools. One notable exception is in the case of tools to be used in non-stick pans. To keep from destroying the non-stick surface, look for tools made of or covered with high heat-resistant silicone.
Other tools to have on hand
- Lots of towels
- Digital timers
- Instant read thermometer
- Probe thermometer
- Bowls of various sizes
- Rolling Pin
- Trivet or hot pads
- Butcher’s twine
- Straight-sided cake pans
- Cooling racks
The trick is to buy quality tools and take care of them. If you do that, your kitchen tools will serve you well for a lifetime.
How often have I gotten halfway through a recipe and encountered the dreaded “meanwhile”? It often refers to a task that makes you hit yourself on the forehead and say, “NOW you tell me!”
- Meanwhile, preheat your oven to 350 degrees F
- Meanwhile, grill the vegetables
- Meanwhile, cook the pasta until al dente in a pot of boiling water
- Meanwhile, sauté 2 cups of onions
- Meanwhile, de-bone the entire chicken
Cookbook writers either assume we read their recipes carefully before we start or we are mind readers. For example, did they forget it takes time to get the grill hot or the water boiling?
The infamous Meanwhile also has some cousins you need to be aware of. They include The day before, The next day, and Refrigerate overnight. So, as you read the recipe thoroughly, make sure you recognize Meanwhile and his cousins and plan your time accordingly.
Understand the Terminology
Make sure you understand all the terminology before starting to cook. It does you no good getting three-quarters through a recipe to find out you don’t know what it means to julienne a carrot or flambé bananas.
It’s no fun to run to your computer to learn how to “scald” a cup of milk or “clarify” a stock.
These terms might make you “sweat” and want to “knock back” an adult beverage which means to cook food slowly in a covered pan with a small amount of fat so the juices run into the pan and press out the air bubbles in the dough that has risen before shaping and proofing. See how confusing it can be?
Read the recipe for all the cooking verbs: chop, julienne, sauté, braise, and yes, sweat and knock back. Then, if you are unsure of how to accomplish these tasks, find out before you begin to cook. Either look them up in the indices or glossaries of your cookbooks or find out by searching on the Internet.
Mistake #3 – Not Having All the Ingredients
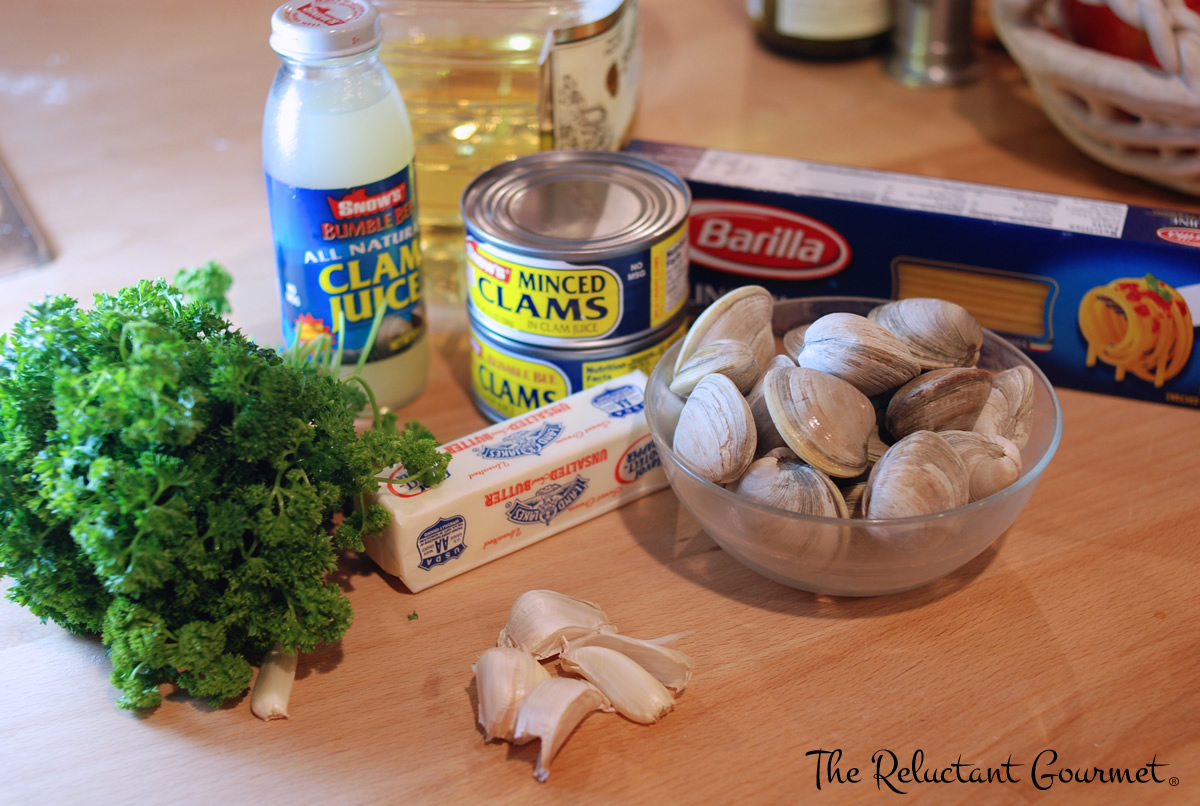
If you have thoroughly read the recipe, you should have all of your ingredients on hand. This is not a perfect world, though; even the most detail-oriented of us sometimes forget something.
If, when making a recipe, you discover that you have forgotten an ingredient, you have to decide if you can live without it (oh, no—I forgot to get one tomatillo for the white chili) or if it is so crucial to the recipe that you have to stop and run out to the store in the middle of what you were doing (oh, no—I’m out of flour and I’m baking bread).
The Fix—Line Them Up
It all comes back to thoroughly reading the recipe and putting your hands on every ingredient. We’ve all done this before. We read over the ingredient list, mentally checking our cupboards.
Italian Seasoning—check. Bay leaves—I’m pretty sure I have some of those in the back of the cabinet. Kosher salt—check. Red wine vinegar—check. Tomato paste—there’s a can on the top shelf behind the beets. I think.
This is a mistake. Make sure you pull every ingredient and make sure that you have what you need. For example, you think you have tomato paste? Find it and put it on the counter.
Gather all the ingredients that you will need and put them on the counter. Next, make a list of everything else you need, shop your list, and put all the ingredients together on the counter (or in one place in the refrigerator, depending upon the ingredient).
I counted the number of ingredients listed in the recipe and then counted my ingredients to ensure the numbers matched up. The last thing you want to do when cooking, especially when dealing with time and heat issues or an involved recipe, is run to the store.
Do yourself a favor and do a head count of your ingredients before you begin the recipe.
Mistake #4 – Not Prepping Your Ingredients
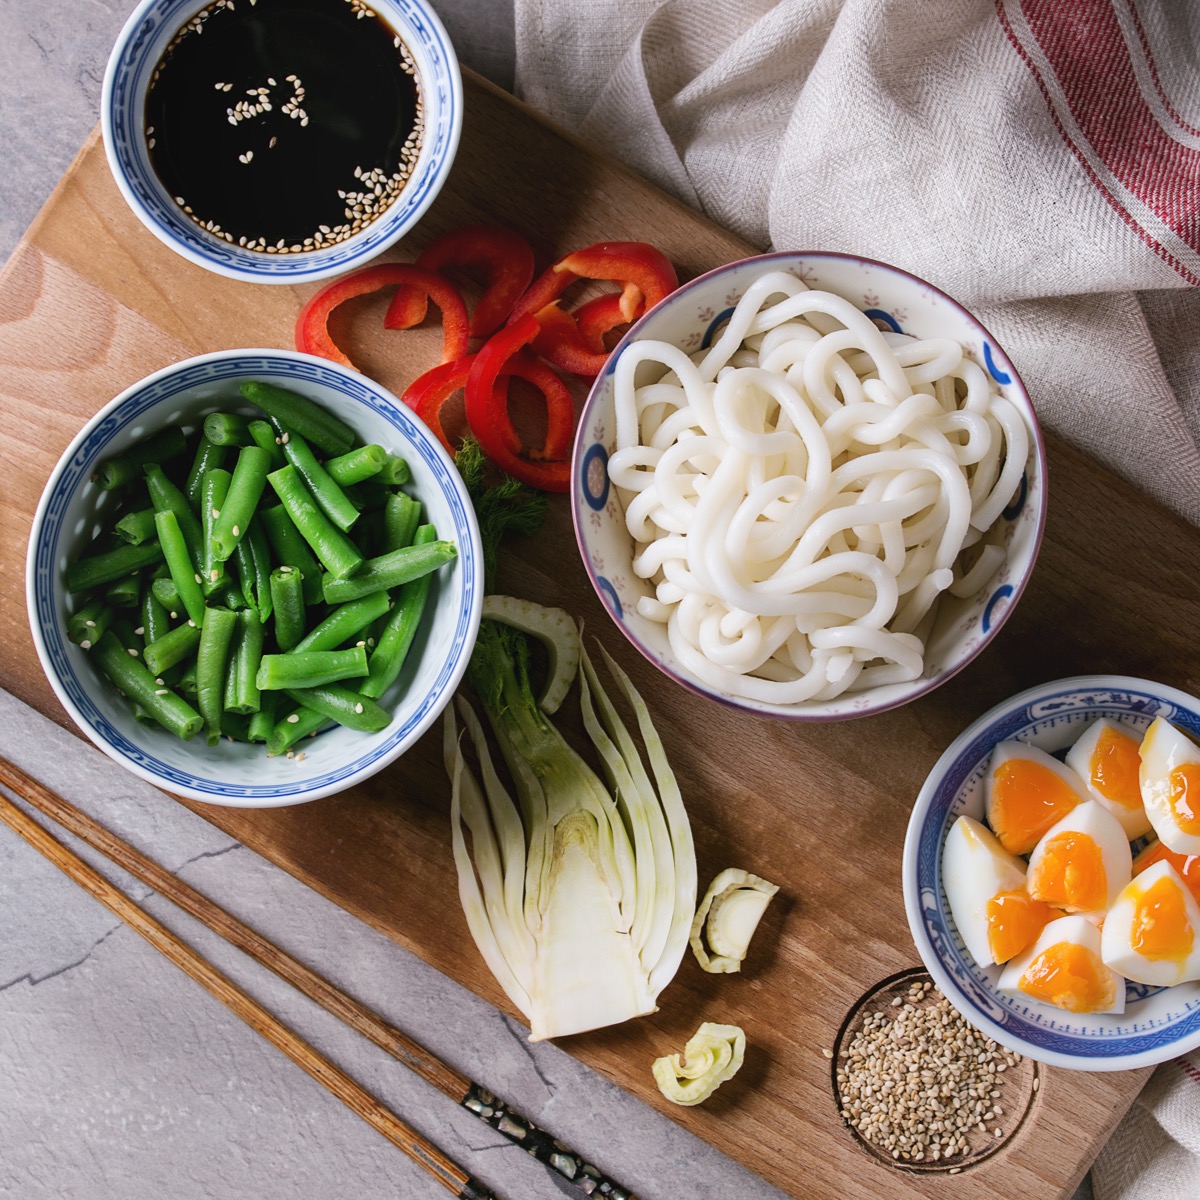
Almost as important as making sure you have all your ingredients is making sure that your ingredients are cooking-ready. How many times have you started a recipe only to realize you need chopped onion, diced carrot, or minced clove of garlic and had to stop what you were doing to prep it?
Good chance something gets overcooked. Or left out. There’s also a good chance that you could hurt yourself while rushing around.
The Fix—Mise en Place
Mise en place (pronounced meez ahn plahs) means “put in place.” In culinary terms, this means that you do everything possible that you can do to your ingredients, equipment, and cooking space to get them recipe-ready before you start cooking.
Professional chefs prep their ingredients before starting because they don’t want to stop their workflow. They also assemble all of their equipment, have their ovens preheated to the correct temperatures, and understand the flow of the recipe well enough that they do not need to keep referring to it while trying to cook.
While mise en place is a way of life for a professional chef, it is often an alien concept to the home cook. Yet, this is often the way we do it:
- First, read a line of the recipe.
- Do what it says.
- Read another line of the recipe.
- Do what it says.
This is a very “choppy” way of cooking. To improve your flow, start reading the recipe thoroughly, as I described earlier. Then, get every ingredient into the size, shape and measurement it needs to be in.
- 4 oz. carrots in ¼ inch discs? Weigh them, cut them, and put them in a bowl.
- 1 medium onion, coarsely chopped? Chop it, and put it in a bowl.
- Need ½ cup of toasted nuts? Measure them, toast them, and put them in a bowl.
- 1 teaspoon kosher salt, ½ teaspoon freshly ground black pepper, and 1 ½ teaspoon dried thyme all go in simultaneously. Measure all three into one small cup or bowl.
Likewise, list all the necessary equipment as you read your recipe and stage it all so it is ready to go. For example, if you’ll be whisking, get out the whisk. If you need the stand mixer with the paddle attachment, set it up. You get the idea.
The goal of mise en place is that when you are ready to cook, you won’t have to stop to do anything else except cook. But, of course, we’ve all seen those cooking shows with all the ingredients in small glass bowls, ready to be added one at a time.
You don’t need to buy special bowls – use teacups, juice glasses, or even little paper cups – but you do need to take a cue from these TV chefs and prep the ingredients ahead of time.
If you’ve done your mise en place correctly and thoroughly, you will hardly have to refer to your recipe because the cooking process will flow naturally. It won’t be all “choppy” with having to stop in between and prep ingredients or dig out a bowl from under the cabinet.
Here are some advantages of making mise en place a way of life in your kitchen.
- It lowers your stress level when preparing a recipe
- It simplifies complicated recipes and makes them more fun to prepare since you do not have to juggle too many techniques at once
- It guards against overcooking since you only have to concentrate on the techniques, not the preparation
- It saves time.
Mistake #5 The Unintentional Five-Course Meal
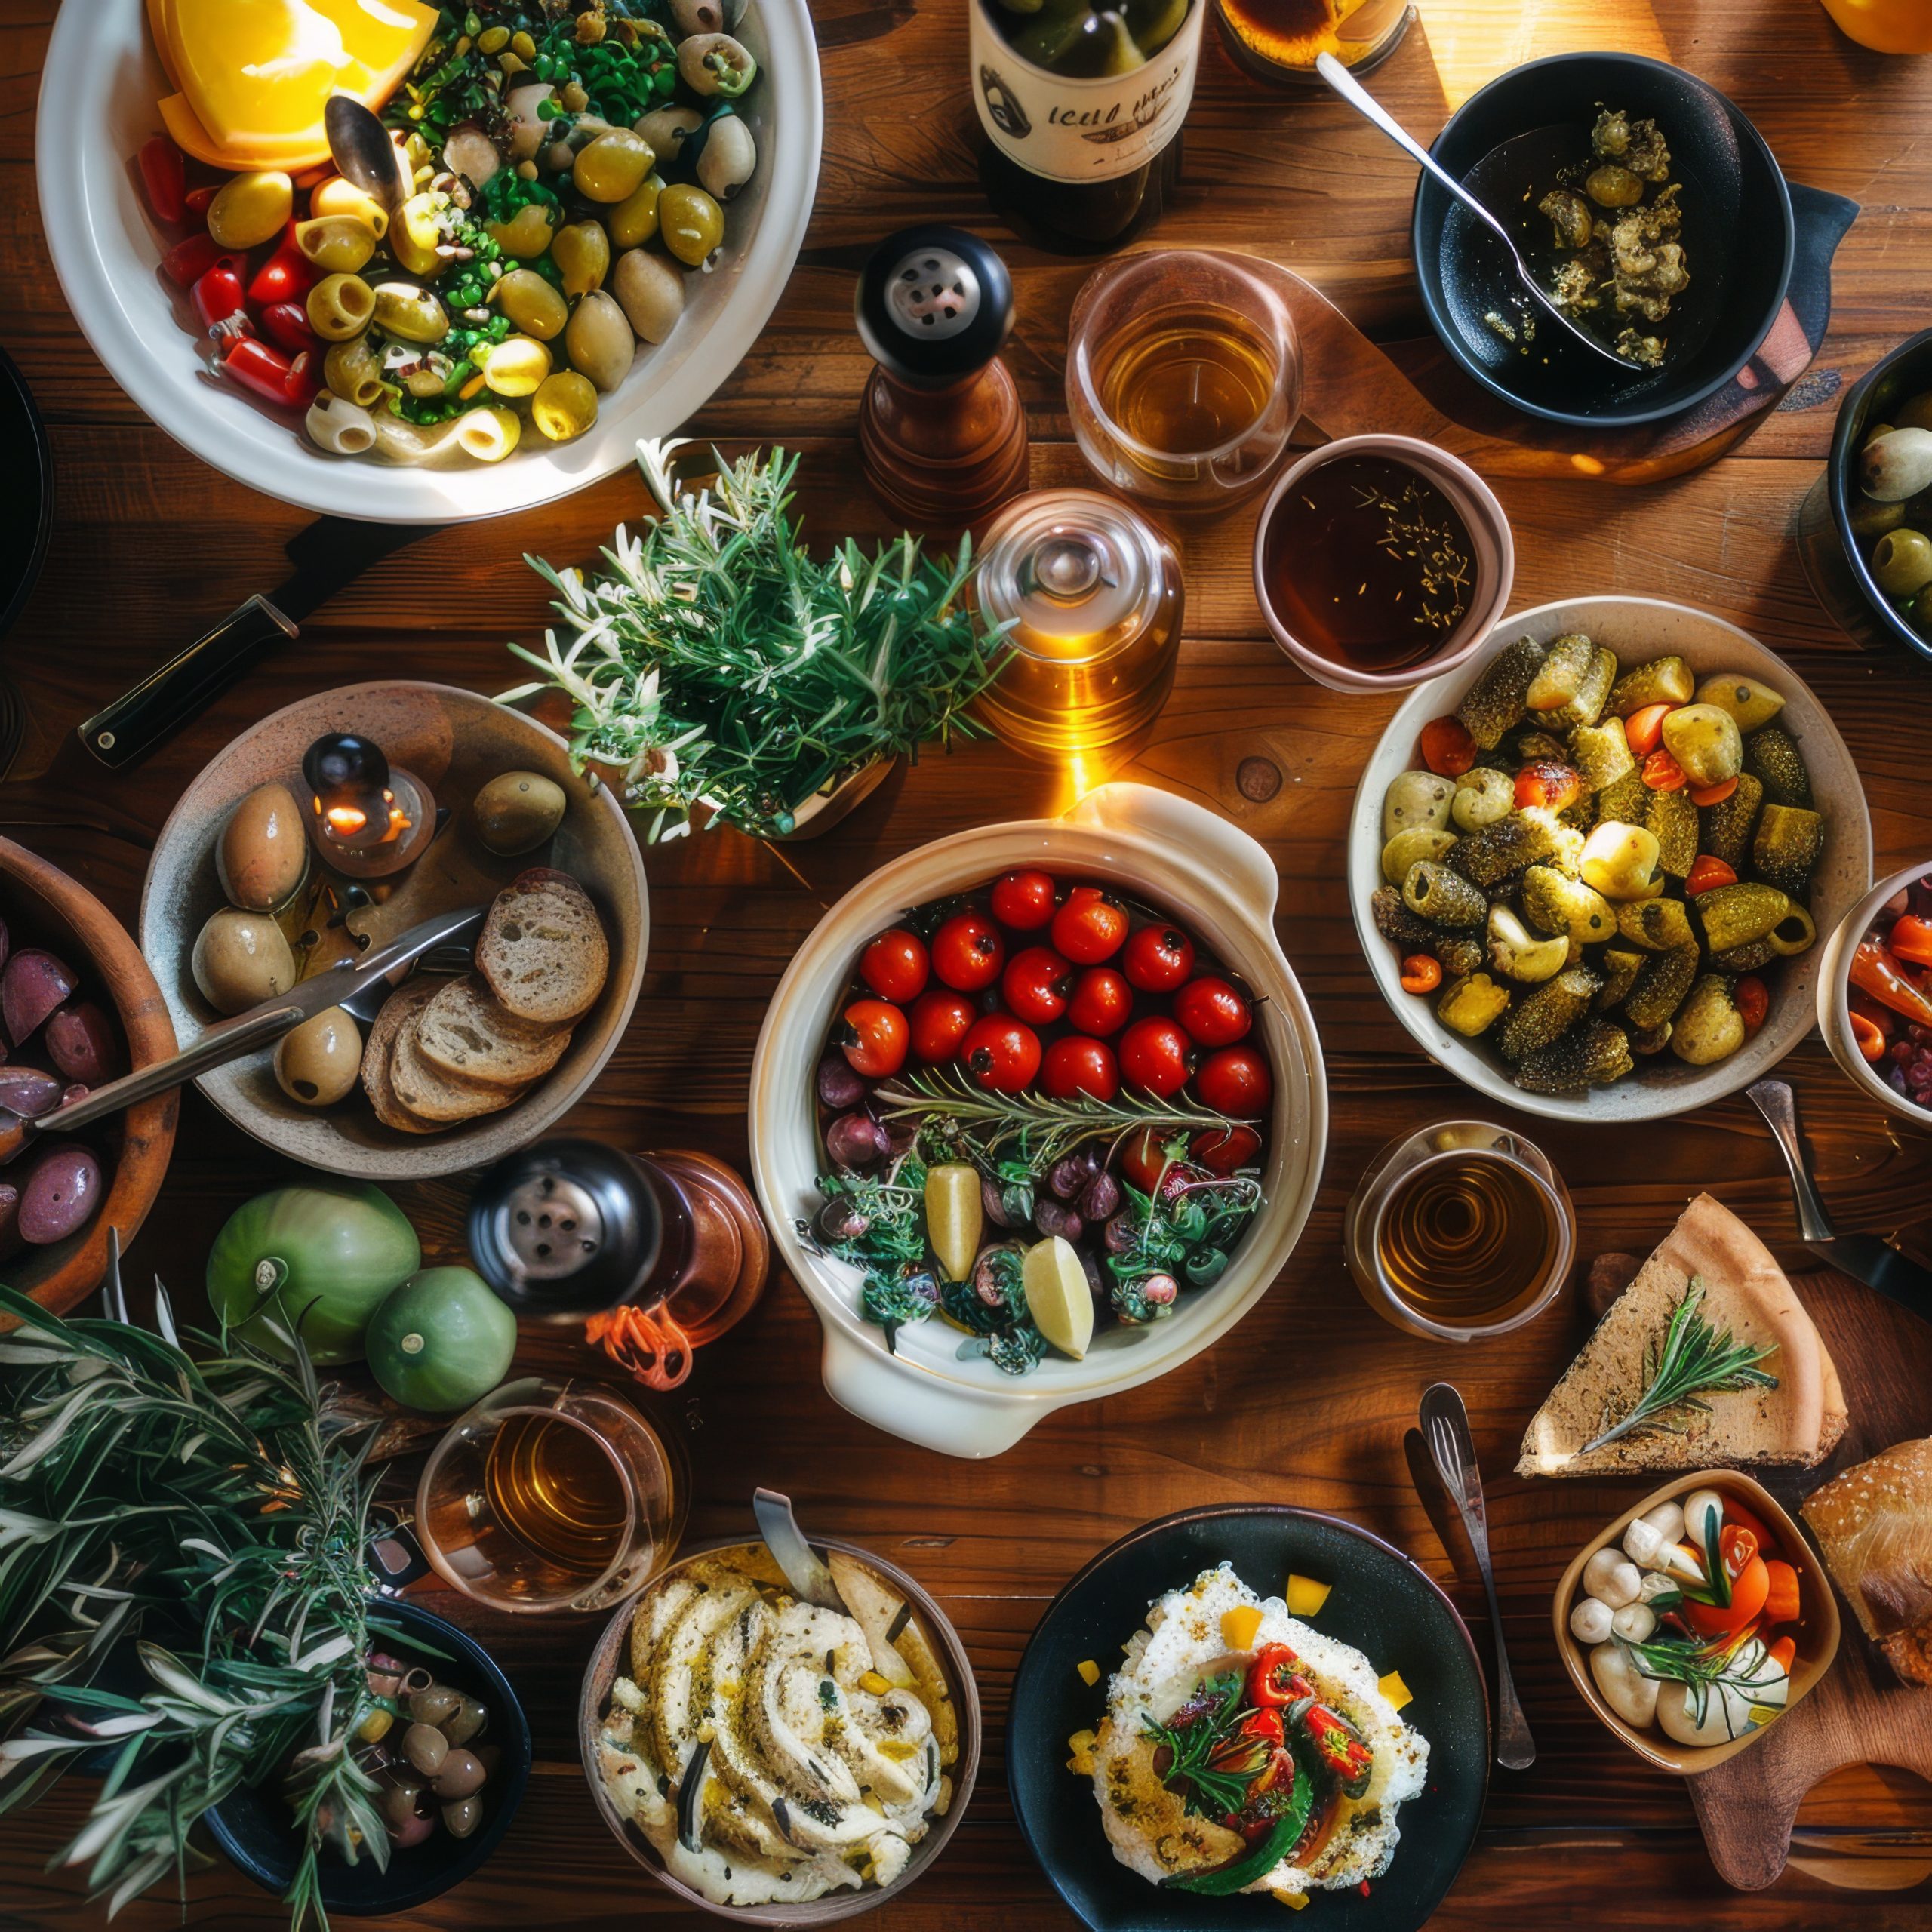
My mother tells this beautiful story that all of us can relate to. It was her first dinner party as a newlywed, and she wanted everything to be perfect.
She planned the menu to include all sorts of tasty and elegant goodies. She bought all the ingredients. She knew exactly what to do, so she started preparing all the dishes, and they all went on the stove/in the oven simultaneously.
And then, it dawned on her. You know what’s coming because most of us have been there. So if she started everything cooking at the same time, some of the dishes were going to be finished well before – even an hour before – some of the other dishes.
So, she just took a deep breath and decided that, rather than trying to hold the quick cooking dishes, she’d go ahead and serve everything as it was ready. That meant everyone got a serving of carrots. Just carrots. Followed by a couple of other “courses” and ending with the meat. Roast beef for dessert; hooray!
The Fix: Plan, Plan, and Plan Some More
While it might seem intimidating enough to make one dish, let alone an entire meal, we all face it, sooner or later. Gather all the recipes for the dishes you’ve decided to make, and read over the instructions carefully. Look for timing with an eye toward logistics. Ask yourself, and be able to answer, these questions:
- How much time does it take to prep each dish?
- What are the actual cooking times?
- Do any of the dishes need to be attended to while being cooked? (think sautéing versus baking or roasting)
- Are there any dishes that need to sit unattended for a while? (like bread dough as it rises)
- Can any of the dishes be made ahead and held before cooking?
- Do any of the dishes require immediate cooking after prep? (delicate items like souffles come to mind)
- Do any of your dishes need to be served as soon as they are out of the oven/off the stove? Do some of the dishes require rest on the counter before serving?
- Are any of the dishes best when made a day or two ahead? (chilis, any stew or braise, generally)
- What dishes need to be served chilled? Hot? At room temperature?
Answer these questions, and you’ll be able to devise a strategy to make sure that all your dishes are ready within ten to fifteen minutes of each other.
For example, if you’re serving a large roast, it will need to rest for about half an hour after it comes out of the oven. After that, you can probably cook and mash potatoes and heat the rolls while the meat is resting.
Keeping in mind all the other points about starting a recipe, especially the dreaded “meanwhile,” devise a timeline to help you with your prep. Thanksgiving is a meal famous for having to keep multiple plates spinning, as it were, and there are lots of Thanksgiving dinner timelines available online that can serve as a template for other meals.
When planning a large family meal or dinner party, make your timeline several days ahead and take the time to read over it and become familiar with it before you launch into cooking. It’s a good idea to make a dish or two that can be made ahead, a dish or two that need a rest after cooking, and a dish or two that are best served immediately.
Unless you have a staff and about fourteen ovens, you don’t want to serve too many dishes that need to be whisked straight from the oven to the table. In other words, a dinner party made up strictly of soufflés is probably not a good idea, even for a seasoned chef!
Just 1 or 2 Stellar Dishes
Give yourself a break and wow everyone with one or two stellar dishes while serving dependable and tasty dishes as supporting players. If you’re going to go all-out and make a beef Wellington, for example, nobody will talk mean about you on the way home if you serve simple steamed vegetables as a side dish.
Once you can break down your meal into its component parts and have answered all the pertinent questions, you can set a realistic timeline for prep and cooking and make sure that all of your dishes are ready to serve when you ring the dinner bell.
People will be amazed and impressed; all it takes is a little prior planning. And maybe a spreadsheet!
Mistake #6 – Not Having the Right Equipment
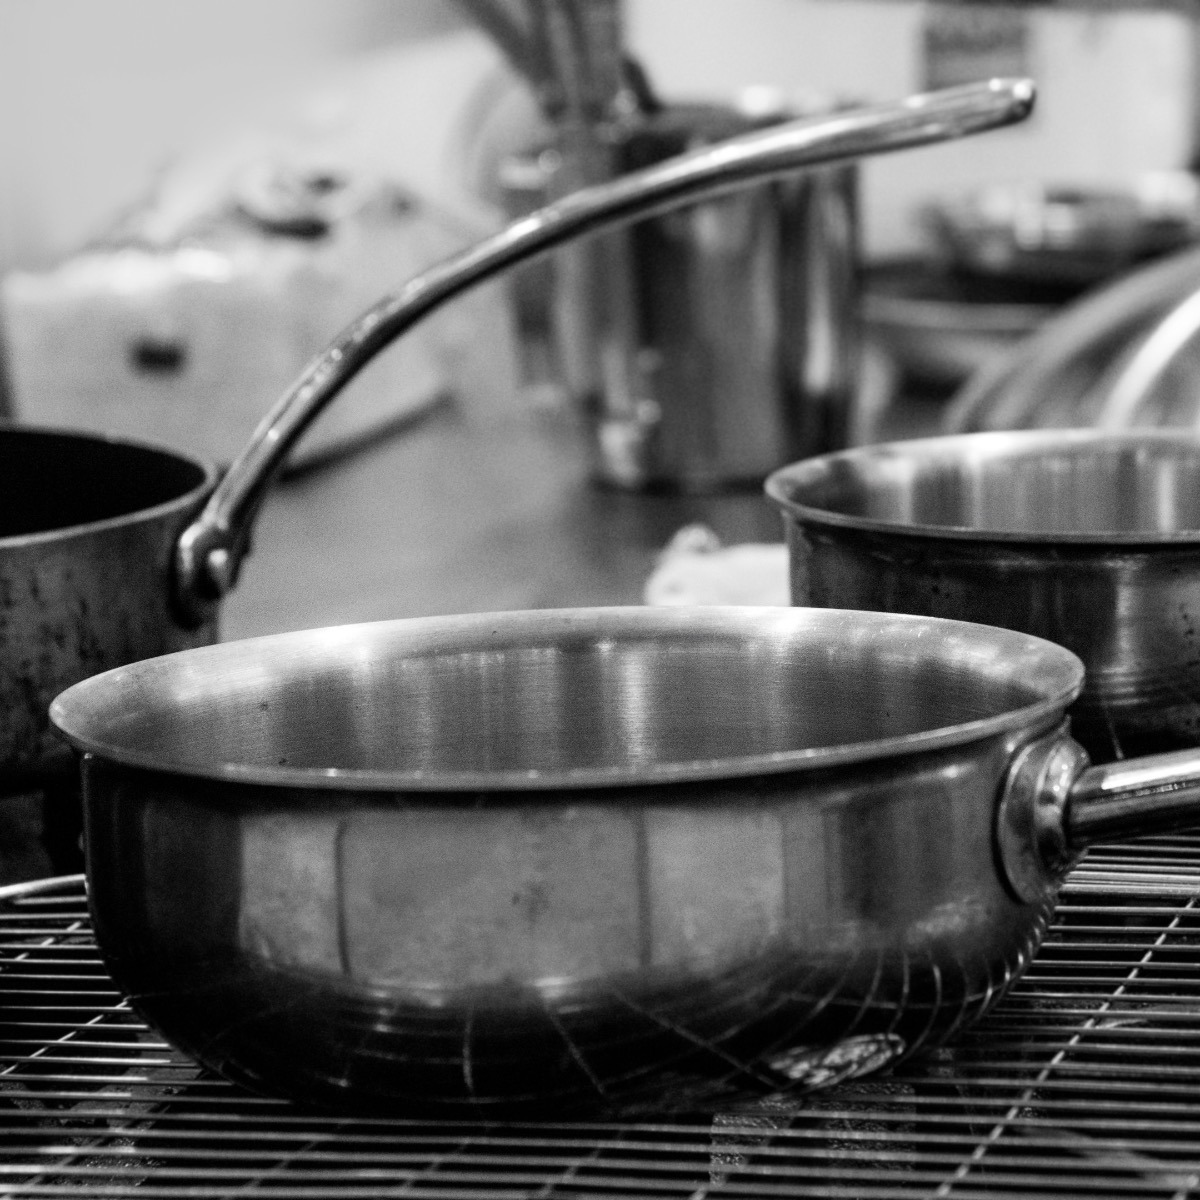
As part of reading the recipe and putting your mise en place together, you should also have inventoried your cooking equipment. While it is acceptable to make some substitutions with equipment—using a sauté pan instead of a skillet, using a wooden spoon as opposed to a silicone spatula—there are some pieces of equipment you cannot substitute.
For example, if you are cooking a pound of pasta and need a pot bigger to hold at least 6 quarts of water, you stand a good chance the pasta will not cook properly and stick together.
If you have a cheap wire whisk that you got at the flea market, and the handle falls off when you start whisking, how have you saved any money? And no, you can’t use your laundry basket as a colander.
Whether you are grilling, baking, roasting, or sautéing, the right equipment is essential. Yes, you can cook with cheap cookware or use inexpensive cooking tools, but you won’t get the same results.
The Fix—Buying The Right Tools for the Right Job
Get yourself some good equipment. I’m not saying you have to spend thousands of dollars, but I am saying that spending more money on good equipment once will cost you less in the long run than spending less on cheap equipment every year or two.
Once you commit to buying the right tools for the right jobs, you have to ask yourself:
- “What kind of cook am I?”
- Will you be spending a lot of time making cakes?
- Will you be making a lot of homemade sauces?
- Do you like to make bread by hand?
What kind of cook you are will impact the equipment you buy. For example, a stand mixer might be vital to one cook and take up space on the counter in someone else’s kitchen.
General Cooking Equipment Essentials
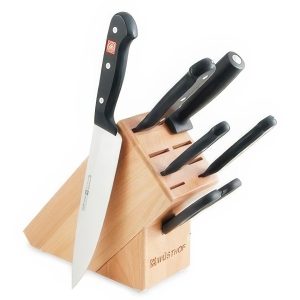
Knives (see my post on cutlery)
All knife manufacturers make many, many different types of knives. You might be tempted to buy a set with 15 knives or feel you need to buy them one at a time for the rest of your life.
You can’t blame the manufacturers – they’re trying to make a buck, but you only need three good knives: a chef knife, a paring knife, and a serrated slicer.
Whole books are dedicated to knives, but suffice it to say that you get what you pay for. There are two basic types of knives – forged and stamped. Stamped knives are very sharp when new and are relatively inexpensive. Unfortunately, once stamped knives get dull, they are difficult, if not impossible, to sharpen.
On the other hand, forged knives are very sharp and more expensive, but they can – and should be – honed before every use and periodically sharpened. So take good care of your forged knives; they will last you a lifetime.
Always hold the knives you are considering buying. Make sure you like the balance, weight and blade angle.
Also, be aware that just because you love your Global chef knife doesn’t mean you’ll love their serrated blade. Unless you’ve tried out the knives, don’t buy a set. Buy what works for you.
A Non-stick Pan
You need one for omelets, frittatas, and other applications when you don’t want food to stick. This is not the place to spend big money.
Get a relatively large slope-sided skillet with a flat, heavy bottom and a smooth, non-stick finish. Use silicone or wooden tools exclusively with this pan, and hand washes it to avoid damaging the cooking surface.
Cutting Boards (See my post on cutting boards)
In times past, everyone used a wooden cutting board. Wood is still an excellent material for cutting boards, but there is also a case to be made for using high-density plastic.
In either case, it is advisable to have at least two cutting boards, one for meats and one for fruits and vegetables. Having two boards helps cut down the risk of cross-contamination.
Whichever type of cutting board you use, make sure that it is clean and that the surface is smooth. If your plastic cutting board has many intense knife cuts that can hold onto bacteria or mildew, replace it.
Use a plane to smooth the surface if your wooden cutting board is all cut up. Don’t use sandpaper because the little abrasives used in the sandpaper can get embedded in the surface of your board and dull your knives.
If you have a decorative glass cutting board, use it only for decoration. Never use a cutting board made of glass, metal, marble, granite, or any other material that is so hard that it will damage your knives.
When you use a cutting board, put a damp towel underneath it to keep it from sliding.
For the Pasta Cook
Large Pot (see my post on soup pots)
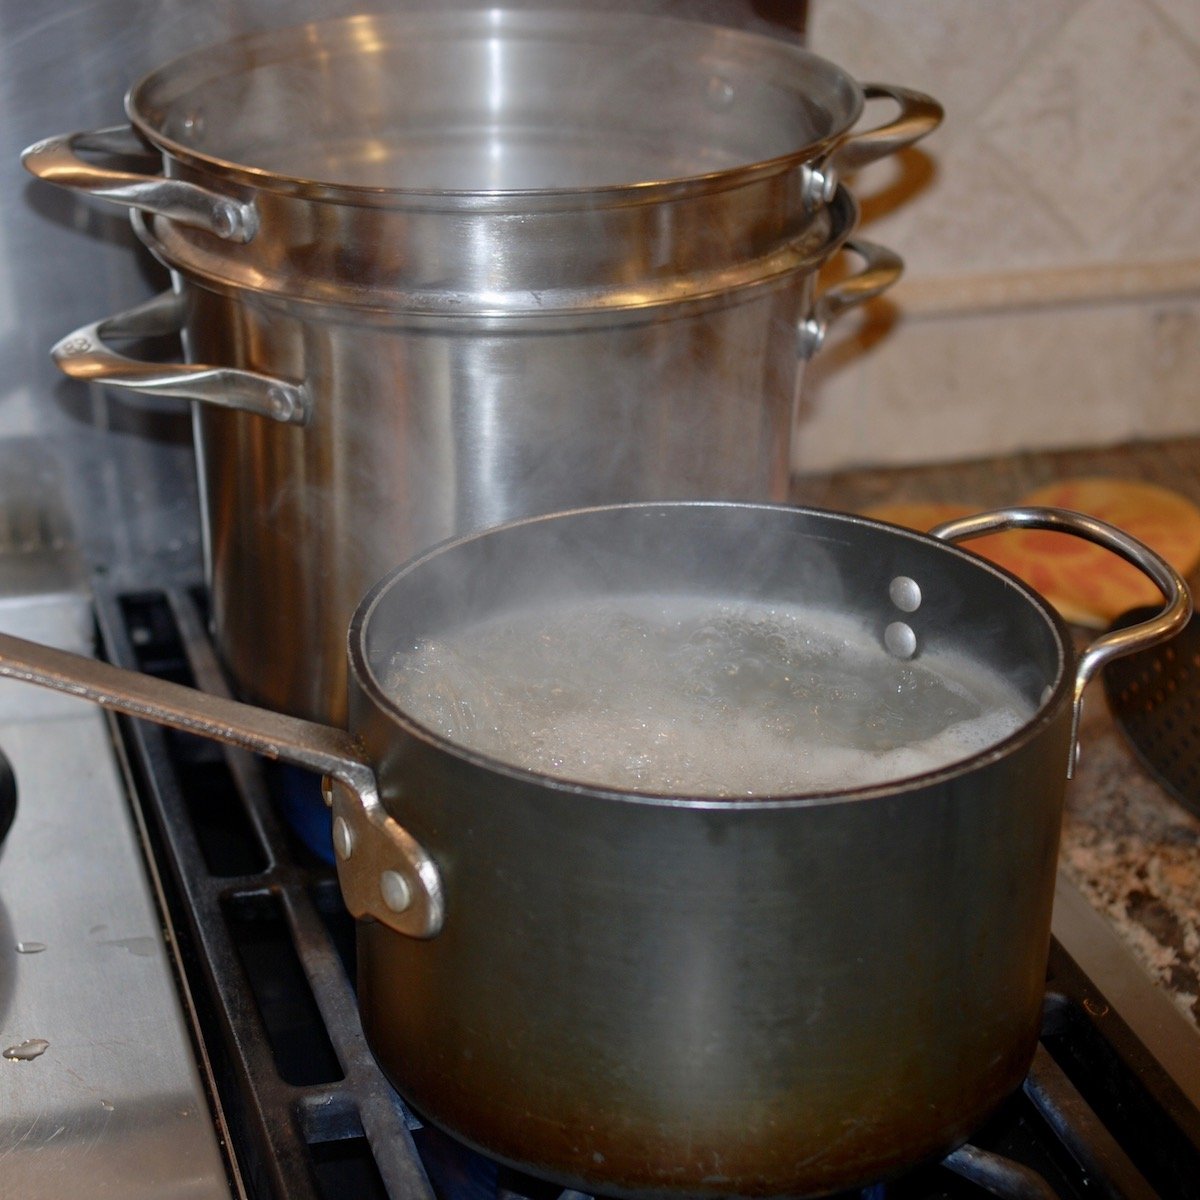
You want to get a pot with a capacity of 6-8 quarts. Make sure the bottom of the pot is flat and heavy, so there is good contact between the heating element and the pot.
Since you will primarily be using this pot for wet cooking methods (namely boiling), getting the top-of-the-line, most expensive pot out there is unnecessary. Of course, if you want to and you have the funds, more power to you, but this is not the “money pot.”
Look for a pot with an aluminum core sandwiched between stainless steel. Stainless is easy to clean and non-reactive, and aluminum is a good heat conductor, ensuring that your pot will heat quickly and evenly.
Ensure the pot has sturdy handles that can go in the oven. This usually means metal, but some composites are oven safe to 400 degrees, so check the labels.
Colander
You will need a way to drain the water out of your pasta. Colanders come in all shapes and sizes, from plastic to silicone to metal.
Purchase one that is well made and has “feet” to keep it out of the liquid when pouring into the sink. Consider a stainless steel colander—it can do double duty as a steamer if you nest it into a large pot with a bit of water at the bottom.
For the Sauté Cook
Sauté Pan (see my post on choosing & buying a saute pan)
This is the “money pot.” If you spend money on kitchen equipment, this is one of the first places to spend some.
A sauté pan is a large (up to 12″) pan with straight, low sides. The pans usually have one long handle and a short one on the opposite side for easy lifting. Most sauté pans come with a tight-fitting lid.
Look for a heavy pan with a wide, flat bottom. Generally speaking, an aluminum core sandwiched between stainless steel is the way to go. However, if you are a practiced cook, don’t mind the upkeep and have the money; buy one with a copper bottom, but since copper is more conductive than aluminum, understand that the pan will heat up quickly, and you will have no margin for error.
Make sure that the handles are sturdy and solidly attached to the pan. Ensure they are oven-safe, as sautés are sometimes finished in the oven. You might also want to braise in it, so you’ll also need a tight-fitting lid.
For the Baker
Stand Mixer (see my post on stand mixers)
An essential piece of equipment for people interested in baking cakes and cookies. Look for a heavy mixer – you don’t want it scooting all over the counter when it’s running – with at least a paddle-type and a whisk-type attachment.
You’ll also want a dough hook if you’re into baking bread. Look for a mixer with a 5 to 7-quart capacity and one with all metal gearing. Mixers made with nylon gears run more quietly, but they won’t withstand years of heavy use like a mixer with metal gears.
General Gadgetry
Live by the rule: if it feels cheap and looks cheap, it is cheap.
Ensure that all your gadgets and tools – whisks, spatulas, spoons, potato mashers, peelers, garlic presses, measuring cups, etc. – are sturdy and well-made. Never buy plastic tools. They melt.
When given a choice, purchase good stainless steel tools. One notable exception is in the case of tools to be used in non-stick pans. To keep from destroying the non-stick surface, look for tools made of or covered with high heat-resistant silicone.
Other tools to have on hand
- Lots of towels
- Digital timers
- Instant read thermometer
- Probe thermometer
- Bowls of various sizes
- Rolling Pin
- Trivet or hot pads
- Butcher’s twine
- Straight-sided cake pans
- Cooling racks
The trick is to buy quality tools and take care of them. If you do that, your kitchen tools will serve you well for a lifetime.
How NOT to Cook Topics |
||
| Introduction | Braise | Roast |
| Start a Recipe | Cook Pasta | Saute |
| Season Foods | Grill | Simmer |
| Bake | Pan Roast | Simmer |
| Boil | Poach | Steam |


One Response
G Steven,
Happy Holidays to you and your family. I just wanted to let you know how much I enjoy your website. I don’t comment often, but I find your information useful and interesting. Thanks again.