Sauces can make or break a dish, yet most home cooks barely scratch the surface of their potential. Mastering key techniques transforms simple ingredients into silky, flavorful finishes that elevate meals to restaurant quality. Understanding the “why” behind each method not only improves taste and texture but also gives you confidence in the kitchen. Ready to turn your sauces from basic to brilliant?
Why Sauce Making Techniques Are Important
- Flavor Concentration: Proper techniques build depth, balance, and complexity in every bite.
- Texture & Consistency: Mastery ensures silky, smooth sauces that coat dishes perfectly.
- Temperature Control: Knowing when to heat, simmer, or reduce prevents curdling or separation.
- Ingredient Harmony: Techniques help meld flavors, balancing acidity, sweetness, and seasoning.
- Professional Presentation: Well-executed sauces elevate any dish from home-cooked to restaurant-quality.
- Efficiency in the Kitchen: Skills like making a roux or emulsion save time while boosting results.
Master Restaurant-Quality Sauces: Essential Techniques Home Cook Should Know
Now that we have looked at some of the important ingredients used for restaurant-quality sauces let’s look at a few vital cooking techniques associated with sauce making.
Learning the techniques of preparing sauces is crucial for anyone interested in cooking, as it enhances flavor, versatility, customization, and creativity in the kitchen, while also contributing to a solid foundation in culinary skills.
This is not a complete list. Some great saucing cookbooks go into much more detail, but these are the techniques you’ll need for making the sauces on my site.
Why You Should Care About Sauce Techniques
- Elevate Your Dishes: Turn simple meals into restaurant-quality experiences.
- Flavor & Texture Matter: Techniques create silky, well-balanced sauces.
- Understand the “Why”: Knowing methods boosts confidence and control in the kitchen.
- From Basic to Brilliant: Mastering sauces transforms every dish you make.

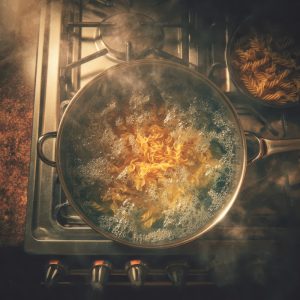
How to Reduce a Sauce
- What It Is: Simmering or boiling a liquid to evaporate water, creating a thicker, more concentrated sauce.
- Start with a Liquid Base: Use broth, wine, vinegar, cream, or other flavorful liquids.
- Heat & Simmer: Gentle simmering evaporates water and concentrates flavors.
- Watch Consistency: Sauce should coat the back of a spoon; avoid over-reduction.
- Enhance Flavor: Reduction intensifies richness, complexity, and overall taste.
- Common Uses: Demiglace, balsamic reduction, pan sauces, and stir-fry sauces.
- Versatile Technique: Elevates sauces in many cuisines, delivering balanced, concentrated flavor.
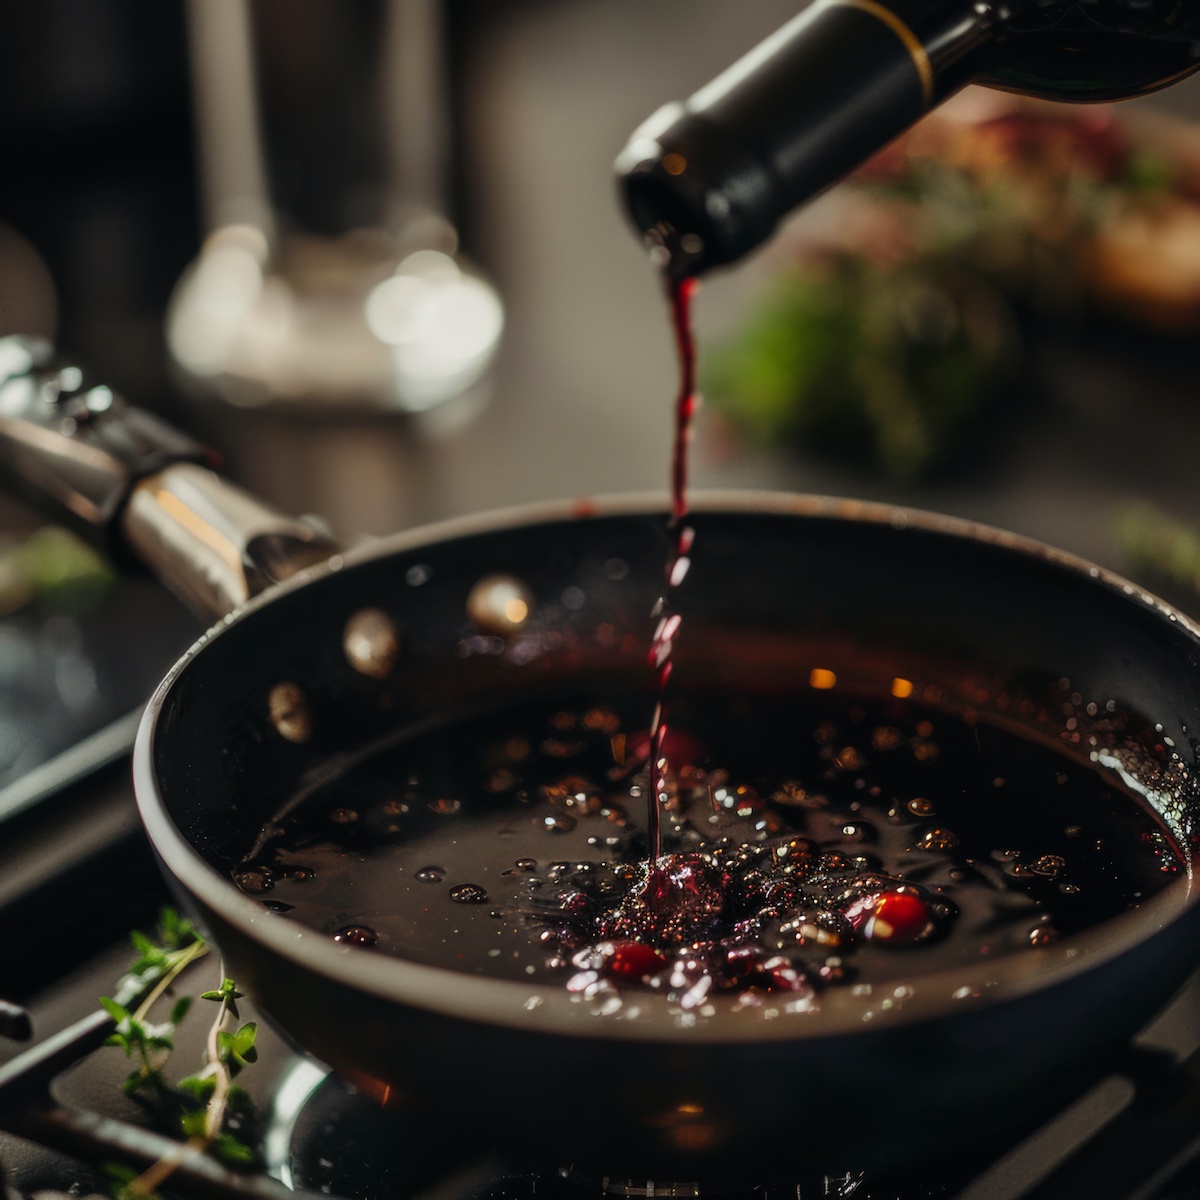
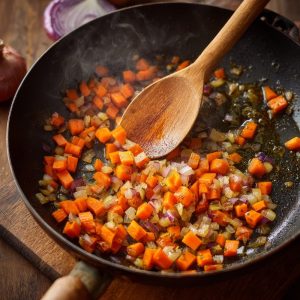
How to Deglaze
Deglazing a pan is a cooking technique that involves adding liquid to a hot pan to loosen and dissolve the flavorful browned bits (fond) that have stuck to the bottom during the cooking process.
These browned bits are rich in flavor and are a result of caramelization and Maillard reactions, contributing depth and complexity to the dish. Deglazing is often done after sautéing or searing meat, poultry, or vegetables.
By the way, another term for fond in cooking is “sucs.” Both terms refer to the flavorful browned bits that develop on the bottom of a pan during the cooking process, particularly when searing or sautéing meat or vegetables.
- Cook Ingredients: Sear meat or vegetables in a hot pan to create flavorful fond on the bottom.
- Remove Main Ingredients: Set them aside to access the fond for the next step.
- Add Liquid: Pour wine, broth, stock, vinegar, or water into the hot pan to lift the browned bits.
- Scrape the Pan: Use a spatula or wooden spoon to release the fond as the liquid heats, often with a sizzling sound.
- Create a Sauce: Reduce the infused liquid to make a flavorful sauce for the main dish or as a base for other recipes.
- Flavor Enhancement: Captures and intensifies the rich, caramelized flavors from cooking.
- Pan Cleaning: Frees stuck-on bits, making cleanup easier.
- Sauce Creation: Forms the foundation for delicious, well-balanced sauces.
Why De-fat a Sauce?
- Health Considerations: Reduce calories and fat for a lighter, heart-healthier dish.
- Dietary Preferences: Accommodates those who prefer leaner, less greasy sauces.
- Balanced Flavors: Prevents fat from overpowering other ingredients, letting flavors shine.
- Improved Texture: Creates a lighter, smoother, and more refined sauce consistency.
- Healthier Cooking Practices: Helps lower saturated and trans fat intake for overall wellness.
- Customization: Allows flexibility to adjust fat content to dietary goals or preferences.
How to Defat a Sauce
Excess fat can make sauces heavy and greasy. Defatting techniques help you create a leaner, smoother sauce while keeping all the rich flavor intact. Here are practical ways to remove fat from your sauces.
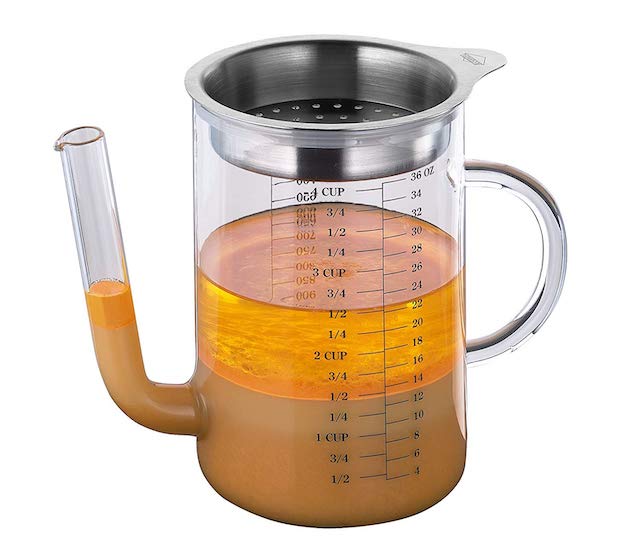
- Chill & Skim: Refrigerate sauce until fat solidifies, then remove with a spoon.
- Fat Separator: Pour warm sauce into a separator; fat rises, defatted liquid pours from the bottom.
- Ladle & Tilt: Tilt pan to pool fat on one side and scoop it off carefully.
- Ice Cube Method: Drop ice cubes into warm sauce; fat solidifies around them for easy removal.
- Paper Towels: Gently blot surface with layers of paper towels to absorb excess fat.
- Fat Skimmer or Spoon: Skim off surface fat directly while sauce is warm.
- Freeze & Scrape: Freeze sauce until fat solidifies, then lift off with a knife or spoon.
- Cheesecloth Strain: Strain sauce through cheesecloth to remove fine fat particles.
- Combine Techniques: Refrigeration plus fat separator or other combos enhance results.
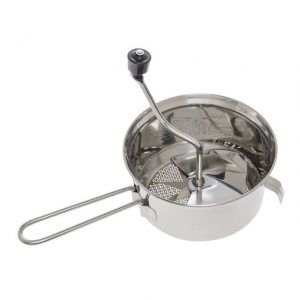
Pureeing and Straining
Pureeing and straining are techniques that create smooth, refined sauces, soups, and other liquid dishes by removing solids, fibers, or seeds for a silky consistency.
- Pureeing: Use a blender, food processor, or immersion blender to make a smooth, homogenous mixture.
- Pureeing Process: Cook ingredients until soft → blend until smooth.
- Pureeing Purpose: Breaks down solids for a smoother texture in sauces, soups, and vegetable dishes.
- Straining: Pass sauce through a fine mesh strainer or cheesecloth to remove solids.
- Straining Process: Pour sauce into strainer → press solids to extract liquid.
- Straining Purpose: Removes seeds, fibers, and coarse particles for a clear, refined sauce.
- Combined Technique: Puree first, then strain to achieve an ultra-smooth consistency.
- Applications: Used for consommés, broths, refined sauces, and delicate vegetable purees.
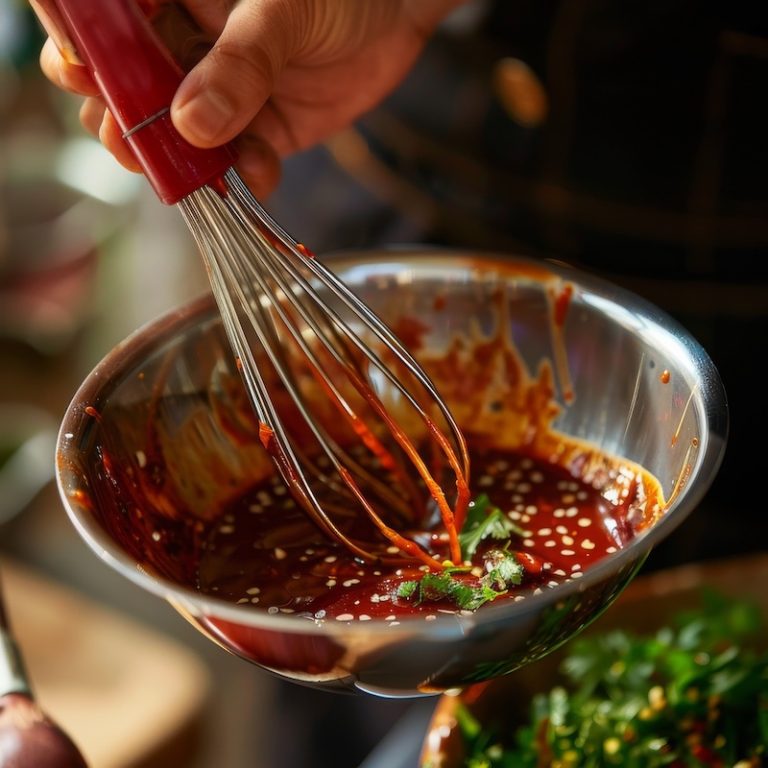
Balancing Flavors in Sauces
Balancing flavors is the art of harmonizing sweetness, acidity, saltiness, bitterness, and umami to create a well-rounded, satisfying sauce that complements any dish.
- Sweetness: From sugar, honey, fruits, or vegetables; adds depth, rounds sharp edges, and balances acidity and bitterness.
- Acidity: From vinegar, citrus, or acidic fruits; provides brightness, freshness, and cuts through richness.
- Saltiness: From salt, soy sauce, or cheeses; enhances natural flavors, suppresses bitterness, and adds depth.
- Bitterness: From herbs, spices, coffee, or dark chocolate; adds complexity in moderation without overpowering.
- Umami: From soy sauce, tomatoes, mushrooms, or meats; adds richness, depth, and a savory quality.
- Taste as You Go: Adjust gradually while cooking to catch imbalances early.
- Start with a Base: Begin with a well-balanced base, then tweak individual components.
- Consider the Main Dish: Ensure the sauce complements the overall flavor profile.
- Use Ingredients Mindfully: Be aware of each ingredient’s contribution to achieve harmonious balance.
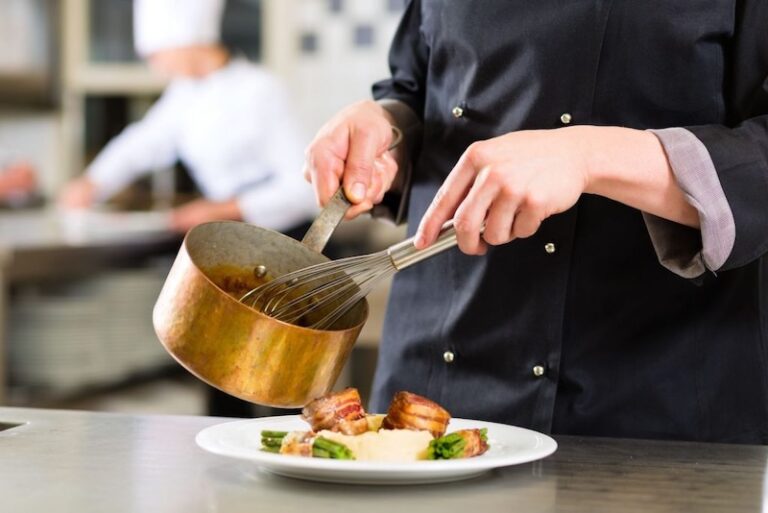
Finishing a Sauce
Finishing a sauce is the final step to perfect its flavor, texture, and consistency. This stage includes adjusting seasoning, enriching with butter or cream, and adding fresh ingredients to create a balanced, luxurious sauce.
- Adjust Seasoning: Taste and add salt, pepper, or other seasonings to achieve the desired flavor.
- Balance Flavors: Ensure sweetness, acidity, saltiness, bitterness, and umami are harmonious.
- Reduce or Thin: Simmer to thicken or add liquid to thin a sauce as needed.
- Strain or Puree: Remove solids for a smooth texture, or puree for silkiness.
- Mount with Butter or Cream: Swirl in cold butter, compound butter, or cream for richness and luxurious mouthfeel.
- Add Fresh Herbs or Aromatics: Stir in parsley, chives, basil, lemon juice, or other fresh elements at the end.
- Adjust Texture: Use roux or cornstarch slurry to thicken if needed; cook to remove raw taste.
- Finish with High-Quality Ingredients: Drizzle olive oil, sprinkle Parmesan, or add truffle oil for extra depth.
- Strategic Seasoning: Add delicate ingredients late for maximum flavor impact.
- Rest Before Serving: Let sauce sit briefly so flavors meld and reach peak taste.
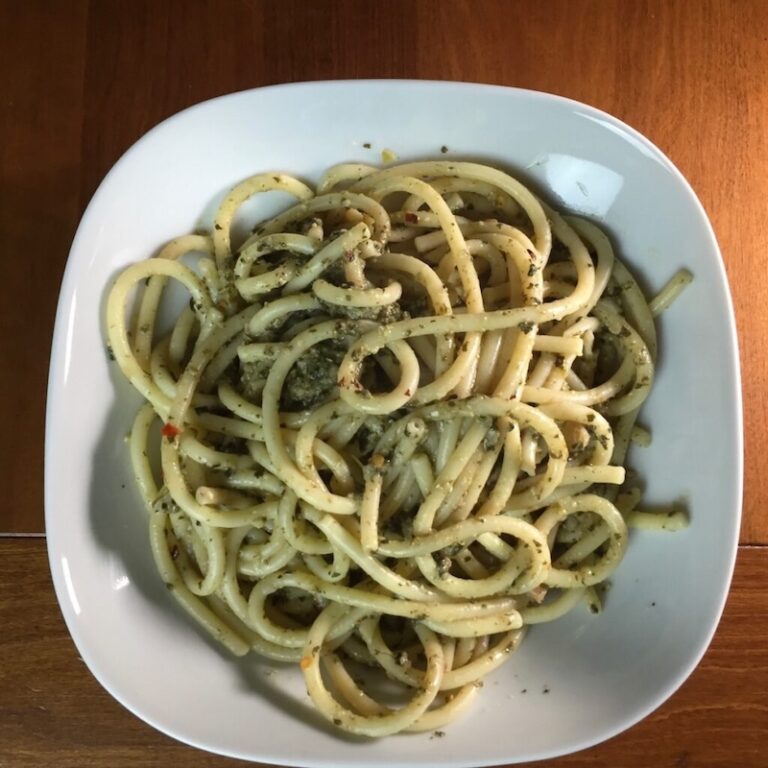
How to Finish Pasta
Once you have made a beautiful pasta sauce, it’s not enough to ladle some onto your noodles. The Italians have a secret way of adding sauce to pasta so that the flavors blend and complement each other.
Before draining the pasta, reserve about 1/4 cup of the pasta cooking liquid. This contains many starches and some salt (you do salt the pasta cooking water, right?)
Drain the pasta and return it to the pan over high heat. Add the reserved cooking liquid and several ladles of the sauce. Also, add just a tablespoon or so of fat–butter, olive oil, finely grated hard cheese, or some heavy cream, depending on what kind of sauce you have made.
Stir well over high heat until the sauce thickens and coats all the pasta.
Serve on warmed plates and spoon as much of the reserved sauce as you’d like onto the dressed pasta.
Since the water contains starch, it will help thicken the sauce, allowing it to cling to each noodle. As you stir in the additional fat and starchy water, you create an emulsion; your sauce will not develop the silkiness without this step.
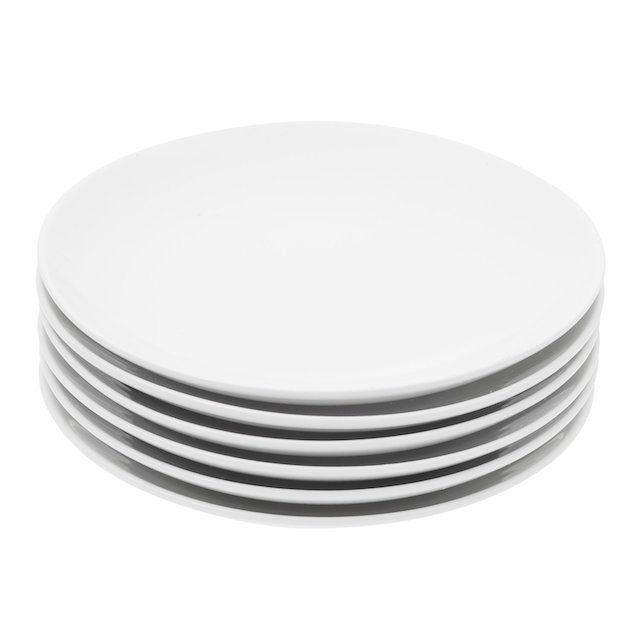
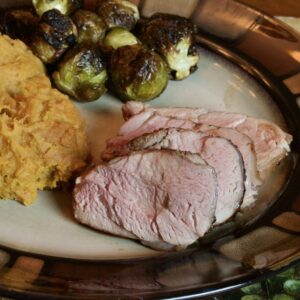
Heating or Chilling the Plates
When you go to a restaurant and are served your food, the server often cautions, “Careful. The plate is a little hot.” Sometimes they even serve you with oven mitts on.
And, when you get a salad in a nice restaurant, the plate is generally chilled. The reason for this is simple. Hot plates keep hot food hot, and cold plates keep cold food cold.
Serving a salad on a plate still hot from the dishwasher heats up the greens and the dressing that is in contact with the plate, and you end up with wilted lettuce and warm dressing. Yuck.
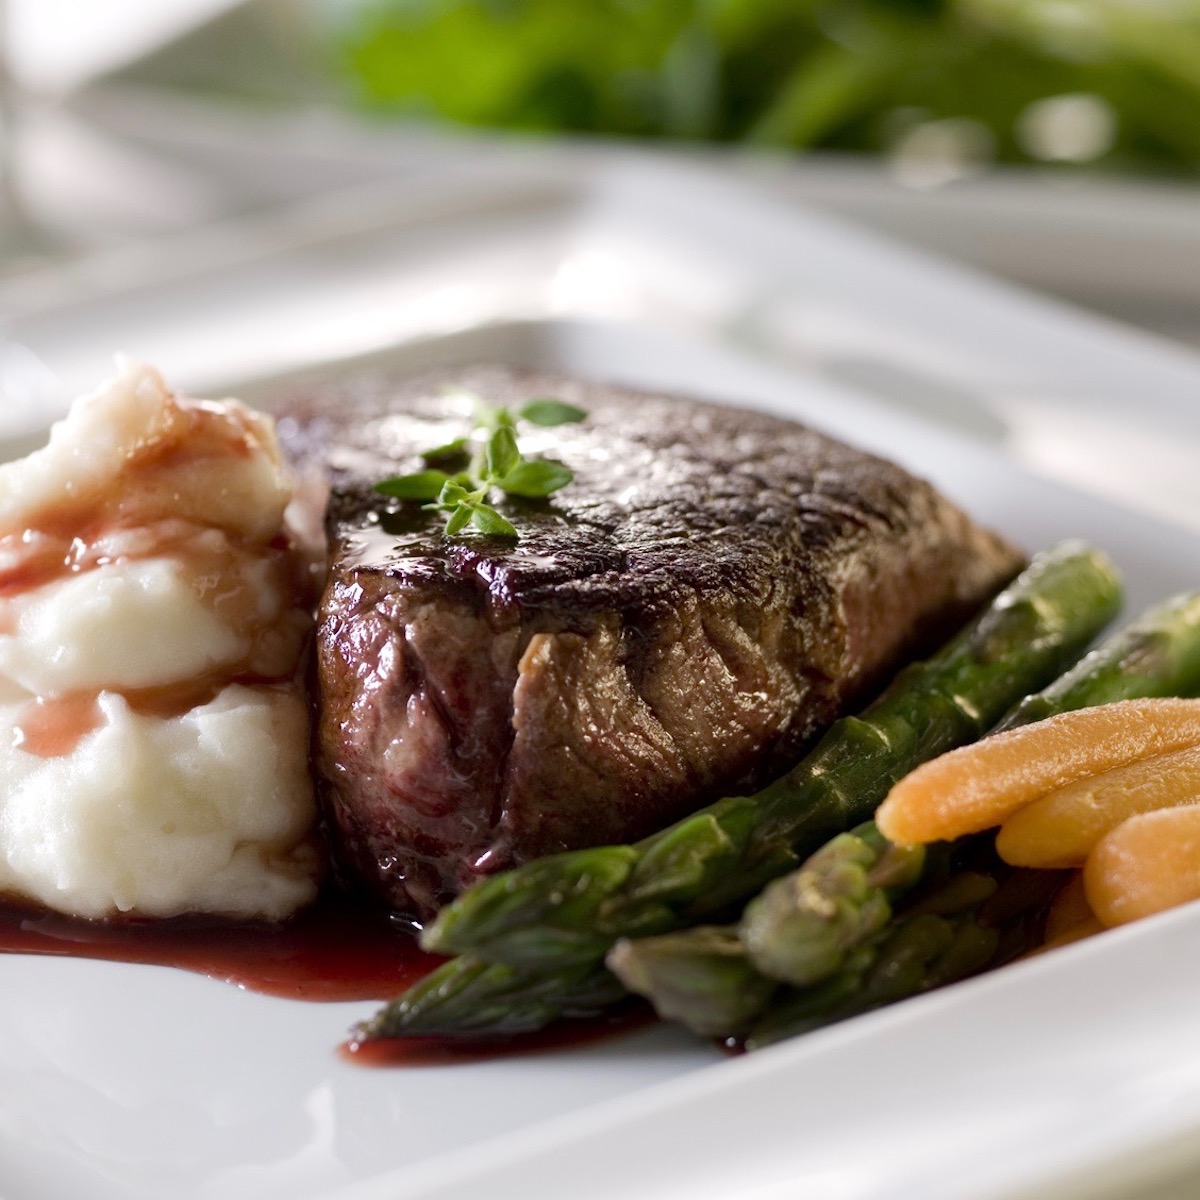
And serving a sauced main dish, like a steak au poivre, Pasta Bolognese, or even turkey with gravy, on a cold plate does nothing but chill the sauce the moment it hits the plate.
Please don’t spend the time it takes to make a restaurant-quality sauce only to serve it at the wrong temperature. Instead, take a page from the Restaurant Book of Secrets and serve chilled foods on chilled plates and hot foods on warm plates. It might be a small thing, but it has a significant impact.
FAQ About Sauce Techniques
What is the most important skill in sauce-making?
Balancing flavors is key—ensuring sweetness, acidity, saltiness, bitterness, and umami complement each other creates a harmonious and restaurant-quality sauce.
How do I thicken a sauce without adding flour?
Reduce the sauce by simmering to evaporate water, or use techniques like pureeing vegetables or mounting with butter/cream for natural thickness.
What does “mounting a sauce” mean?
Mounting, or “monter au beurre,” is the process of finishing a sauce with cold butter or cream to enrich flavor, improve texture, and give a silky, luxurious mouthfeel.
How do I remove excess fat from a sauce?
You can defat a sauce by chilling and skimming, using a fat separator, ladling or blotting with paper towels, or freezing and scraping the solidified fat.
Why should I strain or puree a sauce?
Straining or pureeing removes solids, fibers, and seeds, resulting in a smooth, refined, and elegant sauce. Combined, these methods create an ultra-smooth consistency.
How do I know when a sauce is properly reduced?
A properly reduced sauce should coat the back of a spoon and have intensified flavor without being too thick or salty. Taste frequently while reducing to monitor progress.
How can I balance a sauce that tastes too sweet or too acidic?
Adjust other flavor elements gradually—add acidity (vinegar, citrus) to balance sweetness, or a touch of sugar or butter to mellow excess acidity. Tasting as you go is essential.
When should I add fresh herbs or aromatics?
Add delicate ingredients like fresh herbs, citrus zest, or aromatics at the end of cooking to preserve their flavor and aroma.
Can these sauce techniques be used for any cuisine?
Yes! Techniques like reduction, defatting, pureeing, straining, balancing flavors, and finishing sauces are universal and can elevate sauces in French, Italian, Asian, and modern American cuisines.
How do I prevent a sauce from tasting one-dimensional?
Incorporate finishing techniques such as mounting with butter or cream, balancing flavors, adjusting seasoning, and adding fresh aromatics to achieve depth and complexity.
What tools do I need for professional-quality sauces?
Essential tools include a good pan, whisk, ladle, immersion blender, fine mesh strainer or cheesecloth, fat separator, and spoons for tasting and adjusting flavors.
How long can I store a homemade sauce?
Most sauces can be refrigerated for 3–5 days. Defatted sauces may last slightly longer. For long-term storage, freeze in airtight containers for up to 3 months.