Fast Answer
Great grilling comes down to heat control, timing, and knowing what the food is telling you. These grilling tips help you cook with more confidence, avoid common mistakes, and get better flavor every time.
Stop Ruining Your BBQ: Grilling Tips That Actually Work
Grilling looks simple until your steak burns outside while staying cold in the center, or your chicken dries out before it develops color. The good news is that most grilling problems come from a few fixable mistakes.
These grilling tips teach you to control heat, manage timing, and read visual cues, so you can cook meat, seafood, and vegetables with greater confidence and better results.
Start Here
- Best for: Home cooks who want more control over grilling results instead of relying on luck.
- Use these tips when: Cooking steaks, burgers, chicken, seafood, or vegetables on gas or charcoal grills.
- You’ll know it’s working when: Food cooks evenly, releases cleanly from the grates, and develops deep browning without burning.
- Main goal: Manage heat instead of chasing cooking times.
Why It Works
- High heat creates flavor: Browning triggers the Maillard reaction, which builds deep savory flavor and better texture.
- Dry surfaces brown better: Moisture creates steam, and steam blocks searing.
- Zones create control: A hot side and cooler side let you sear and finish cooking without burning.
- Resting matters: Resting redistributes juices so meat stays moist instead of flooding the cutting board.
Think Like a Cook
- Great grillers manage energy, not minutes. The grill constantly changes temperature based on airflow, fuel, food thickness, and lid position.
- Watch the food, not the clock. Color, smell, sizzling, and resistance tell you more than a timer ever will.
- Control heat in layers. Use direct heat for browning and indirect heat for finishing thicker foods gently.
Step-by-Step Guide
- Preheat fully: Heat the grill for 10–15 minutes before cooking. Hot grates reduce sticking and improve browning.
- Clean and oil the grates: Brush the grates clean and lightly oil the food, not the grill.
- Create heat zones: Keep one side hotter for searing and another cooler for finishing.
- Pat food dry: Remove excess moisture with paper towels before seasoning.
- Leave it alone: Let the food sear before flipping. Early flipping tears the surface.
- Use the lid strategically: Lid down traps heat for thicker foods. Lid up gives more control for quick-cooking items.
- Check temperature early: Use an instant-read thermometer before you think the food is done.
- Rest before serving: Let meat rest 5–10 minutes so juices redistribute.
Visual Cues
- Color: Look for deep golden-brown or mahogany surfaces instead of pale gray.
- Sound: A steady sizzle means proper searing. Loud popping usually signals flare-ups.
- Smell: Rich roasted aromas are good. Sharp bitter smoke means burning fat or sugars.
- Texture: Food releases naturally from the grates when properly seared.
- Smoke: Thin wisps are normal. Thick white smoke usually means grease buildup or dirty grates.
What Most Cooks Get Wrong
- Starting on a cold grill: This causes sticking and weak browning.
- Constant flipping: Food never develops a proper crust.
- Pressing burgers: Pressing squeezes out juices and increases flare-ups.
- Using only one heat level: Everything cooks at the same intensity, which causes burning.
- Skipping the thermometer: Guessing leads to dry chicken and overcooked steak.
- Over-saucing early: Sugary sauces burn quickly over direct heat.
Quick Diagnosis Strip
| Problem | Likely Cause | Quick Fix |
|---|---|---|
| Food sticks to grates | Grill not hot enough | Preheat longer before cooking |
| Burnt outside, raw inside | Heat too aggressive | Move to indirect heat |
| Dry chicken | Overcooked | Use thermometer earlier |
| No grill marks | Surface too wet | Pat food dry first |
| Bitter smoke flavor | Grease flare-ups | Clean grill and trim excess fat |
Quick Fixes & Pro Tips
- Use a two-zone fire: It solves more grilling problems than any gadget.
- Season early for larger cuts: Salt needs time to penetrate thick meat.
- Add sauce late: Brush sugary sauces during the last few minutes.
- Rotate, don’t constantly flip: One quarter-turn creates cleaner grill marks.
- Keep a spray bottle nearby: A light mist helps tame flare-ups safely.
- Carryover cooking is real: Meat continues cooking after leaving the grill.
Control the Variables
- Heat: Higher heat browns faster but increases burning risk.
- Thickness: Thick cuts need indirect heat after searing.
- Moisture: Wet food steams instead of browning.
- Lid position: Closed lid acts like an oven and increases overall heat.
- Sugar content: Sweet marinades burn quickly over direct flames.
- Fat content: Fat adds flavor but also triggers flare-ups.
When to Use It
- Perfect for: Steaks, burgers, chicken thighs, pork chops, shrimp, and hearty vegetables.
- Especially useful when: Cooking mixed foods with different cooking times.
- Not ideal for: Very delicate fish or tiny vegetables directly over intense flames.
- Use indirect heat when: Cooking thick cuts or bone-in meats.
Cheat Sheet
- Preheat the grill completely
- Dry food browns better
- Create hot and cool zones
- Flip less often
- Use a thermometer early
- Sauce late to prevent burning
- Rest meat before slicing
- Manage heat, not time
Apply This to Real Food
- Steak: Sear over direct heat, then finish indirectly for even doneness.
- Chicken thighs: Start skin-side down over moderate heat to render fat slowly.
- Burgers: Avoid pressing so juices stay inside the patty.
- Shrimp: Cook quickly over high heat with the lid open.
- Zucchini: Dry thoroughly before grilling to improve browning.
Grill Smarter, Not Harder
- Use the right grill: Gas grills excel at high heat and quick cooking. Smokers are better for low-and-slow barbecue.
- Start with a clean grill: Clean grates prevent sticking, reduce flare-ups, and improve heat transfer.
- Preheat fully: Hot grates create better searing, stronger grill marks, and help food release naturally.
- Create heat zones: Use one hot side for searing and a cooler side for finishing thicker foods gently.
- Don’t overcrowd the grill: Too much food lowers grill temperature and causes steaming instead of browning.
- Pat food dry before grilling: Dry surfaces brown better and develop more flavor.
- Leave the food alone: Constant flipping and poking prevent proper caramelization and crust formation.
- Never press burgers or chicken: Pressing squeezes out flavorful juices and increases flare-ups.
- Use tongs or a spatula: Forks puncture meat and allow juices to escape.
- Watch for flare-ups: Keep a cooler zone available so you can move food away from direct flames.
- Use an instant-read thermometer: It removes the guesswork and prevents overcooking.
- Rest meat before serving: Resting helps juices redistribute so the meat stays moist.
- Stay near the grill: Grilling moves fast. A few distracted minutes can turn dinner into charcoal.
FAQ
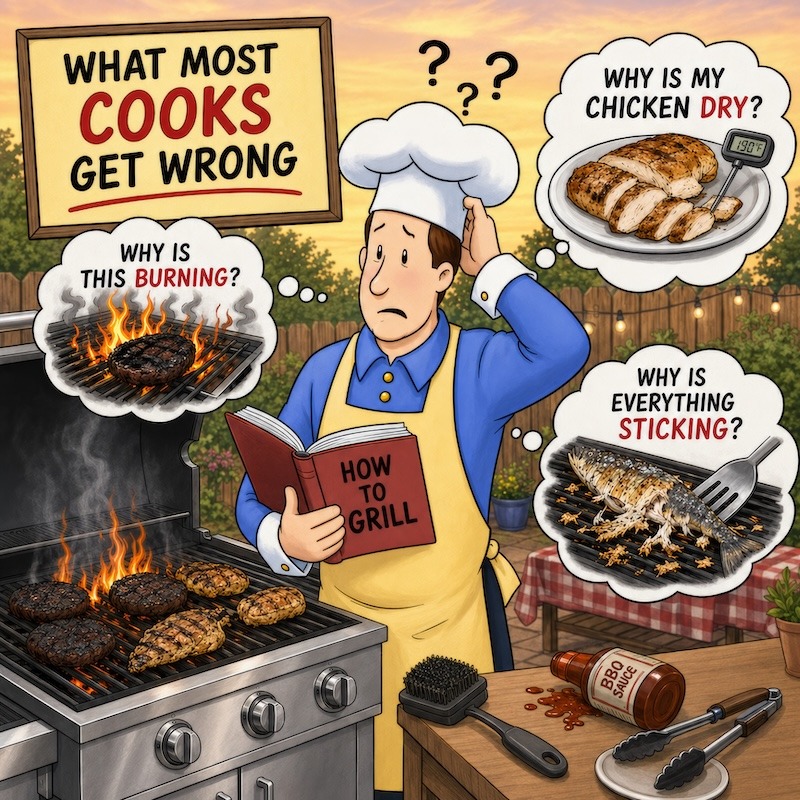
Why does food stick to the grill?
Food usually sticks because the grill is not hot enough or the food has not finished searing yet. Properly seared food releases naturally.
Should I oil the grill grates or the food?
Oil the food lightly instead of spraying oil directly onto hot grates. It creates less smoke and gives you better control.
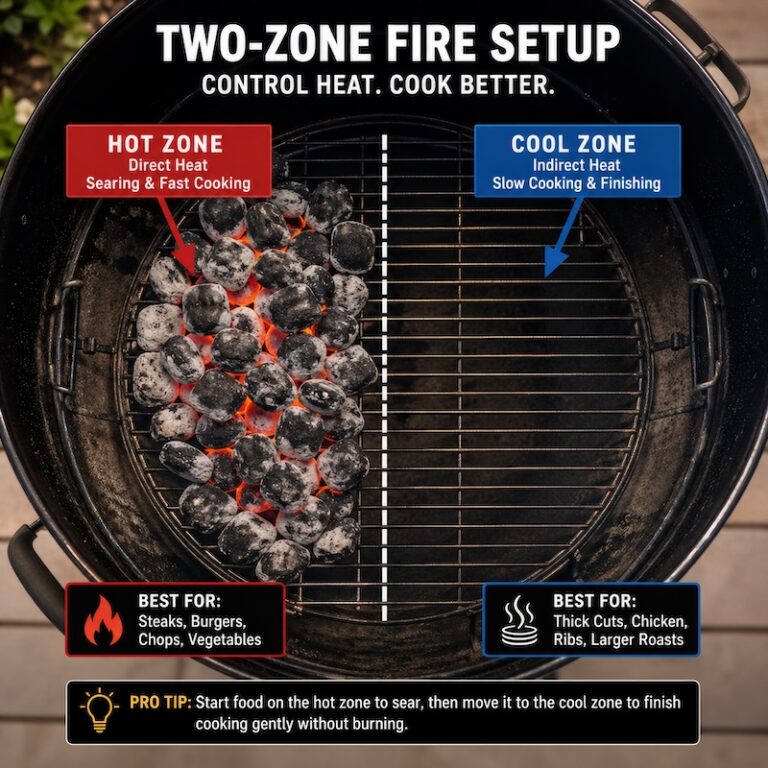
What is two-zone grilling?
Two-zone grilling means one side of the grill is hotter than the other. It lets you sear food first and finish cooking gently.
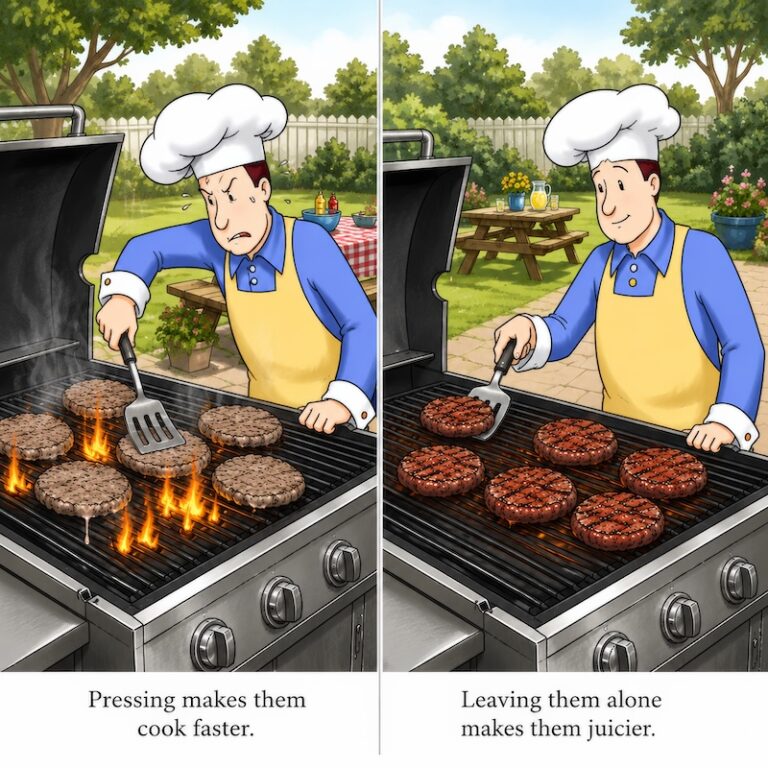
Why do my burgers dry out?
Most dry burgers are overcooked or pressed down while grilling. Pressing forces juices out of the meat.
When should I add barbecue sauce?
Add sugary sauces during the final few minutes of cooking so they caramelize instead of burn.
Do I need the lid closed?
Use the lid for thicker foods that need more even cooking. Keep it open for fast-cooking foods like shrimp or thin vegetables.
How long should meat rest after grilling?
Most steaks and chops benefit from 5–10 minutes of resting. Larger cuts may need longer.
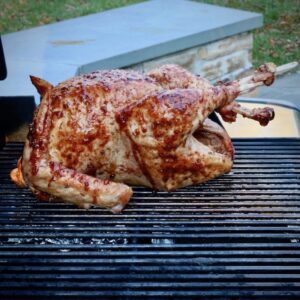
What temperature should chicken reach?
Chicken should reach 165°F in the thickest part for safe eating.
Why are flare-ups bad?
Flare-ups burn the outside before the inside cooks properly and can create bitter flavors.


