Tempering in Baking: When to Use It and When to Skip It

Mastering the Art of Tempering in Baking

Baking is both an art and a science, requiring precision, patience, and practice. Among the myriad techniques bakers employ, tempering is a fundamental skill that can elevate your creations professionally. Whether working with chocolate, eggs, or delicate batters, tempering is essential for achieving the perfect texture, consistency, and flavor in your baked goods.

In this post, we’ll explore tempering’s intricacies, its importance, the science behind it, and tips to ensure you get it right every time. Whether you’re a novice baker or a seasoned pro, understanding and mastering tempering will enhance your culinary repertoire and ensure your desserts are always a cut above the rest.

When To Temper

Tempering is used in baking in various situations to ensure the desired texture, consistency, and stability of ingredients. Here are some critical instances when tempering is essential:

1. Tempering Chocolate

  • Purpose: To achieve a glossy finish, proper snap, and smooth texture.
  • Process: Heating and cooling chocolate to specific temperatures to stabilize the cocoa butter crystals.
  • Application: Making chocolate bars, truffles, and coatings for candies and pastries.

2. Tempering Eggs

  • Purpose: To prevent eggs from curdling when added to hot mixtures.
  • Process: Gradually warm eggs by slowly adding a hot liquid while constantly stirring.
  • Application: Making custards, pastry creams, and other egg-based desserts like crème brûlée.

3. Tempering Doughs and Batters

  • Purpose: Bring ingredients to a similar temperature to ensure even mixing and prevent lumps.
  • Process: Bring cold ingredients to room temperature before incorporating them into the dough or batter.
  • Application: Cakes, cookies, and bread doughs.

4. Tempering Dairy

  • Purpose: To avoid curdling when mixing dairy with hot liquids.
  • Process: Slowly add a hot liquid to the dairy while stirring.
  • Application: Making sauces, soups, and certain baked goods like quiches.

5. Tempering Sugar

  • Purpose: To control the crystallization process and achieve the desired texture in confections.
  • Process: Carefully control the temperature of sugar as it melts and caramelizes.
  • Application: Making caramel, nougat, and various sugar decorations.

Benefits of Tempering:

  • Ensures a smooth, consistent texture.
  • Enhances the visual appeal of baked goods.
  • Improves the structural integrity of the final product.
  • Prevents undesirable textures, such as graininess or curdling.

Understanding and applying the tempering technique correctly can significantly affect the quality and success of your baking projects.

When Not to Temper

While tempering is a crucial technique in many baking applications, there are several instances where it is optional. Here are some situations where tempering is not required:

1. Simple Baking Recipes

  • Examples: Basic cookies, muffins, and quick breads.
  • Reason: These recipes typically involve straightforward mixing of ingredients without the need for careful temperature control to prevent curdling or crystallization.

2. Solid Fat Incorporation

  • Examples: Pie crusts, biscuits, and scones.
  • Reason: Cold, solid fats like butter or shortening are cut into the flour to create flaky layers, making tempering unnecessary.

3. Non-Custard Desserts

  • Examples: Brownies, some cakes, and pancakes.
  • Reason: These recipes do not involve delicate emulsions or the risk of curdling that tempering addresses.

4. Instant Desserts

  • Examples: No-bake cheesecakes, icebox cakes, and mousse.
  • Reason: These desserts rely on chilling rather than baking and do not involve heating ingredients to high temperatures where tempering would be needed.

5. Simple Sugar Syrups

  • Examples: Basic syrups for soaking cakes or making simple glazes.
  • Reason: Basic sugar syrups do not require the careful temperature control associated with tempering.

6. Microwave Recipes

  • Examples: Mug cakes, microwave fudge.
  • Reason: These recipes are designed for quick preparation without requiring gradual temperature adjustments.

Benefits of Not Using Tempering:

  • Simplifies the baking process.
  • Saves time in preparation.
  • Reduces the risk of errors associated with temperature control.

Understanding when tempering is and isn’t necessary helps streamline your baking process and ensures you use the proper techniques for the best results in your culinary creations.

Chocolate Brownies Recipe

Prep Time15 minutes
Cook Time40 minutes
Total Time55 minutes
Course: Dessert
Cuisine: American
Keyword: brownie, dessert

Ingredients

For the Brownies made with unsweetened chocolate

  • 8 ounce unsweetened chocolate squares
  • 1 cup butter 2 sticks
  • 5 eggs
  • 3 cups sugar
  • 1 tablespoon vanilla
  • cups flour
  • 1 teaspoon salt

For the Brownies Made with Semisweet Chocolate

  • 8 ounces semisweet chocolate
  • 4 ounces unsalted butter
  • ¾ cup granulated sugar
  • 3 large eggs
  • ¾ teaspoon salt
  • teaspoons vanilla
  • 1 cup all-purpose flour

Instructions

  • To make either version of the brownies, melt together the chocolate and butter. Stir until smooth and then cool.
  • Whisk in the sugar by hand, followed by the eggs, one at a time.
  • Stir in the vanilla and then the flour. You can add toasted nuts as well, if you'd like.
  • Pour into a greased and lined pan (8" x 8" for thicker brownies and 9"x 13" for thinner brownies) and bake at 325°F until done.

Some of My Favorite Dessert Recipes


18 Responses

  1. I enjoyed reading this and will try your recipes. Being a bit of a health nut, I don’t make cakes very often. Can you let me know if I should stir very lightly or mix thoroughly (how long)?

  2. 5 stars
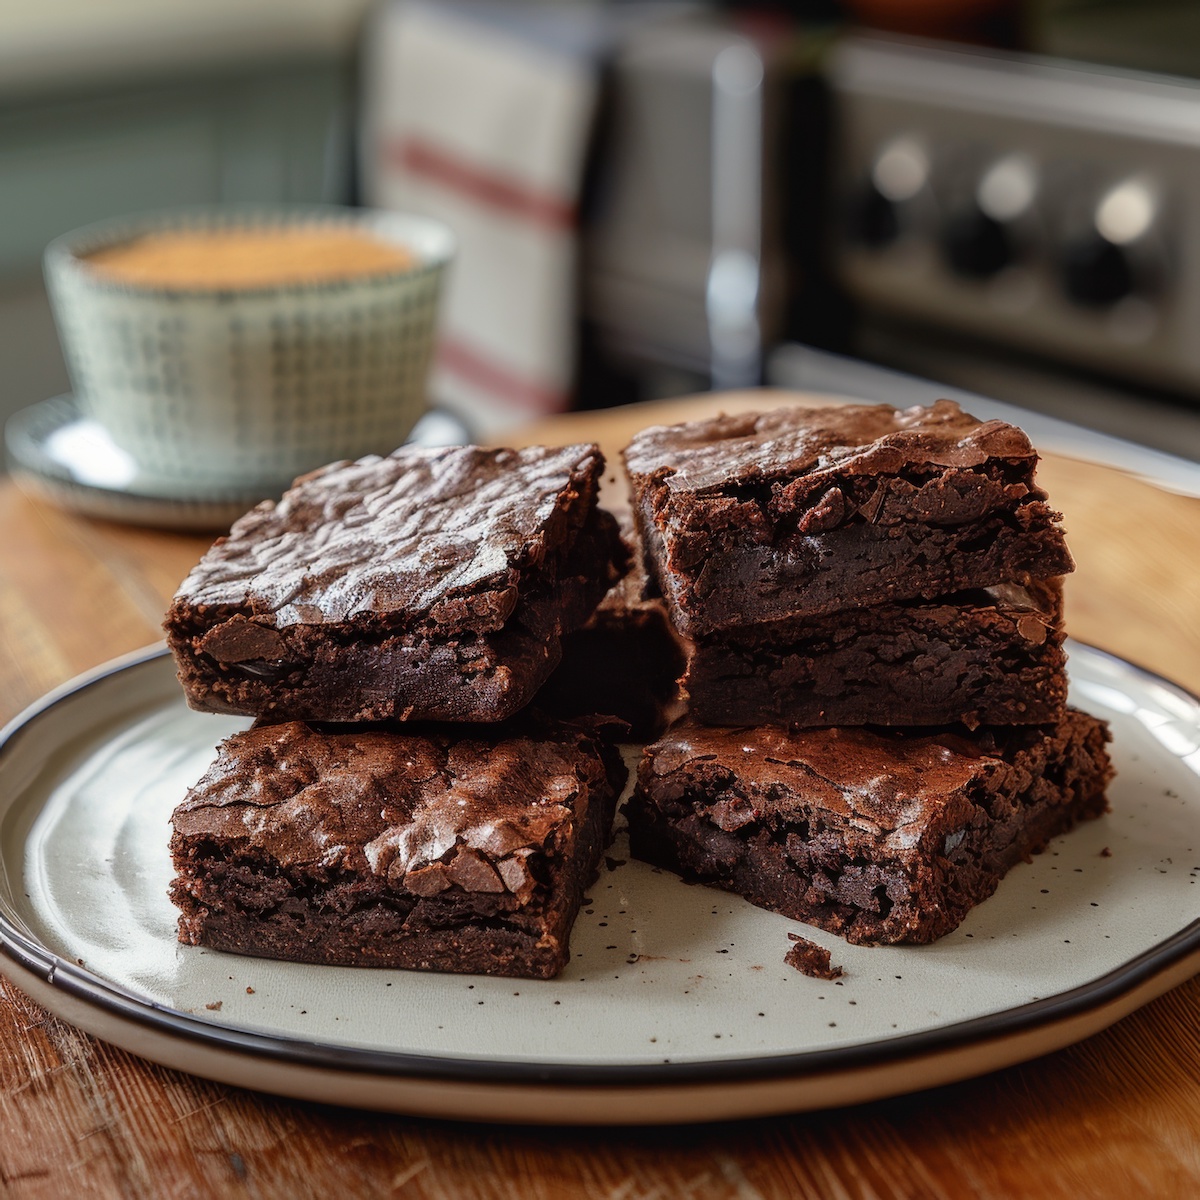
    Delicious recipe. I tried the version with unsweetened chocolate. Do the two result in a similar brownie? If baked in a 9×13 pan, how long do you recommend baking? I baked mine for about 45 minutes and am not sure if I should have taken them out sooner. They are very rich, but more of a fluffy brownie. Can you recommend a variation that would result in a more dense brownie (less fluffy). Thanks for sharing!

  3. Hi Lauren, great questions so I asked my friend Chef Jenni for some answers and here is what she had to say,
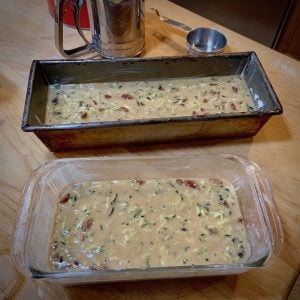
    Often, the “fluffiness” or “denseness” of a brownie is the product of the mixing method. In my experience, brownies made by hands by the method in these two recipes–melting chocolate and butter, stirring in sugar, then eggs, then the dry ingredients–are more fudgy and dense than brownies made by creaming together the fat and sugar as the first step. The less air whipped into a brownie, the more dense/fudgy the end result.

    As to whether the brownies are similar, unsweetened chocolate contains more chocolate per ounce than semisweet chocolate (part of the ounce of semisweet is taken up with sugar), so brownies made with unsweetened chocolate tend to be more chocolatey than brownies made with semisweet chocolate. For me, the recipe using unsweetened chocolate is a more grown-up brownie. The recipe based on semisweet is more kid-friendly (sweeter and less deeply chocolate).

    It’s really hard for me to say when brownies are “done.” If you’re looking for a dense, fudgy brownie, you’ll want to underbake them slightly. The longer they bake, the “cakier” they get as all the proteins in the eggs coagulate and the moisture evaporates out. As a starting point, try baking at 325F for about 30 minutes. Test them by poking them in the center of the pan with a toothpick. If it comes up wet and gooey, give them a few more minutes. If it comes up with wet crumbs, you’re there. There’s really no way to be more specific than that, but again, this gives you a place to start.

  4. You can bake them in a 9X13 pan and just have thinner brownies. If you want to double the recipe, you can certainly do so. Just multiply everything x2. Reduce oven temp by about 25F and increase baking time accordingly. You’ll just have to check for doneness by sticking a toothpick in the center of the cake every few minutes. I wish I could be more specific than that, but baking-until-done is a pretty subjective thing and everybody’s ovens are different. If you find that the top of the brownies are over-browning, simply tent the pan with some aluminum foil.

    Thanks Jenni and for those of you who don’t know Chef Jenni, please read my interview with a pastry chef and visit her web site Pastry Chef Online. – RG

  5. 5 stars
    Love the recipe! I like the approach, and I like how you are teaching us more about brownie theory here as well as the recipe itself. I like the simple instruction… Thanks again; I’m excited to taste how they turn out!

    Hi Kyle, let me know how it works out for you. – RG

  6. They’re working out great for me… been liking the semi-sweet recipe, and adding a bit of artisan 100% cacao in substitute for some of the semisweet. This recipe is quite a good base for my experimenting. I wanted to ask… do you by chance have a variation of the recipe for 34% (cocoa butter, i think) white chocolate brownies?

    Let me see what I can come up with or maybe another visitor may have some ideas – RG

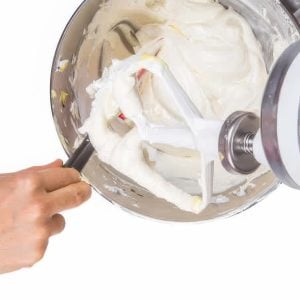
  7. you know you’ve made them right if they slide out of your mixing bowl into the brownie pan in one gooey lump.

  8. I did the unsweetened recipe. It came out sooooooo good! I give a ten, among the best brownies I’ve ever had. Thank you!

  9. I made these brownies and they tasted delicious. I have one question..I used waxed paper to line my 9×13 pan..up the sides too..I also greased the paper with margerine. I let them cool totally,but found it very hard to cut them in sections without it sticking to the knife. Should I have put them in the fridge to cool till cold?..any help would be appreciated!..they tasted great!

    Thank-you!

    1. Sticking to knife? Just use one of the plastic knives you get with takeout. Or buy a clear plastic(?) brownie spatula that you can use to cut and serve.

  10. @Sharon For me, part of the joy of a good brownie is how sticky/gooey it is! Chilling and using a hot knife for cutting will certainly cut down on the brownies sticking to your knife. Also, I would suggest using parchment over waxed paper to line your pans as the wax ends up melting into the outer layer of your brownies. I’m glad you enjoyed them and that the flavor was to your liking!

    I’ve also found that cutting brownies with a pizza cutter sprayed with pan spray works really well!

  11. Thank you for the recipe and better understanding of chocolate and making them with unsweetened vs. semi-sweet chocolate!

  12. I had to adjust a bit…I used 3 squares of semi sweet chocolate and then added a half cup of semisweet chips into batter. Eight would have been too much even for me. I used an 8×8 pan and it worked out fine, baked at 325 for 22 minutes. Nice texture. Next time I’ll use salted butter and skip adding the salt.

  13. I just bought the Unsweetened Chocolate in the box. How come the brownie recipe is no longer on the box? I hope the above recipe is the same as before.

  14. 5 stars
    Love, love, love this recipe. So simple, no fuss, easy (compared to many other recipes) — but most importantly, delicious! It’s my ideal brownie.

Leave a Reply

Your email address will not be published. Required fields are marked *

Recipe Rating


This site uses Akismet to reduce spam. Learn how your comment data is processed.