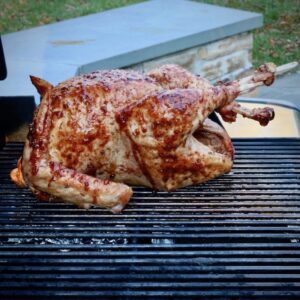
How to Roast a Moist Turkey This Year

Brining makes a turkey moister — it also demands a spare cooler and a day of fridge space most of us don't have. It's fine to skip it. Buy a Kosher turkey instead and let the salting from the koshering process do the same job for free.

Fast Answer

You don't need to brine a turkey to get a good result — it just gets you a little more moisture at the cost of real effort. If you want that benefit without the work, buy a Kosher turkey; the salt used in koshering acts as a built-in dry brine.

The Step You're Allowed to Skip

Brining works because salt relaxes the muscle fibers in the meat, helping it hold onto moisture while it cooks — it’s a real technique, not a myth. It’s also not the difference between a good turkey and a bad one.

If you don’t have the fridge space, the cooler, or the interest, skip it — a well-roasted turkey without a brine still turns out fine. And if you want the moisture benefit without doing the work yourself, an Empire Kosher turkey gets you most of the way there before you even open the package.

How To Prepare A Great Moist Roast Turkey For The Holidays

Most of us only cook turkey once a year at Thanksgiving, but we all want it to be perfect. I’ve tried many methods: breast up, breast down, whole, deconstructed, fresh, frozen, organic, and free-range turkeys. Each has its pros and cons.

Here are some tips for anyone roasting a turkey this year.


Should You Brine the Turkey?

  • Skipping it is fine. Brining gets you a moister turkey, not the difference between a good one and a bad one — plenty of great turkeys never see a brine.
  • Buy a Kosher turkey and skip the work entirely. Kosher turkeys are heavily salted as part of the koshering process, which functions as a built-in dry brine — you get most of the moisture benefit without doing anything yourself.
  • Dry-brine it yourself if you'd rather not buy Kosher. Salt the skin generously 24 to 48 hours ahead and leave it uncovered in the fridge — same mechanism as wet brining, no cooler or gallon of water required.
  • Wet-brine it if you want the most control. It's the most effort of the four options, but it's the traditional method and gives you room to add other flavors to the liquid — here's how, if you want to go this route.
Simple Brining Tips

Brining the Bird

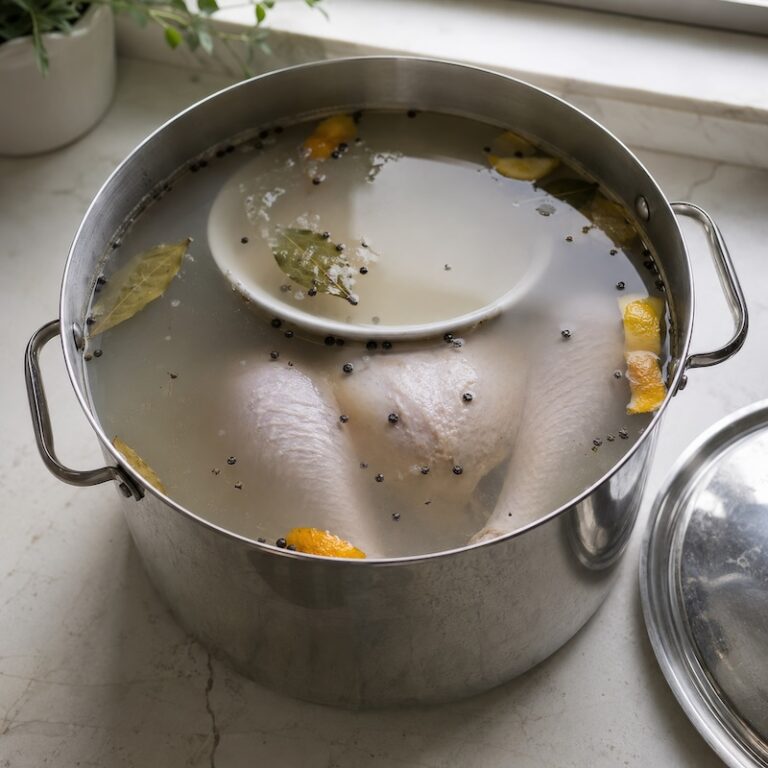
  1. Use a large, non-reactive container. I’ve used plastic buckets, coolers, and bags—just make sure to double- or triple-bag to avoid leaks.
  2. Make sure the turkey is fully submerged in brine. First, place the bird in the container, then remove it and measure the water. This tells you how much salt to use—about 1 cup of Kosher salt per gallon of water. Discard the first water and start fresh.
  3. Make the brine as directed below.
  4. Cover the turkey with brine. Ensure it’s completely submerged.
  5. The tricky part: place the container in the fridge for at least 12 hours, up to a full day. How many of us have room for a large turkey in the fridge? And if you do, there won’t be space for pumpkin pies or other meal ingredients.
  1. After brining, remove the turkey, rinse it thoroughly, and dry it in the fridge overnight. This helps the skin dry out. I’ve skipped this step before, and while the skin wasn’t as crispy, the turkey was still delicious.
 

 A Simple Brine Recipe

There are many brine recipes out there on the Internet and I’m sure some are much more creative than this one, but this one is a good start. A brine is a water and salt. The ratio is approximately 1 cup of salt to 1 gallon of water, but that is if you are using Diamond Crystal Kosher salt.

If you use Morton’s Kosher salt, you are supposed to use only 3/4 cup of salt per gallon of water. I guess Morton’s salt is saltier, but I don’t understand how that can be. The grains are smaller and less irregularly shaped, so they compact more than Diamond Crystal, but that is a guess.

I like to add some sugar to the brine and I’m sure if you look, you’ll find lots of other ingredients like juniper berries, fresh garlic and bay leaves you can add to your brine to give it its distinctive flavor.

This basic recipe makes a little over a gallon of brine. You may need more or less depending on the size of your turkey and container.

 
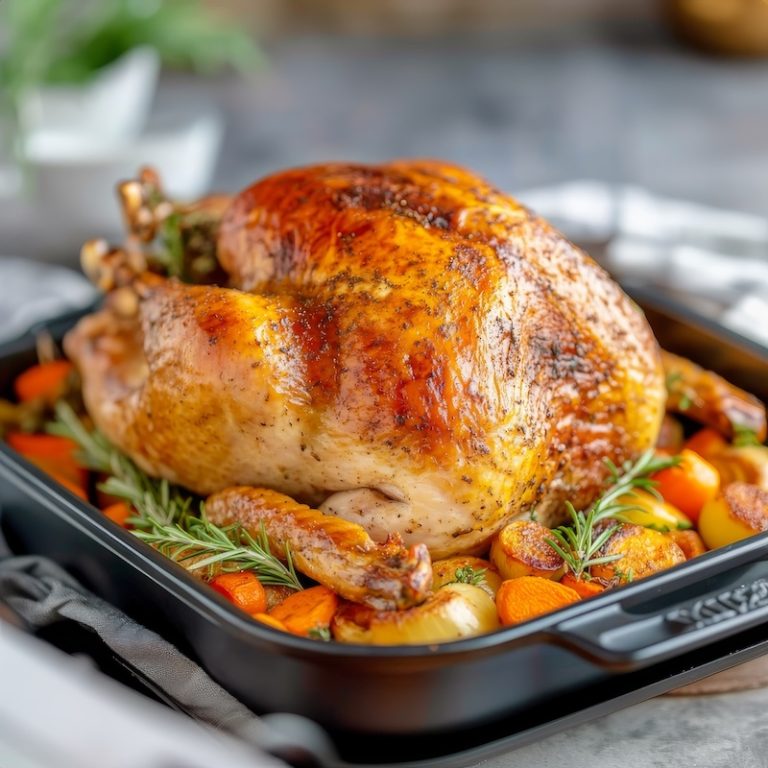
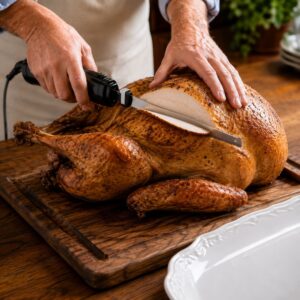
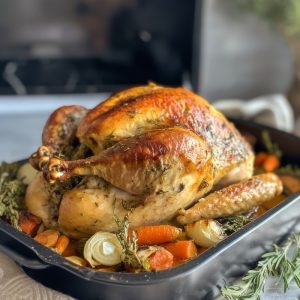
A beautiful roasted turkey
Beautiful Roasted Turkey

Roasting A Turkey

There are so many ideas on how to cook the perfect turkey. They range from barding the bird with fat and placing ice packs on the breast meat an hour before cooking to watch and wait for the little red popper to pop up (this last one is a bad idea, by the way).

Then there is the question of roasting the turkey breast side up or breast side down. Hmm, I’m sure you’ve all heard the pros and cons of both ways.

I have done them all ways, and I’m a huge fan of the ice packs to cool down the breasts before cooking, but I”m also a big fan of de-constructing the turkey by removing the legs and thighs, removing the backbone and separating the breasts and cooking the white meat and the dark meat at different times. This way, I have the carcass and backbone to make gravy stock.

If you decide to cook the bird whole and don’t want to chill the breasts with ice packs, I would cook the turkey breast side down. This way, gravity forces the juices to run down through the breast meat as the turkey is cooking.

Won’t look as pretty, but it should be slightly more moist. Remember, even if you cook your turkey breast side down, if you overcook it by just a little, it will taste dried out.


Give It A Rest

My last tip for this post is to let the roast turkey rest when it is done cooking. It’s been in that hot oven for hours and could use the rest to redistribute the juices throughout the meat, making them more moist.

This can take 30 minutes to an hour, depending on the size of the bird. You won’t get any rest at this point, but at least you’ll have more time to run around and prepare those mashed potatoes.


More Tips To Roast A Perfectly Moist Turkey

A whole turkey, perfectly cooked, juicy in thigh and breast and richly caramelized all over, is beautiful, but it is a rare bird. Turkeys are large; they have a big hole inside them.

They are thick in some places and thinner in others. They have appendages that dangle about and can burn.

The Rockwell picture of the happy family gazing at the perfect bird is just that – Rockwell picture, an idealized view of Americana. If you can let go of that picture, a couple of ways to cook your turkey almost ensure the perfect bird.

It just won’t be a perfect whole bird. Open yourself up to the possibilities and let go of the iconic roast turkey. You and your guests will be glad that you did.

These techniques work exceptionally well if you usually carve the turkey in the kitchen and plate it before bringing it to the dining table. Everyone knows what a classic Thanksgiving bird looks like, but I’m sure they will be much happier to have carved moist turkey meat in exchange for a gorgeous-looking dried-out bird.


Which Roasting Method Fits You?

  • Want the fastest cook time and don't mind a less traditional presentation? Spatchcock it — flatter, faster, more even cooking.
  • Want the most control over doneness and don't mind using two pans? Cook the dark and white meat separately — each comes out at exactly the right temperature instead of splitting the difference.
  • Want the classic whole-bird presentation for the table? Go classic, and add a compound butter under the skin to protect the breast meat as it roasts.
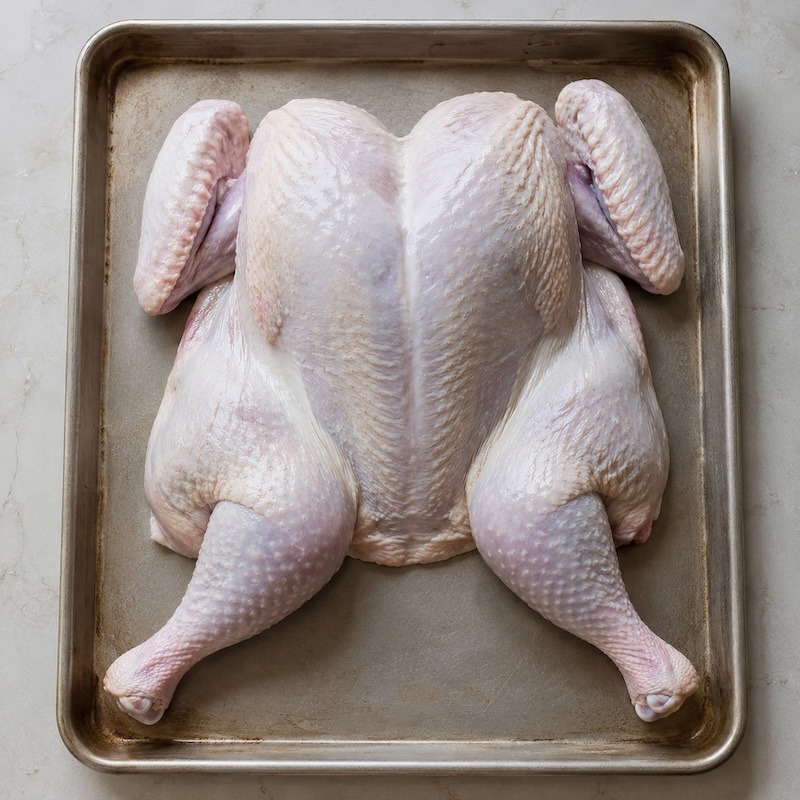
A spatchcocked turkey on a roasting pan

Option 1 – Spatchcocking

To spatchcock a turkey (or a chicken, for that matter), lay the turkey breast side down on a stable surface, and using heavy-duty kitchen shears, cut along either side of the backbone, through the rib cage. This will take a little muscle.

Once you have the backbone out, save it for soup or stock. Now, turn the turkey back over and press down hard on the breastbone. This will crack the bone, and you can press the turkey flat.

What good does this do? Now, your meat is a much more even thickness. The legs and thighs will be nicely exposed to the heat, and the breast meat will be a little protected.

Now all you have to do is lay him out in a roasting pan – I usually set him on a “raft” I create by laying carrots and celery stalks in the roasting pan. This keeps the bird off the bottom of the pan and helps build wonderful flavor for your gravy.

Roast your bird at about 375º F until the breast meat registers about 155ºF and the thigh reads about 175-180º F” → “Roast your bird at about 375°F until the breast meat registers 160°F and the thigh reads 175–180°F

The roasting time will be much less for a spatchcocked bird than for a whole bird. This is good because your oven will be freed up for other items that need to be baked.

Start checking with an instant-read thermometer at one hour for a 14-pound bird. Once the bird is done, remove it from the oven, remove it to a platter and cover with foil to rest for 20 minutes to half an hour while you make the gravy in the roasting pan.

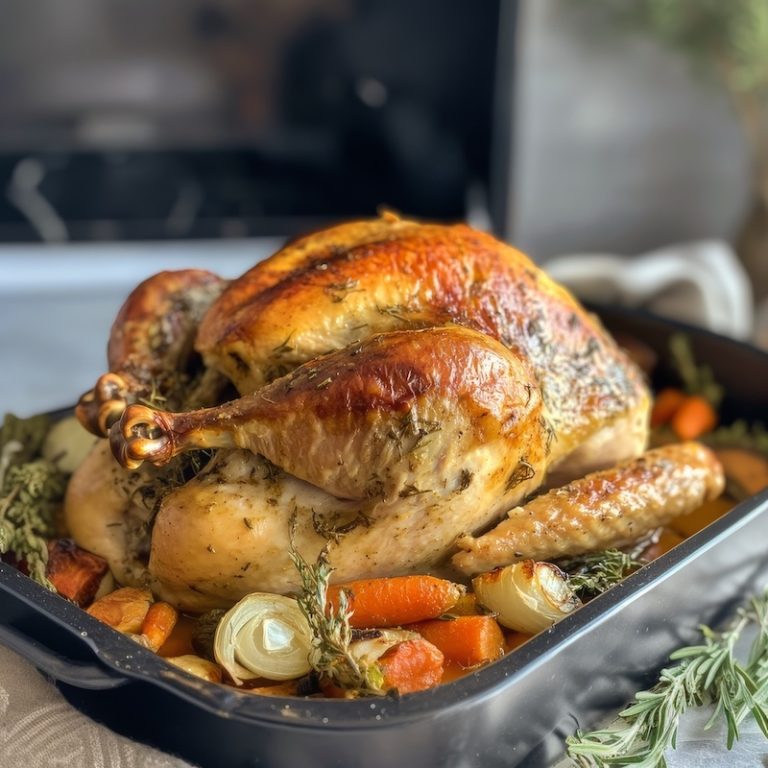
Option 2 – Removing the Thighs and Drumsticks Before Roasting

This is the same deconstructing method covered in full here — the reason it belongs on this page, too, is moisture: cooking the legs and breast separately means each comes out of the oven at exactly the right temperature, instead of one being sacrificed for the other.

You can build a vegetable raft, as above, or put a 1-2 inch layer of stuffing underneath the meat (if you want the drippings for something other than gravy-making). With the two-pan method, you can remove the white meat from the oven at 155ºF and the dark meat at 175ºF.

Once the meat is done, cover and let it rest while you continue to cook the stuffing to a safe internal temperature and a crisp, brown crust.

Option 3 – Classic roasting of Bird With a Protective Layer

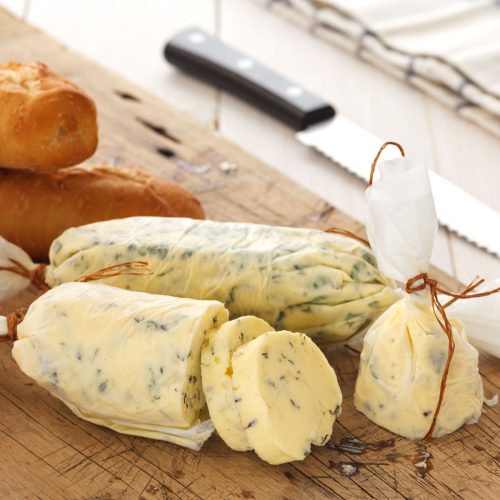
If you can’t bring yourself to present anything other than a whole bird at your Thanksgiving table, help protect the lean white meat by adding a layer of compound butter under the skin.

While the turkey roasts, the butter will melt and keep the meat moist (not to mention add flavor to the pan for gravy), while the herbs will stay put, giving you an excellent green layer of flavor between the caramelized skin and the white meat.

It looks beautiful, and it is tasty, too. This is the compound butter you might try, but of course, you can use any combination of flavors you would like.

Compound Butter Recipe
Compound Butter
Compound Butter Recipe
Print Recipe
No ratings yet

Compound Butter

How to Make Compound Butter
Prep Time10 minutes
Cook Time5 minutes
Refrigeration1 hour
Total Time1 hour 15 minutes
Course: Garnish
Cuisine: American
Keyword: butter

Ingredients

  • sticks butter unsalted, slightly softened
  • 1 small shallot roughly chopped
  • 1 handful flat leaf parsley
  • 3 sprigs fresh savory leaves removed, stems discarded
  • 3 sprigs fresh marjoram leaves removed, stems discarded
  • Kosher salt and white pepper to taste
  • zest of 1 lemon
  • ½ teaspoon Old Bay seasoning or to taste

Instructions

  • Spin everything in a food processor until all the ingredients are blended, and the herbs are finely chopped. The butter should be a lovely mostly-uniform bright green.

Frequently Asked Questions

What is the secret to a moist turkey? There isn’t one single secret — it’s a combination of not overcooking it, letting it rest before carving, and optionally starting with a brined or pre-salted bird. Of the three, avoiding overcooking matters most; a correctly pulled, properly rested turkey stays moist with or without a brine.

Do I really need to brine my turkey? No. Brining gets you a moister turkey, not the difference between a good one and a bad one. Skip it if you don’t have the time or fridge space, and focus on pulling the turkey at the right temperature instead — that matters more.

What’s the difference between wet brining and dry brining? Wet brining submerges the turkey in a saltwater solution, usually for 12 to 24 hours. Dry brining is salting the skin directly and leaving it uncovered in the fridge for 24 to 48 hours. Dry brining requires less equipment and yields crispier skin; wet brining is more traditional and lets you add other flavors to the liquid.

Does a Kosher turkey need to be brined? No — skip it. Kosher turkeys are salted heavily as part of the koshering process, which acts as a built-in dry brine. Brining one on top of that risks making it too salty.

Which roasting method gives you the moistest turkey? Spatchcocking and cooking the dark and white meat separately both outperform a classic whole roast for moisture, since each lets you pull the white and dark meat at their own optimal temperatures rather than compromising between them. Classic whole-bird roasting can still turn out moist — it just needs a bit more help, like a compound butter under the skin.

Leave a Reply

Your email address will not be published. Required fields are marked *

Recipe Rating


This site uses Akismet to reduce spam. Learn how your comment data is processed.