
Fast Answer
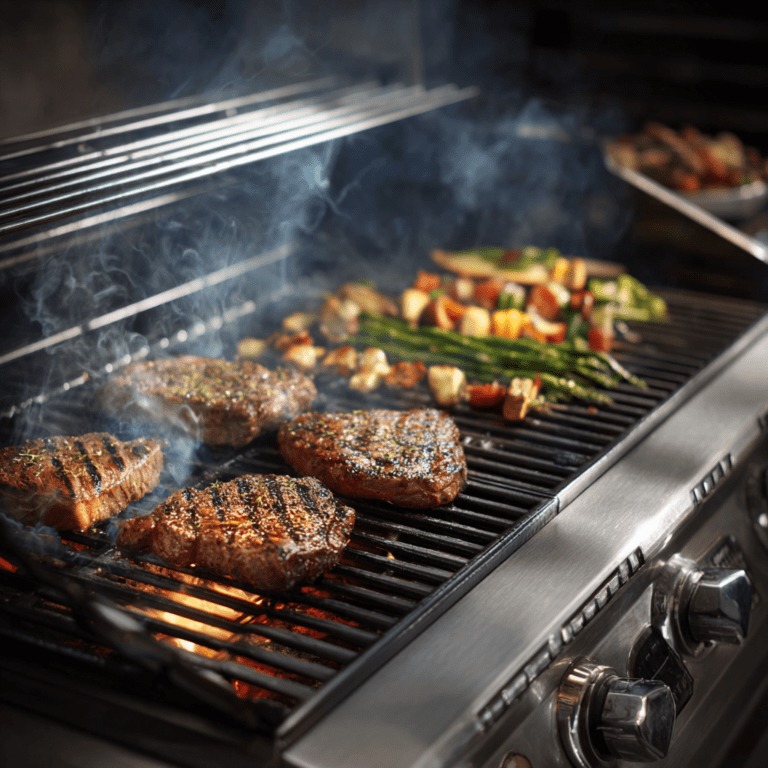
Gas grilling works best when you control heat zones instead of cooking everything directly over high flame. Once you understand heat management, lid control, and timing, you can grill juicier food with fewer flare-ups and better flavor.
Grilling With Gas: The Smart Way to Cook Juicy, Flavorful Food
Grilling with gas gives you speed, convenience, and control, but great results still depend on technique. Understanding heat zones, lid position, preheating, and timing helps you cook food evenly without burning the outside or drying out the inside.
This guide explains not just what to do, but why it works, so you can grill steaks, chicken, seafood, vegetables, and burgers with more confidence and consistency.
Start Here
- Best for: Home cooks who want predictable grilling results without constantly guessing.
- Use this technique when: Cooking steaks, burgers, chicken, seafood, vegetables, or anything that benefits from controlled heat.
- You’ll know it’s working when: Food browns evenly, flare-ups stay manageable, and the inside cooks before the outside burns.
- Main goal: Build heat control instead of relying on cooking times alone.
Why Gas Grilling Works
- Gas grills heat quickly: You can create stable cooking zones in minutes.
- The lid acts like an oven: Closing it traps heat and cooks food more evenly.
- Multiple burners create flexibility: You can sear on one side and finish gently on another.
- Consistent heat improves control: Small burner adjustments make a big difference in cooking speed.
- Direct and indirect cooking work together: Sear first, then finish without burning.
Think Like a Cook
- The grill is not one temperature. Great grillers create hot zones, medium zones, and safe zones.
- Move food instead of panicking. If something cooks too fast, relocate it instead of constantly flipping.
- Fire is only one part of cooking. Airflow, lid position, food thickness, and moisture matter just as much.
- Control beats intensity. High heat is useful for searing, but steady heat cooks food better.
Step-by-Step Technique Guide
- Preheat the grill: Heat the grill for 10–15 minutes with the lid closed so the grates fully heat up.
- Create heat zones: Leave one burner lower or off to create a cooler safety area.
- Clean and oil the grates: Hot clean grates reduce sticking and improve grill marks.
- Sear first if needed: Use direct high heat to build color and flavor.
- Move thicker foods: Transfer chicken, bone-in meats, or large cuts to indirect heat to finish cooking.
- Use the lid strategically: Closed lid for thicker foods, open lid for quick-cooking foods and flare-up control.
- Watch the food, not just the clock: Texture, smell, browning, and internal temperature tell the real story.
- Rest before serving: Resting helps juices redistribute instead of spilling onto the plate.
Visual Cues That Tell You It’s Working
- Steady sizzling: Gentle consistent sizzling means the grill temperature is balanced.
- Even browning: Deep golden or brown color signals proper caramelization.
- Light smoke: Thin wisps of smoke are good. Thick black smoke usually means grease is burning.
- Food releases naturally: Protein sticking hard to the grate often means it is not ready to flip yet.
- Firm texture: Food gradually firms as proteins cook and moisture redistributes.
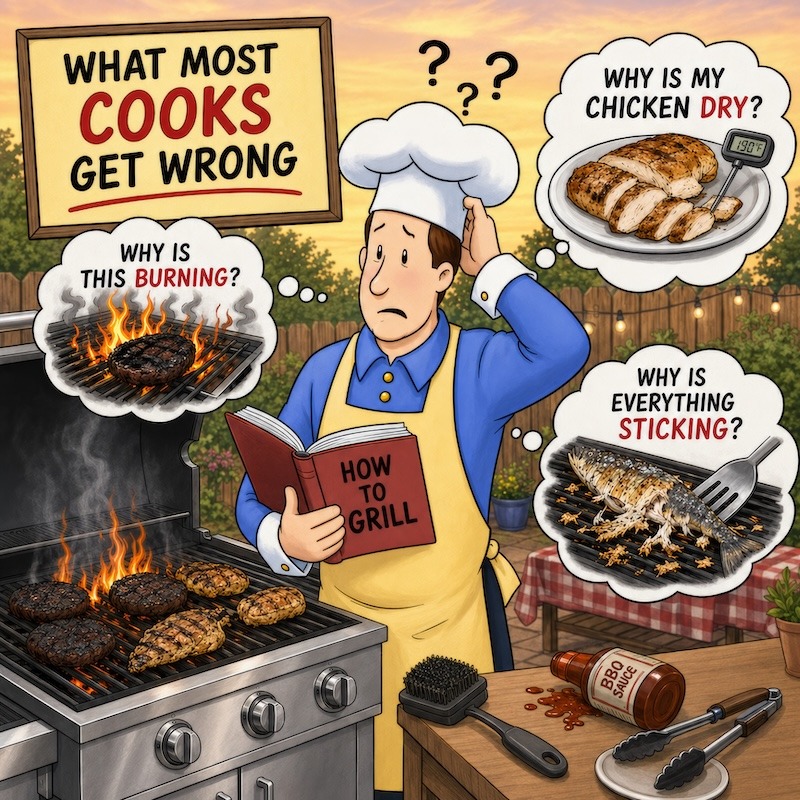
What Most Cooks Get Wrong
- Everything over high heat: Constant high heat burns the outside before the inside cooks.
- Skipping preheating: Cool grates cause sticking and uneven cooking.
- Too much flipping: Constant movement prevents proper browning.
- Ignoring zones: Without a cooler area, flare-ups become emergencies.
- Pressing burgers: This squeezes out juices and increases flare-ups.
- Trusting time alone: Thickness and grill temperature change cooking speed dramatically.
Quick Diagnosis Strip
| Problem | Likely Cause | Quick Fix |
|---|---|---|
| Food burns outside first | Heat too high | Move to indirect heat |
| Food sticks badly | Cold or dirty grates | Preheat and oil grates |
| Constant flare-ups | Excess grease over flame | Move food temporarily |
| Dry chicken | Cooked entirely over direct heat | Finish indirectly with lid closed |
| No grill marks | Grates not hot enough | Preheat longer |
| Uneven cooking | No heat zones | Use multi-zone setup |
Quick Fixes & Pro Tips
- Keep one burner off: This instantly gives you a rescue zone for flare-ups.
- Dry food before grilling: Moisture slows browning and increases sticking.
- Use a thermometer: Internal temperature removes guesswork.
- Rotate instead of flipping repeatedly: Quarter turns improve grill marks and even browning.
- Oil the food lightly: Too much oil causes unnecessary flare-ups.
- Keep the lid closed more often: Constant peeking releases heat.
Control the Variables
- Heat: High heat sears quickly. Medium heat cooks more evenly.
- Thickness: Thick cuts need indirect finishing time.
- Moisture: Wet surfaces steam instead of brown.
- Lid position: Closed lid traps heat like an oven.
- Sugar in marinades: Sugary sauces burn faster over direct heat.
- Fat content: Fat adds flavor but can trigger flare-ups.
- Wind and weather: Outdoor conditions affect grill temperature more than most cooks realize.
When to Use Gas Grilling
- Great for: Weeknight cooking, burgers, steaks, chicken, seafood, vegetables, and quick grilling sessions.
- Excellent when consistency matters: Gas grills provide predictable heat control.
- Best for learning heat management: Burner control helps new grillers understand cooking zones.
- Not ideal for: Deep smoky barbecue flavors that require long charcoal or wood cooking.
- Less effective for: Extremely high-heat live-fire cooking styles.
Apply This to Real Food
- Steaks: Sear hot, then move to indirect heat if thick.
- Chicken thighs: Start direct for color, finish indirect for juicy meat.
- Burgers: Medium-high direct heat with minimal flipping.
- Salmon: Moderate heat prevents sticking and overcooking.
- Vegetables: Medium heat helps caramelize without burning.
Gas Grill FAQ
Frequently Asked Questions About Grilling With Gas
Should I grill with the lid open or closed?
Use the lid closed for thicker foods like chicken, bone-in cuts, and large steaks. Leave it open for thin foods, quick searing, or flare-up control.
Why does food stick to my gas grill?
Food usually sticks because the grates were not hot enough, clean enough, or lightly oiled before cooking.
What temperature should a gas grill be for most cooking?
Medium-high heat, around 400–450°F, works well for most grilling. Lower heat works better for thicker cuts and indirect cooking.
How do I prevent flare-ups on a gas grill?
Trim excess fat, avoid too much oil, and create a cooler zone where food can be moved temporarily.
Should I oil the grill grates or the food?
Lightly oiling the food is usually safer and more controlled than spraying oil directly onto hot grates.
Why is my chicken burned outside but raw inside?
The heat is likely too high. Start over direct heat for color, then finish over indirect heat with the lid closed.
How long should I preheat a gas grill?
Most gas grills need 10–15 minutes to fully heat the grates and stabilize the cooking temperature.
Is gas grilling healthier than frying?
Grilling can reduce added fats while allowing excess grease to drip away during cooking.
Do gas grills produce enough smoky flavor?
Yes, especially when fat drips vaporize on hot surfaces, though charcoal generally creates stronger smoke flavor.
One Response
i still prefer gas grills over electric grills because the smoke somehow improves the flavor of the meat.