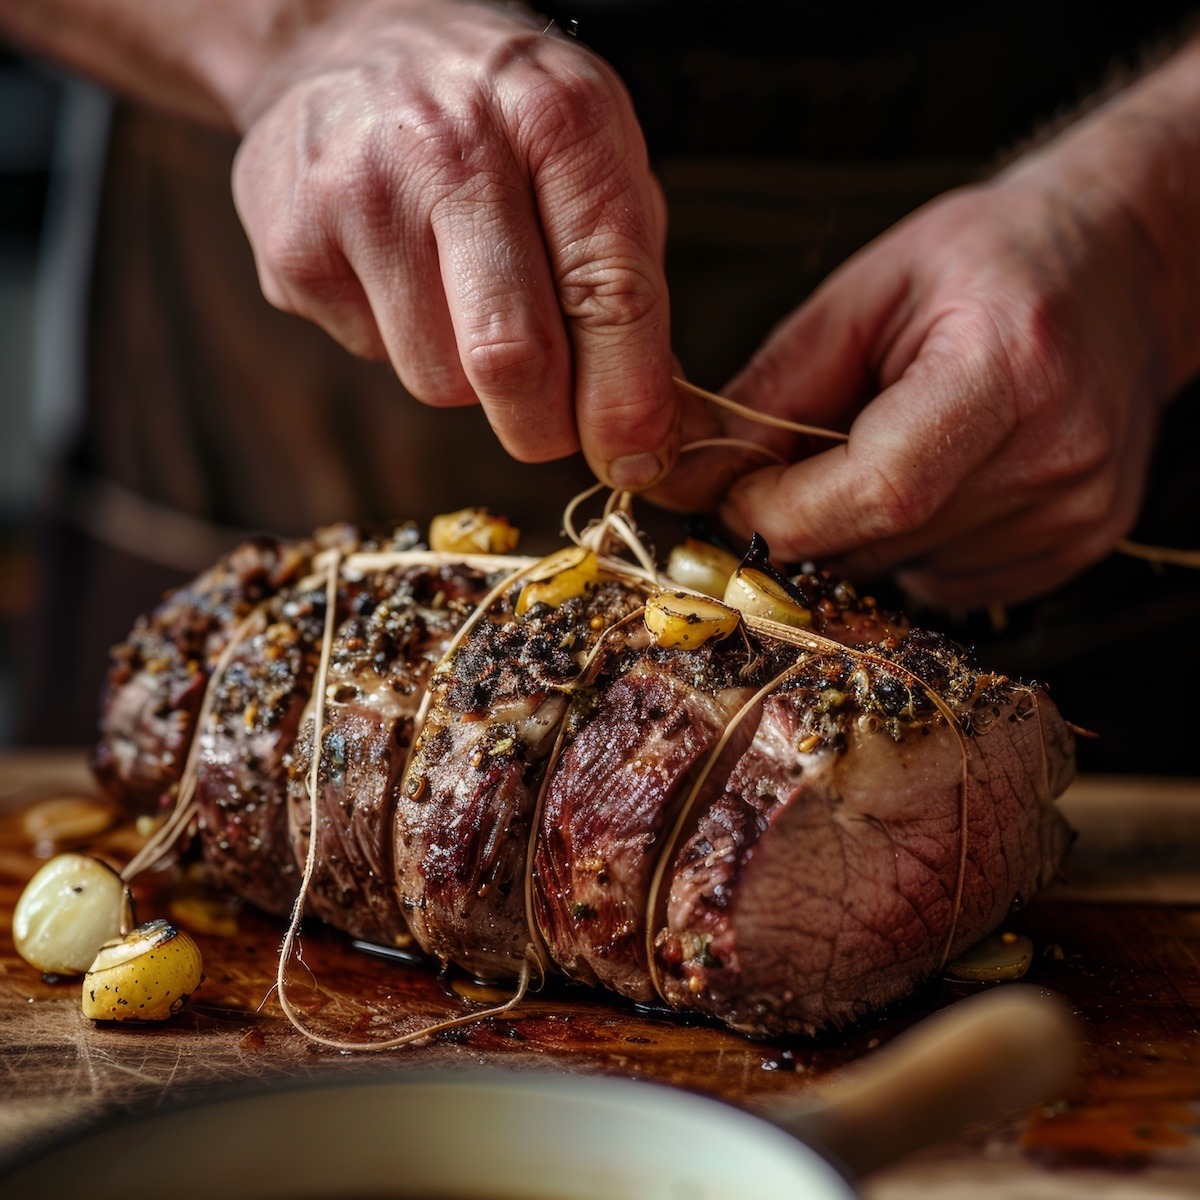
How To Truss Meats To Roast & Why You Should Do It
Tying a roast is a skill that every home cook should strive to master, as it can significantly elevate your culinary prowess. Not only does it help the roast maintain its shape, but it also ensures even cooking and locks in those delectable juices.
Whether preparing a succulent beef tenderloin, a flavorful pork loin, or a classic holiday turkey, mastering the art of tying a roast can make a significant difference in your final dish. This technique, often called trussing, involves using kitchen twine to secure the meat, creating a compact and uniform shape that promotes even heat distribution.
In this post, I’ll guide you through the step-by-step process of tying a roast, offering tips and tricks to make it simple and effective. With a bit of practice, you’ll achieve a perfectly cooked, beautifully presented roast that will not only impress your family and guests but also give you a sense of culinary accomplishment.
Why Truss A Roast In The First Place?
Cooks truss roasts before cooking for several important reasons:
- Even Cooking: Trussing ensures the roast cooks evenly by creating a uniform shape, allowing heat to distribute more consistently throughout the meat.
- Maintains Shape: It helps the roast maintain its shape during cooking, preventing it from spreading out or becoming misshapen.
- Enhanced Presentation: A trussed roast is more appealing and professional, making it more visually attractive when served.
- Juice Retention: Tying the roast helps to hold in juices, keeping the meat moist and flavorful.
- Stuffing Security: Trussing keeps the stuffing securely inside for stuffed roasts, ensuring it stays in place and cooks evenly with the meat.
- Uniform Texture: Trussing promotes a more uniform texture throughout the roast by keeping the meat compact.
- Crispy Skin: When roasting poultry, trussing can help achieve crispy skin by keeping the bird compact, allowing even more browning.
Trussing Technique
Trussing a roast involves a few straightforward steps. Here’s a simple guide to help you properly truss a roast:
- Prepare Your Materials:
- Ensure you have kitchen twine, scissors, and your roast ready.
- Position the Roast:
- Place the roast on a cutting board with the fat side up.
- Anchor the Twine:
- Cut a long piece of kitchen twine. Slide one end under the roast at one end, then tie a knot on top to secure the twine.
- Loop and Tie:
- Make a loop around the roast, about 1-2 inches from the initial knot. Pull the twine tight to keep the loop in place.
- Continue Looping:
- Continue this process along the length of the roast, making evenly spaced loops (about 1-2 inches apart) and pulling the twine tight after each loop.
- Secure the Ends:
- When you reach the end of the roast, flip it over and run the twine lengthwise along the bottom, then tie it off at the initial knot to secure everything in place.
- Trim Excess Twine:
- Use scissors to trim any excess twine, ensuring the knots are secure but not too tight to cut into the meat.
- Check Tightness:
- Ensure the twine is snug but not overly tight, allowing for even cooking and expansion during roasting.
Following these steps will result in a neatly trussed roast that cooks evenly, retains its shape, and presents beautifully when served.
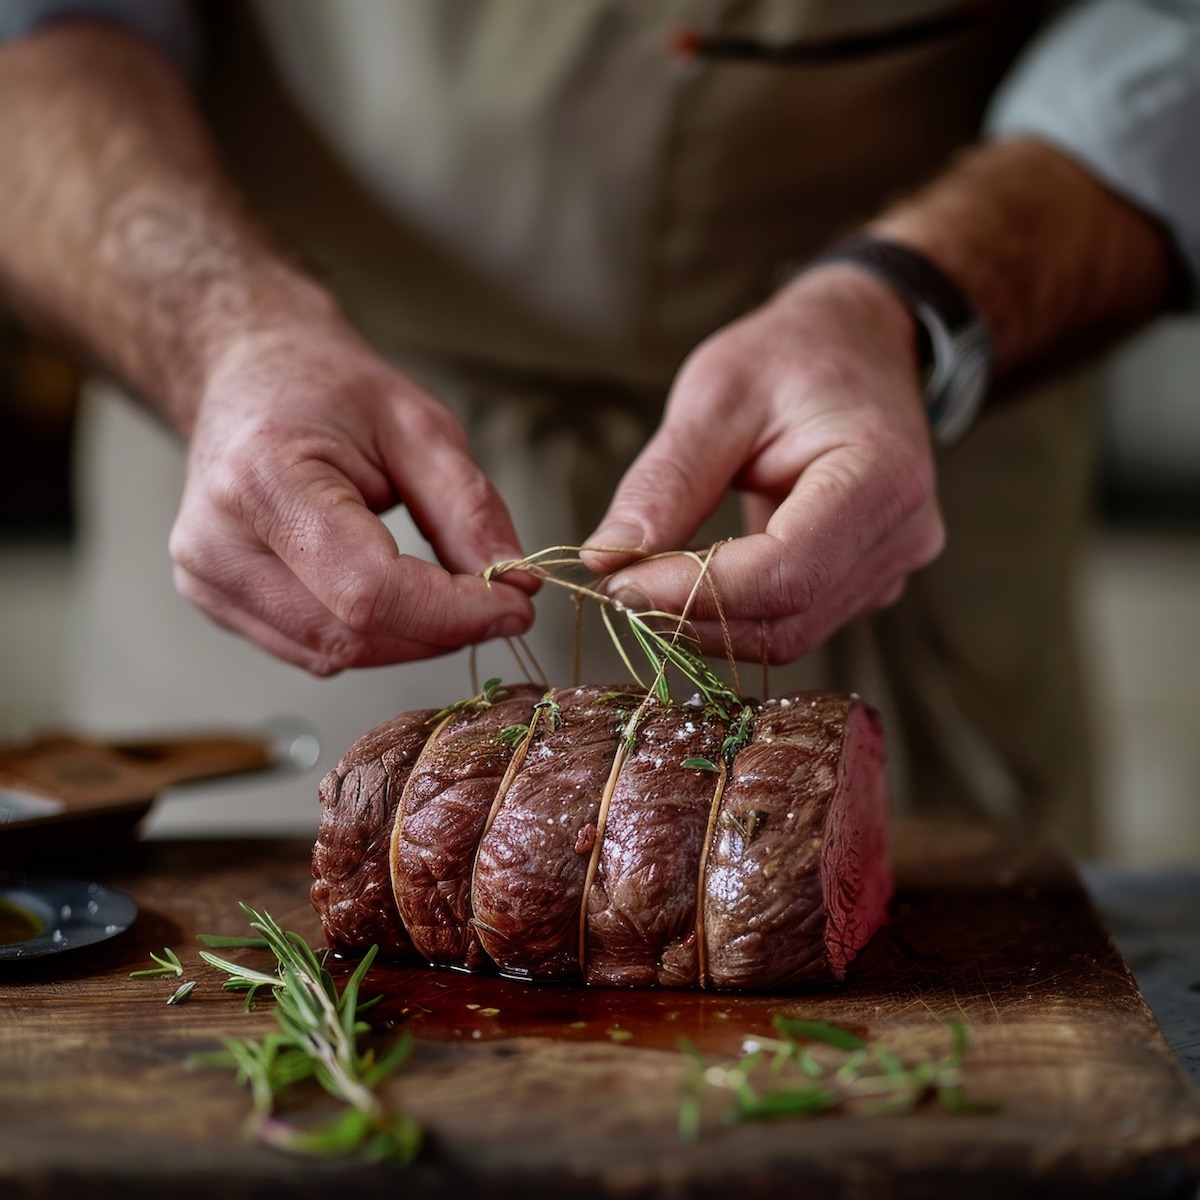
Trussing Videos
I compiled a collection of cooking videos that best represented how to tie a roast before cooking. This may seem simple to some more experienced cooks or those who love to tie knots, but to those who were never scouts or don’t tie that many roasts, this can be very helpful.
I could explain how to tie the knot that holds a piece of meat together for roasting, but it is a lot simpler to just watch how it is done. I’m hoping that after you watch these videos a few times, you’ll have the confidence to grab some butcher string and start tying.
If you don’t have a roast lying around to practice on, improvise with a kitchen towel, a small pillow, or a large sneaker. Whatever works!
From these videos, I also learned that it is a good idea to tie roasts, both the kind I cook in the oven and the type I braise in a Dutch oven or crock pot. To be honest, I don’t often do this, and yes, when I cook a pot roast in my crock pot, it all falls apart.
This technique is especially important when stuffing a piece of meat, such as a flank steak or butterflied pork loin.
Chef Edward Leonard Ties a Roast
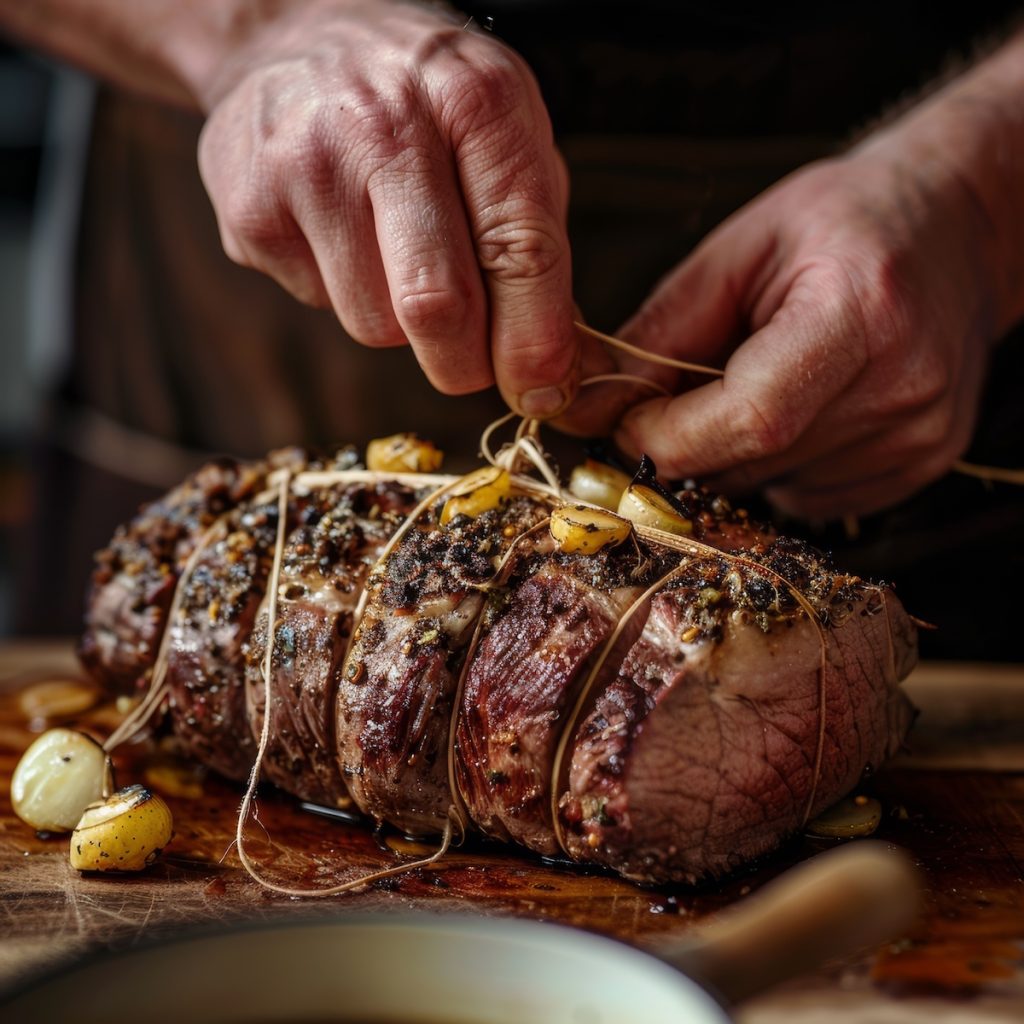
Here Deliciousmagazineuk shows us how to tie and roll a pork loin so it can cook evenly:





One Response
Now I know where to go for roast tying tips. Gotta practice my knots. Where’s the string, where’s the dog?