Fast Answer
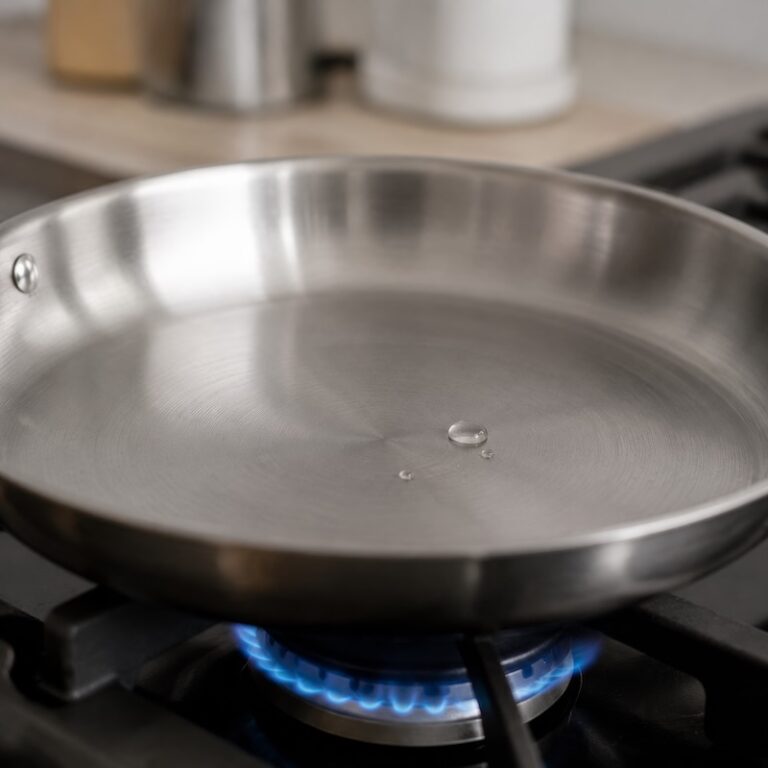
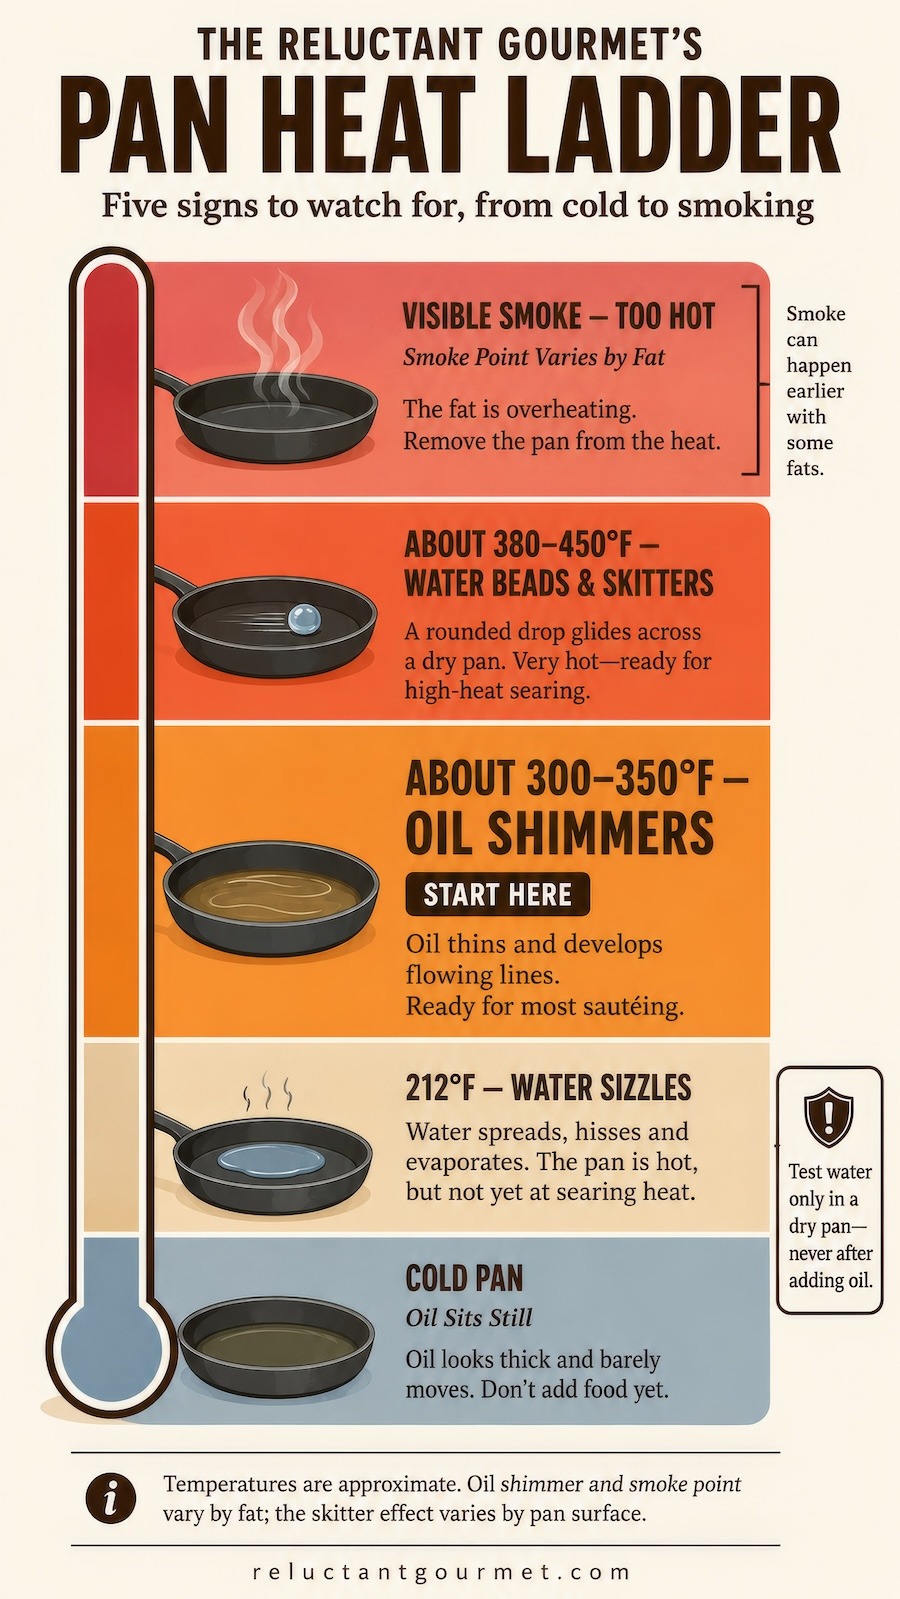
Your pan is ready when oil poured in shimmers and moves easily within a few seconds — that's the real "go" signal for sautéing and searing. A drop of water sizzling and evaporating on the dry pan is a good early sign the pan is heating up, but it fires off well before the pan is actually hot enough to cook on, so don't treat it as the finish line on its own.
What Chef Ricco Got Right in Four Words
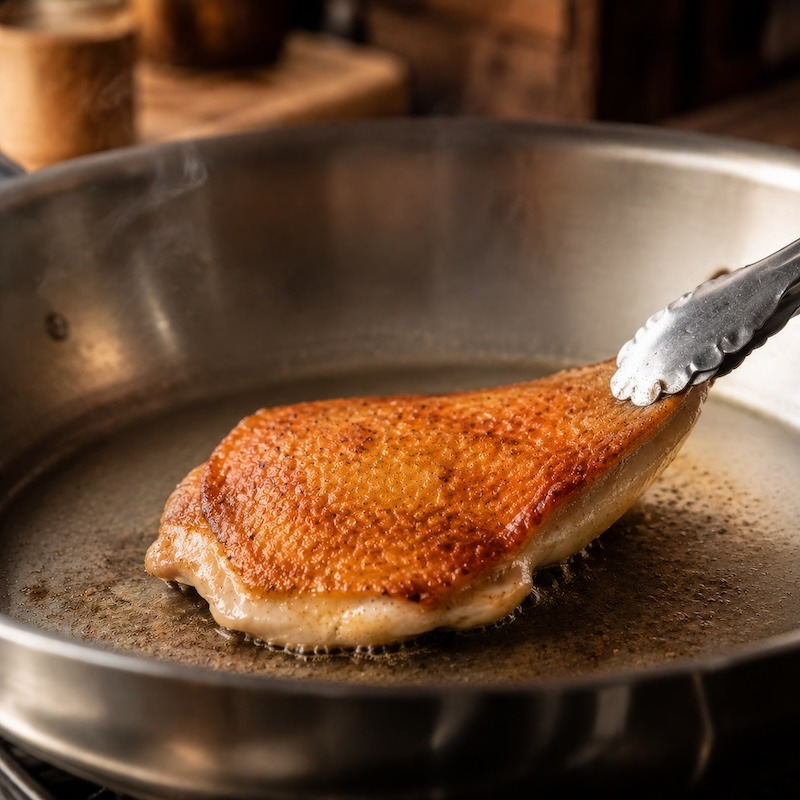
Sear, not steam — that’s the whole idea. A pan that’s too cool doesn’t brown anything; it just traps moisture and turns your dinner grey and soggy. You don’t need a thermometer or years of line-cook instinct to fix that.
You need two quick tests, both taking about ten seconds, and a rough sense of what “hot enough” actually looks and sounds like. That’s what the rest of this covers.
Step-by-Step: Getting the Pan Ready
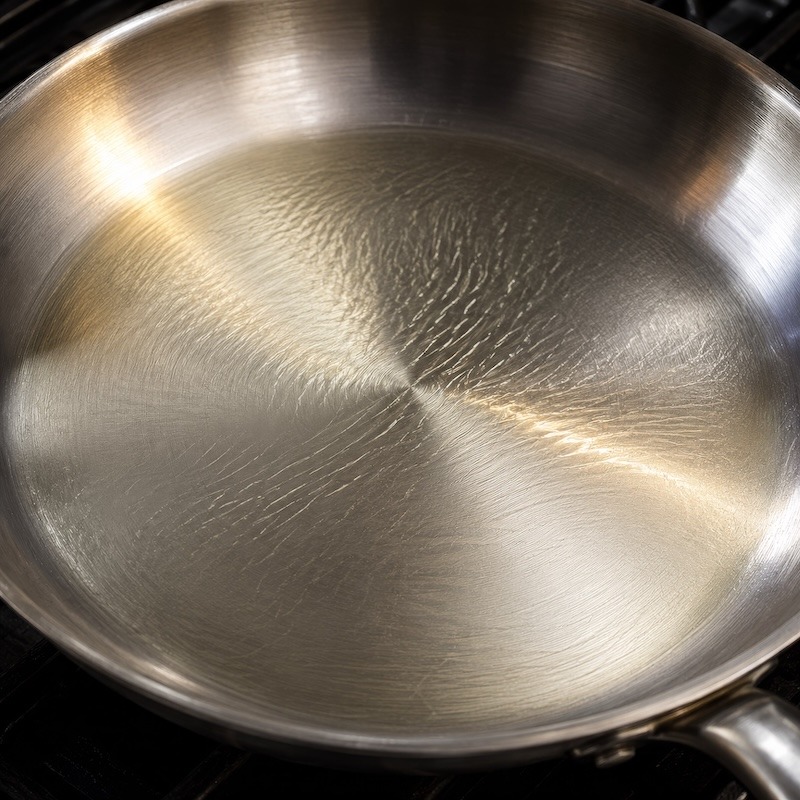
- 1. Heat the empty pan first. Medium to medium-high heat, no oil yet. Look for: nothing dramatic — just an empty pan sitting on the burner for 2 to 3 minutes.
- 2. Test with a drop of water. Flick a few drops onto the dry pan. Look for: the water sizzling and evaporating within a couple of seconds — that confirms the pan's cleared 212°F and is heating up as expected. If it just sits there and slowly disappears, give it another minute. This is an early checkpoint, not the finish line — keep going.
- 3. Add the oil and watch it. Pour in a splash and swirl it around. Look for: the oil thinning out and moving easily, developing a shimmer or faint rippling lines within a few seconds — not smoking. This is the real "ready to cook" signal, not the water drop.
- 4. Add the food. Look and listen for: an immediate, steady sizzle. Silence means the pan cooled off or was never hot enough to begin with.
- 5. Don't crowd it. Look for: space between pieces of food. If they're touching, the pan's temperature drops and you're back to steaming.
- Going for a hard sear (like a steak)? Push the pan hotter and try the water-drop test again — instead of a quick sizzle, the drop will bead up and skitter across the surface before it disappears. That's the Leidenfrost effect, and it means you're in true high-heat searing range, roughly 380–450°F. It's a distinct, hotter phenomenon from the sizzle test in step 2, not the same test at a bigger scale.
What Most Cooks Get Wrong
- They add food to a pan that only looks hot. A pan can look ready — a little shine, some warmth rising off it — without actually being hot enough. The water-drop test exists because looking isn't reliable; testing is.
- They wait for smoke instead of shimmer. Smoke means the fat is already past its prime, not that the pan just reached temperature. By the time you see real smoke, you've usually overshot.
- They crowd the pan. Adding too much food at once drops the pan's temperature all at once — exactly the cold-pan problem Chef Ricco was warning about, just arriving mid-cook instead of at the start.
What Went Wrong (and Why)
- Food is grey and watery instead of browned → pan wasn't hot enough before the food went in → wait for the water-drop test to pass before adding oil next time.
- Oil started smoking almost immediately → pan was too hot, or the wrong oil for the heat level → pull the pan off the burner, wipe it out, and start again slightly cooler.
- Food is sticking badly → pan or oil wasn't fully heated when the food went in → let the food be; it usually releases on its own once a crust has formed.
- Butter burned instead of browning → pan was already too hot for butter alone → mix butter with a higher-smoke-point oil, or add the butter later in the cook.
- Everything cooked unevenly → the pan was crowded → cook in batches instead of filling the pan at once.
Why This Works
- Heat, not time, causes browning. Food only browns once the pan's surface is hot enough to trigger a reaction between the proteins and sugars in your food. Below that point, a warm-ish pan just heats things slowly, and moisture escapes as steam instead of browning anything.
- Steam is the enemy of a good sear. A cold or lukewarm pan can't evaporate that moisture fast enough, so the food sits in its own steam instead of touching a dry, hot surface — that's the difference between browned and grey.
- Once the pan is hot enough, everything speeds up. Browning that would take forever at low heat happens in a minute or two at the right temperature — a properly hot pan is often faster, not slower, than a timid one.
Control the Variables
- Pan material: controls how fast it heats and how evenly it holds that heat. Cast iron takes longer to heat but holds steady; stainless heats fast but can develop hot spots; nonstick should stay at medium at most.
- Fat choice: controls your ceiling. Butter alone burns early; refined oils like avocado or canola handle much higher heat before smoking.
- Food type: controls how hot you actually need to go. Delicate food like fish or eggs wants medium heat; steak or chicken thighs can take medium-high to high.
- Batch size: controls whether the pan stays hot. A crowded pan loses heat fast — cook in smaller batches instead of one crowded one.
When to Use This (and When Not To)
- Use a hot, preheated pan for: searing meat, sautéing vegetables, pan-frying fish — anything where you want browning and a crust.
- Ease off the heat for: delicate foods like eggs or thin fish fillets, where too much heat toughens or overcooks the outside before the inside is done.
- Don't chase maximum heat for: reducing a sauce — you want steady, watched heat there, not a screaming-hot pan you can't control.
Apply It to Real Food
- Chicken breast or thighs: medium-high heat, pat the meat fully dry first — surface moisture is exactly the steam problem Chef Ricco was talking about.
- Fish fillets: medium heat, and be patient — let the fillet sit undisturbed until it releases on its own instead of forcing it with a spatula.
- Steak: medium-high to high heat for a real crust; this is the one place where erring hotter usually serves you better.
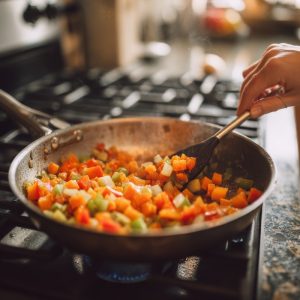
- Vegetables: medium-high, and don't crowd the pan or they'll steam in their own moisture instead of caramelizing.
- Eggs: medium or lower — the exception to "hotter is better." Too much heat toughens eggs fast.
The Hands-Over-Pan Technique
You may have seen a cook test a pan’s heat by holding a hand over it until the heat becomes too much to bear. It’s not a bad instinct —just an inconsistent one; everyone’s heat tolerance is different, so what feels scorching to one cook is nothing to another.
Water simmers at 185°F but doesn’t turn to steam until 212°F, so a drop that sizzles and evaporates on contact confirms the pan has cleared that 212°F threshold — a concrete number behind the water-drop test, not just a visual guess. An infrared thermometer will tell you the same thing directly, if you have one.
Worth keeping distinct from a hotter, different-looking version of the same test: push the pan well past this point, into real searing range, and a water drop stops sizzling flat and starts beading up and skittering across the surface instead. That’s the Leidenfrost effect, and it’s a separate, hotter signal (see the searing note in the Step-by-Step guide above), not a bigger version of the sizzle here.
One distinction worth keeping separate: a hot pan and hot fat aren’t the same milestone. Once the pan is ready, the butter or oil still needs its own moment to catch up — and if you drop in cold butter straight from the fridge, it cools the pan and delays the fat from ever reaching temperature.
The Ideal Temperature
Not every dish needs that deep sear in the first place. Chef Todd Mohr made this point to me:
Caramelizing sugars may not always be the goal, so the pan needn’t be 320°F all the time. That’s just my target zone to get a nice brown color on a protein product for plate presentation. Caramelization may not be the goal if you’re going to use the chicken in another preparation where color or texture isn’t important.
Let’s say you’re making chicken burritos. A caramel “crust” on a chicken breast that will be shredded, wrapped in a tortilla with sauce, and baked again, may not be the best method. Then, 320°F isn’t the goal. However, you always want to ensure the pan is above 165°F, where proteins coagulate and cooking begins.
That 165°F figure is Todd’s practical benchmark, not a universal law of protein science—actual coagulation starts lower and varies by protein; egg whites, for instance, start around 145°F. It lines up with the USDA’s minimum safe internal temperature for cooked poultry specifically, which is likely where the number comes from, but it isn’t a general “meat is cooking now” threshold: whole cuts of beef, pork, lamb, and veal are safely done at 145°F, fish and shellfish at 145°F, and ground meats at 160°F — all below 165°F.
Knowing When the Fat Itself Is Hot Enough
Not every oil behaves the same way at the same pan temperature. Chef Todd explained it to me this way:
In sauté, you heat the oil until “just before it begins to smoke.” Oil begins a convection process before smoking, going from perfectly smooth in the pan to striated and rippled.
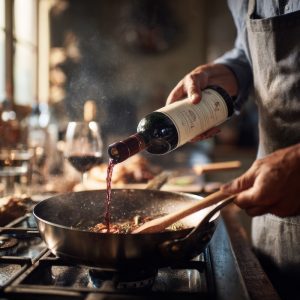
Sesame oil will smoke immediately in a 320°F pan, while peanut oil can handle it. So, I heat the pan to around 212°F before adding the oil.
Know your oil’s smoke point before you decide how hot to run the pan, not after it’s already smoking. And a caution worth keeping: be ready for possible flame-ups when heating oils or fats over a hot stove or in a hot pan.
Think Like a Cook
- A pan isn't "on" or "off" — it's somewhere on a curve from cold to smoking, and almost everything that goes wrong in a sauté happens because food hit the pan too early on that curve. Once you start reading the pan itself instead of guessing from a dial number, the whole technique gets easier — not just searing, but sautéing, pan-frying, even reducing a sauce.
How to Properly Heat a Fry or Saute Pan Video
Check out my short cooking video below, which describes a great way to determine the ideal pan temperature before adding fat using a simple water test. When you pan-fry or sauté ingredients, it will make a huge difference so they don’t stick to the pan.
Frequently Asked Questions
How long should you preheat a pan? About 2 to 3 minutes on medium to medium-high heat, empty, before anything goes in — oil included. Thinner pans heat faster; heavy cast iron can take a little longer.
Is 375°F medium heat? Roughly, yes — for a pan, medium heat generally falls somewhere between 350°F and 400°F, though it varies by stove and pan. That’s part of why the water-drop and oil-shimmer tests matter more than any single number: they tell you what’s actually happening in your specific pan, not just what a dial says.
How hot should a pan be when cooking? It depends on what you’re cooking, but oil shimmer is the real shortcut: once a splash of oil thins out and shimmers within a few seconds — roughly 300°F to 350°F for most cooking oils — it’s hot enough for most sautéing and searing. A water drop sizzling on the dry pan beforehand is a good early sign, but on its own it only confirms about 212°F, which isn’t hot enough yet.
What temperature should the oil be before adding food? Roughly 300°F to 350°F for most cooking oils — that’s when it shimmers and moves easily around the pan rather than sitting thick and still, well below the smoke point. You’ll usually see faint rippling lines as it gets there; that’s your window.
Does the “hand over the pan” trick actually work? Sort of, but it’s not reliable — everyone’s heat tolerance is different, so what feels “too hot” to one person is nothing to another. The water-drop test gives you the same information without any guesswork or risk of burning yourself.
What’s the difference between the pan smoking and food bubbling when it hits the oil? Smoke means the oil is breaking down—a thin bluish haze and often a bitter smell—and you should toss it and replace it. Bubbling when food hits the pan is just moisture in the food turning to steam on contact, which is normal and actually a good sign the pan is hot.
What do the numbers on my stove dial actually mean? Less than you’d think. Every stove and every pan is calibrated differently, so “6” on one stove might run hotter or cooler than “6” on another — there’s no universal chart that translates dial numbers to actual temperatures. The water-drop and oil-shimmer tests work regardless of what your dial says, which is exactly why they’re more useful than memorizing a number.
Is browning meat caramelization or the Maillard reaction? The Maillard reaction — specifically proteins and sugars reacting together under heat, and it’s what gives seared meat, poultry, and fish their brown crust and flavor. Caramelization is a related but separate process that happens with sugars alone, which is why it applies to onions and other vegetables, not meat.

- Once your pan is hot enough, sautéing is the next skill to nail down — The Secret to Great Sautéing covers the rest of it.
- Deglazing a hot pan is where a lot of a dish's flavor actually comes from — here's what deglazing is and why it matters.
- Stir frying takes this same "hot pan first" principle and pushes it even further — see how to stir fry properly for the high-heat version of this idea.
- The pan itself matters as much as the technique — how to choose your cookware breaks down what to buy and why.
- Want to see this principle in a real dish? Chef Ricco's Garlic and Oil pasta is built on fast, hot-pan technique from start to finish.


13 Responses
Very nice job at giving the basics of the process. I have had the fantastic opportunity to teach at various Culinary Institutions in Europe and the US as well as Canada and Mexico. I’m guessing you do have the knowledge necessary to pass on a little bit more of the science of heat, fat, and oil and what happens when liquid (could be water from the product, stock, or even wine) is introduced. The physical (physics) applications that occur with and how the structure of the food changes is wonderful. I have a son just beginning a career in the food service industry, and it’s hard to give too much information. Keep going. Get people excited. It’s great fun.
Hi Don, thank you for your wonderful comments. I have a very limited knowledge on food science and the science of heat and fat and oil. I am a novice home cook who finds an interesting food topic, research it and then pass it on here. If you ever want to share some of your knowledge, I would be happy to hear it from you.
Thanks for the information. though you could have answered for me in about one sentence.
Maybe two.
fq
Why use one or two sentences when dozens are available?
I understand that you want the oil to reach the point right before it begins to smoke. But I have some questions:
1) What does it actually mean for an oil to smoke? If it bubbles when you put food in it, is that smoking? If it bubbles without food, is that smoking? In cooking videos it seems to bubble when you put food in. From what I understand, smoke is gas, and bubbling is when a liquid turns to a gas.
2) In your video at :43, you say that when the pan’s at the right temperature, one or two beads form immediately. That never happens for me. I never get to the point where beads are forming but not bubbling. As I make the pan hotter and hotter, it just bubbles faster and with bigger bubbles. Although my pan is different from yours.
3) Alternatively, I understand that you could watch to see when the oil “ripples” and becomes “striated”. I’m still unclear what exactly it’s supposed to look like. Some pictures would be helpful. Maybe showing different degrees of striation and rippling and explaining how far along it is. Some sort of quiz would be really cool too, to help beginners get experience differentiating.
Thanks,
Adam
Adam, good questions.
When oil smokes, it’s reached its smoke point—the temperature at which it starts to break down and burn. You’ll see wisps of bluish-gray smoke rising from the surface, and you may notice a bitter or burnt smell. This is a sign the oil is too hot and has started to degrade. Food cooked in smoking oil can taste unpleasant and may even release harmful compounds if overheated for too long.
When you add food to hot oil and it bubbles, that’s a good thing—it means the oil is hot enough to cook. The bubbling is actually moisture from the food instantly turning to steam. It’s especially noticeable with wet or high-moisture foods (like vegetables, chicken, or fish). This is not smoking. In fact, bubbling is what gives you that nice sear or golden crust.
Actually, MANY of us DO have infrared thermometers these days and including the actual ideal temp for various sauteing (chicken pillards, veal scaloppine, beef steaks) would have been nice.
And by the way, when cooking meats there is NO sugar involved in the Mailliard reaction. It’s proteins and heat; meat has no sugar. Sugars would involve caramelization, a different thing.
Dan, I must disagree with you. When you’re cooking meats, the Maillard reaction is the browning process that creates rich flavor and color. It’s a chemical reaction between amino acids (from proteins) and reducing sugars (such as glucose or ribose), both of which naturally occur in meat.
Dear Reluctant gourmet:
I was about to saute some garlic and I contemplated my next steps, I realized that I have never gotten straight on how to make sure the oil is exactly the right temp for what you want to do. So I researched it and found you.
I never knew any of the science. And tho perhaps limited…as some of the comments seem to suggest–it was perfect for me. Thanks.
You didn’t mention anything about the questions asked about “They wanted to know if I use medium, medium-high, or high heat.
I believe that some reference to these stove top type of information and what you are describing best temperatures to be using for particular things that you talk about. The majority of your readers are more like me that have temperatures listed on stove top dials as 1 through 9 or there about.
We take a guess as to which reading, low, medium, medium high or high heat, we are trying to set a dial number to match up with the different ranges. I know that this is a guessing game, so a general number for these items would be of great help. We are mostly amateur cooks out here so giving this kind of information to us would sure help us. Thanks
Interesting question David. The numbers you see on stove top dials are not designed to correlate with cooking temperatures. You can’t assume #4 is associated with a particular temperature because there are too many variables. First of all, every manufacturer of stoves is going to calibrate their numbers differently. Also, how hot your pan gets depends on the type of metal your pan is made of — copper pans are going to get much hotter than stainless steel at the same number setting for the same amount of time. Then there is the quality of the pan, the thickness of the metal and of course how long you keep the pan on the stove to heat up. The numbers basically just tell you the higher the number, the higher the heat. It’s really up to you through trial and error to get a good feeling how your stove top works best. If a recipes says to cook something at medium high heat, it won’t take long to figure out what that is on your home stove. You may make a few mistakes at first, but after very little time you’ll be quite efficient at it.
Hello Reluctant Gourmet, I really enjoyed your brief video and this post and look forward to looking around your site. It’s so interesting that you quote Chef Todd Mohr twice – I just signed up for his cooking classes, but I went looking for a more close-up video of how to tell when the pan is hot enough as I overheated my pan doing my video 2 homework tonight. I guess I didn’t know what the water droplets evaporating actually looked like. Also, I was using sesame oil, and a website I saw said its smoking point was 350, and you mention it to be around 320. That could have made a difference. Anyhow, thanks for sharing what you are learning!
French chefs use the word crepe as in crepe paper or cloth. gives a good visual