
Fast Answer
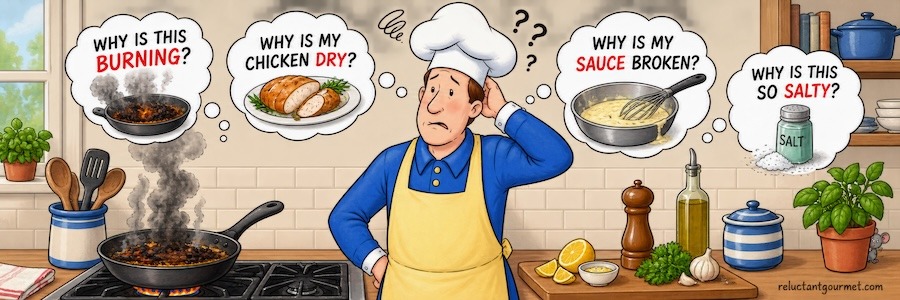
Chicken breasts burn before they finish cooking because most are thicker at one end than the other. Pound them to an even thickness, cook over medium — not high — heat, and pull them at 160–165°F instead of judging by color.
The Protein I Chose to Learn On (And Regretted, Repeatedly)
Chicken breast seemed like the obvious place to start — cheap, simple-looking, everywhere. It took me a long time to realize it’s actually one of the least forgiving things in the kitchen: uneven shape, almost no fat to buffer a mistake.
This post grew out of a reader’s email about that exact problem, and a conversation I had with a professional chef to figure out why it kept happening and what actually fixes it.
Start Here
- This is for you if: your chicken breast has come out charred outside and raw inside, or looked fine but came out dry and tough anyway.
- Works the same whether you're using nonstick, stainless, or cast iron — the variables that matter (heat, thickness, oil) don't change with the pan.
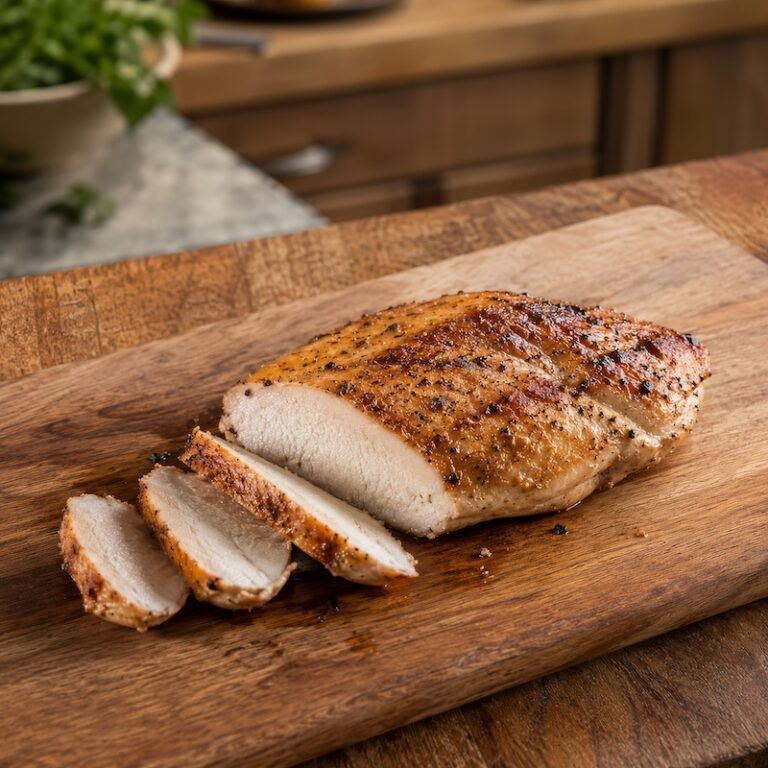
- Success looks like: an evenly browned crust with no black char, and a center that's just opaque and juicy — not stringy, not dry.
How to Keep Chicken Breasts From Burning When Frying
I received an email from Jason, who tried my recipe for Sautéed Chicken with Garlic and Shallots and was having some problems.
He said, “The chicken breasts take nearly twice as long to cook through! So I follow the recipe strictly, using a reasonably thick pan and pre-heating it well in advance. The outside ends up charring pretty badly. Could it be the type of chicken breasts I am buying? I get the store brand packs, which are cheaper, but the breasts seem thicker than other known brands.”
After looking at the recipe again, I had some ideas on this problem, but I wanted an expert’s view, so I emailed Chef Alan Bickel for his take on this situation. Together we came up with some probable causes and a few solutions.
Even though we are talking about sautéing chicken breasts, these cooking tips hold for sautéing chicken, beef, lamb, fish, or whatever you are cooking.
Our first thought was to turn down the heat to medium-high. Some recipes you find in cookbooks and on the internet are written by professionals who sometimes forget that we don’t all have the same skills. In a restaurant, professional chefs need to cook fast, so they often have the burners cranked up to high — but they’ve sautéed thousands of chicken breasts this way and are comfortable with the heat.
Another chef friend of mine, Chef Ricco DeLuca, has to recalculate recipes for timing and burner heat to match my skills to his own. Otherwise, I end up burning everything. So whenever you look at any recipe, know whom the writer is writing for and allow some leeway on cooking times and temperatures.
Cooking Equipment
Everyone’s equipment is different, and any recipe that provides exact times and heat will vary depending on it. The sauté pan you use will vary in quality, size, thickness, and material — each of those will affect how the chicken cooks. Then there’s the stove: gas or electric, how many BTUs. And the chicken itself — size, thickness, cold or room temperature. A piece straight from the refrigerator cooks very differently than one that’s come to room temperature, and if it’s still partially frozen because you forgot to pull it from the freezer in time, that changes things too.
Cooking Suggestions
First, turn the heat down to medium-high, and if that’s still a problem, try medium. It’ll take a little longer — does that matter?
Alternatively, preheat the oven to about 300°F, brown the chicken lightly in a sauté pan, and finish it in the oven. The tradeoff: baking changes the texture versus straight sautéing, and you may lose some of the fond (the browned bits stuck to the pan) you’d otherwise use for a pan sauce.
Another option: brown the chicken at high heat to caramelize it, then reduce the heat and add a little wine, chicken stock, or water. This creates even heat across the pan’s surface, prevents hot spots, and limits how long the pan’s surface stays at its maximum temperature — so you can cook the chicken a little longer at a lower temperature.
Chef Alan also suggested building the sauce right in the pan: sauté the chicken briefly, maybe 45–60 seconds per side, then continue the recipe — including deglazing — without ever removing the chicken. Add the garlic, shallots, and liquid straight into the pan with it still in there. Every ingredient you add lowers the pan’s temperature, which makes cooking the chicken less of a high-wire act, and you end up with flavor cooked into the meat itself instead of just a sauce poured over flavorless chicken.
Why This Technique Works
- A chicken breast is thicker at one end than the other. By the time the thin end is done, the thick end still isn't — and the only way to finish the thick end is to leave the thin end on the heat well past when it needed to come off.
- High heat browns the surface (the Maillard reaction) faster than heat can travel into the center, so the crust can char before the middle's even warmed through.
- Chicken breast has almost no intramuscular fat, so there's very little buffer between "done" and "dry." A few extra minutes that a fattier cut would shrug off will visibly dry out a breast.
Think Like a Cook
- The real problem was never burning — it's margin for error, and chicken breast has almost none of it.
- Uneven thickness and low fat mean the gap between raw, perfectly done, and dry is only a minute or two wide.
- I used chicken breast to teach myself to cook precisely because of that narrow window — figured if I could manage it there, I could manage anything with more forgiveness built in, like a steak or a pork chop. I got it wrong more than I got it right for longer than I'd like to admit.
Step-by-Step Technique Guide
- Pat it dry. No visible moisture or sheen on the surface. If it's still wet, it'll steam instead of sear — pat again.
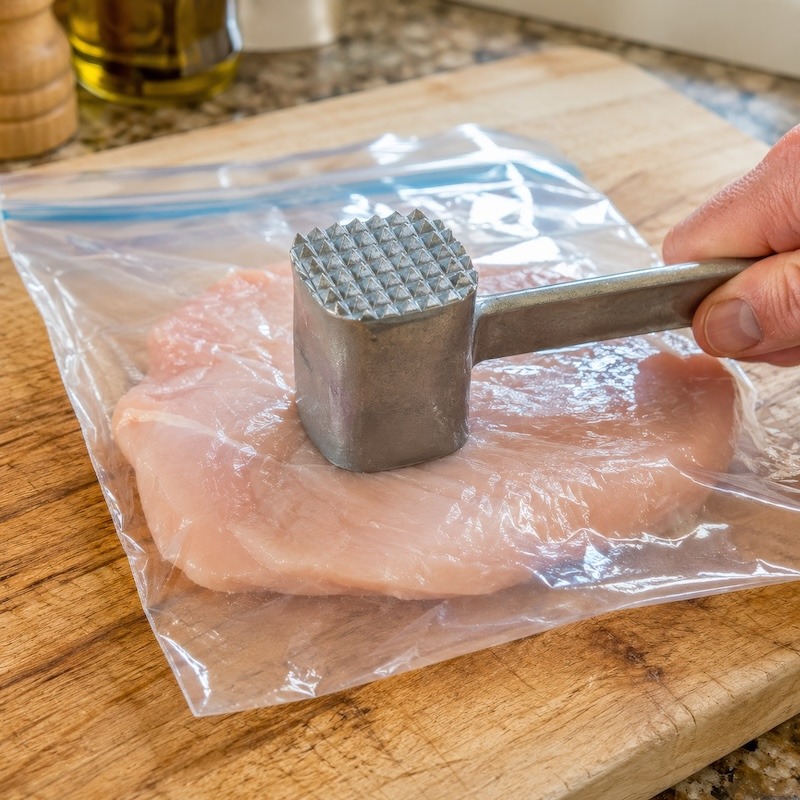
- Pound to an even thickness (about 3/4 inch), ideally inside a zip-top bag to limit splatter and tearing. The thick end and thin end should look and feel the same when you press them.
- Season and rest a few minutes at room temperature. This is about giving the cold center a head start, not "relaxing" the meat — 10–15 minutes is enough.
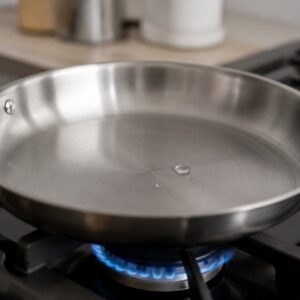
- Heat the pan empty, then add oil. Oil should shimmer and move loosely across the surface, not smoke. If it smokes, pull the pan off the heat for a moment before continuing.
- Lay the chicken in and leave it alone. Listen for a steady, confident sizzle — not a violent spatter (too hot) and not a faint hiss (not hot enough).
- Check the edge with tongs after 3–4 minutes. A properly seared crust releases cleanly from the pan on its own. If it's sticking and tearing, it needs more time before you flip.
- Flip once. The second side should match the first side's color — if it's browning faster, back the heat off slightly.
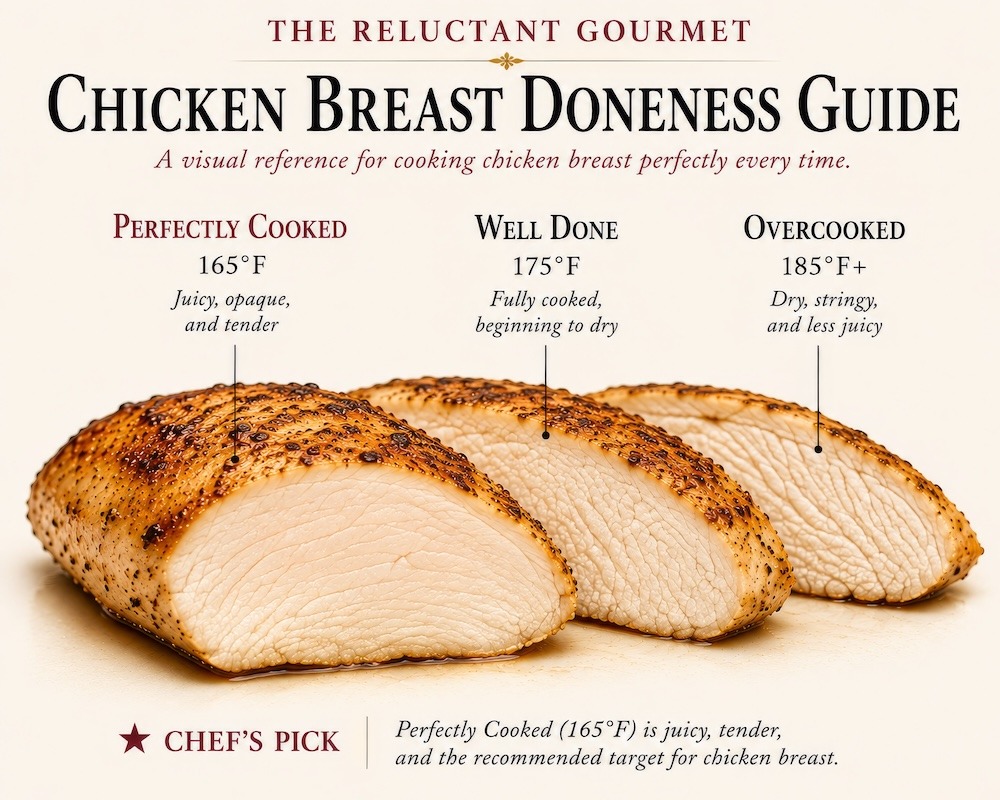
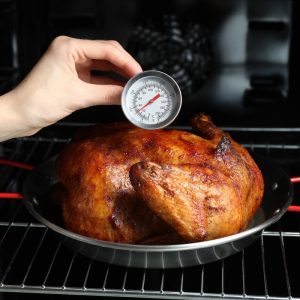
- Check temperature, not color. An instant-read thermometer in the thickest part should read 160–165°F — pull it a few degrees early since carryover heat keeps climbing after it's off the pan.
- Rest 5 minutes before cutting. This is where the juice redistributes. Cut too early and a properly cooked breast can still look and taste dry.
What Most Cooks Get Wrong
- They crank the heat because nothing seems to be browning fast enough, not realizing medium heat is supposed to look undramatic for the first minute or two.
- They flip constantly to check progress, which stops either side from building a real crust and just extends the total cooking time.
- They judge doneness by color or by cutting into it — both unreliable, and cutting into it lets the juice that's supposed to redistribute leak straight onto the cutting board.
- They follow a recipe's stated heat and timing exactly, without accounting for the fact that most recipes are written by people who cook professionally at a heat and volume home cooks haven't built tolerance for.
What Went Wrong (And Why)
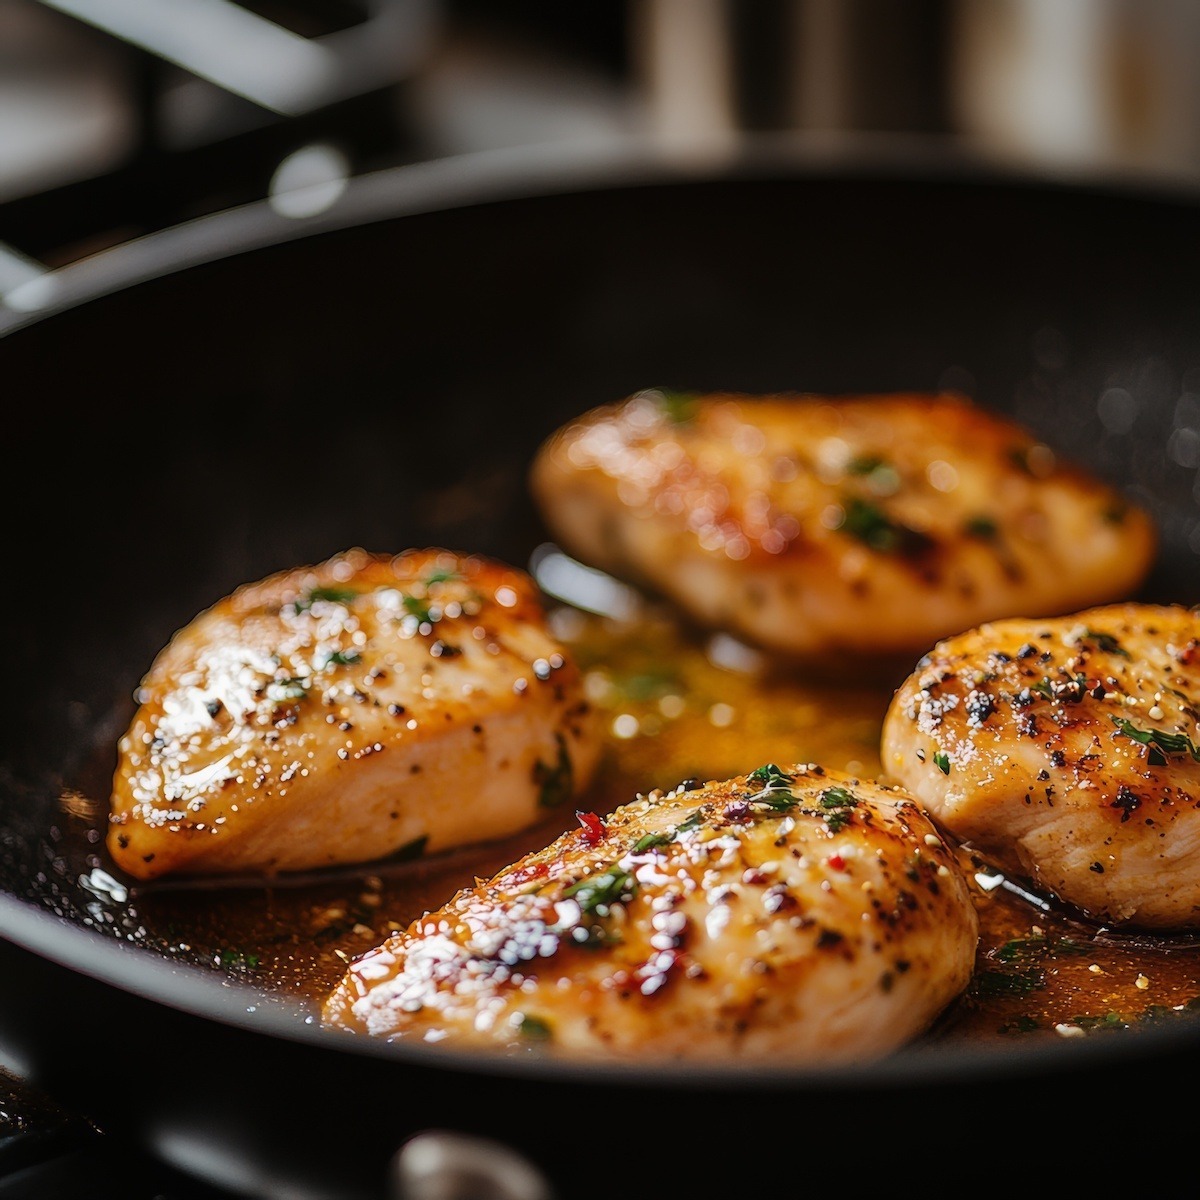
- Outside charred, middle still raw → breast was uneven thickness and the pan was too hot → pound to an even 3/4 inch and drop to medium heat.
- Chicken came out dry even though it wasn't burnt → cooked past done while chasing a browner crust → pull at 160–165°F measured at the thickest point, not by time in the pan.
- Oil started smoking almost immediately → wrong oil for the heat, usually butter or olive oil alone → switch to a high-smoke-point oil like canola or avocado; save butter for the last minute.
- Crust never formed, chicken just steamed → pan wasn't hot enough, or the chicken went in wet → pat it fully dry and let the pan and oil actually get hot first.
- Sauce tasted burnt after deglazing → fond scorched before the liquid went in → sear briefly, then deglaze right away instead of letting the pan sit empty over high heat.
- Chicken seized up when wine or stock hit the pan → liquid added too fast into a screaming-hot pan → pull the pan slightly off heat before adding cold liquid, then bring it back up gradually.
Control the Variables
- Heat level: controls how fast the surface browns versus how much time the center gets to catch up. Useful range for a home stove: medium to medium-high.
- Thickness/evenness: controls how in-sync the outside and center finish. Pound the thick end down to match the thin end — around 3/4 inch works for most breasts.
- Oil smoke point: controls how long you can hold heat before the fat itself starts burning. Canola, avocado, and refined peanut oil give you more headroom than butter or unrefined olive oil.
- Pan material and mass: controls how evenly heat spreads and how much it dips when food hits it. Heavier pans (cast iron, thick stainless) hold heat steadier; thin pans spike and dip, creating hot spots.
- Starting temperature of the chicken: controls how much cooking time goes to just catching the center up. Cold-from-the-fridge or partly frozen chicken needs more time at the same heat — more time for the outside to overcook.
- Liquid or lid use: controls how much extra heat reaches the center without adding more browning. A lid or a splash of liquid speeds the center along; skip both if you want maximum crust.
When to Use This Technique
- Use it for boneless, lean, unevenly shaped cuts where the outside is at real risk of finishing well before the center — chicken breast, pork chops, thin fish fillets.
- Skip it for well-marbled steaks you want charred outside and pink in the middle — that's what high heat is for, and this method will just slow you down.
- Skip it for fattier cuts like chicken thighs or braising meat, too — they tolerate the mistakes this technique is built to prevent, so the extra care isn't buying you much.
Apply It to Real Food
- Chicken breast: the least forgiving of the group — no fat cushion, so pound to even thickness and stop chasing color past 160–165°F.
- Pork chops: same uneven-thickness problem, especially bone-in, where the meat near the bone runs thicker — watch that section specifically for undercooking.
- Fish fillets (like pan-roasted sea bass): even less margin than chicken. Same dry-pan, medium-heat approach applies, but pull it earlier — fish keeps cooking hard after it leaves the heat.
- Steak: higher heat is more forgivable here — a good steak has fat and connective tissue to buffer it, and you're often aiming for pink in the middle on purpose rather than full doneness.
- Boneless, skinless thighs: far more forgiving than breast thanks to higher fat content — good practice ground if breast keeps beating you, since a slightly overcooked thigh still tastes fine.
Frequently Asked Questions
Is it better to pan-fry chicken breast in butter or oil? Oil first — butter’s milk solids burn well before your pan gets hot enough to sear. Add butter in the last minute if you want its flavor, once the oil has already done the actual browning.
How do you prevent chicken from burning on a pan? Pound it to an even thickness, keep the heat at medium instead of high, and use a high-smoke-point oil like canola or avocado. Thin edges finish long before thick centers do, and that gap is what burns.
Do you pan-fry chicken breast on high or low heat? Medium. High heat is for cooks who’ve done this thousands of times and know exactly how their pan behaves — medium gives you time to catch a problem before it becomes a burnt crust.
Should I cover the chicken while pan-frying? Only if the center needs help finishing without more browning. A lid traps heat and steam and speeds up the inside, but it also softens whatever crust you’ve already built.
What temperature should chicken breast be when it’s done? 160–165°F in the thickest part, pulled a few degrees early since it keeps climbing as it rests.
Why does my chicken taste dry even when it’s not burnt? Because it’s overcooked, not necessarily burnt. Chicken breast has almost no fat, so there’s very little cushion between done and dry — a few extra minutes on the stove make it worse, not better.
Should I brine chicken breast before pan-frying it? Not required, but it helps. A basic saltwater brine for a few hours gives the meat more moisture to lose before it turns dry, buying you a wider margin for error.
Why does the recipe say high heat but my chicken keeps burning? Because most recipes are written by people who cook professionally at high volume, and heat that behaves predictably in their hands can char in yours before the center’s done — turn it down and give yourself more time.
Can I use this same method for other meats? Yes — the same variables apply to pork chops, fish fillets, and steaks: even thickness, moderate heat, and a fat with a high smoke point.
What’s the trick for pounding chicken breast without a mess? Put it in a large zip-top bag before pounding. It keeps the meat from tearing and stops juice and fat from splattering the counter.
- If dry, tough chicken keeps beating you as much as burnt chicken does, this is the deeper dive: Stop Overcooking Your Meat.
- Temperature is the only truly reliable doneness test — here's the full breakdown by cut: Meat Doneness Temperatures.
- A basic brine buys you a wider margin for error before chicken dries out, and it's simpler than it sounds: Why You Should Brine.
- Sautéing, pan-frying, and stir-frying get lumped together constantly but behave differently on the stove: Sauté, Pan Fry, and Stir Fry.
- Want to build the pan sauce the way Chef Alan describes above? Here's the method in full: How to Make Pan Sauces.
- The same heat and thickness lessons apply to searing anything, not just chicken: The Truth About Searing Meat and Juiciness.
- If chicken breast keeps humbling you, this original recipe is where this whole post started: Sautéed Chicken with Garlic and Shallots.
- Choosing the right pan matters more than most home cooks assume — here's how to pick one: Choosing and Buying the Right Sauté Pan.
3 Responses
Dear RG,
Thank you again for answering my cooking question before I asked it. Although I consider myself a pretty good creative cook, I always seem to overcook the chicken, whether I’m following a recipe or, ahem, “winging” it.
I’m going to try your “brown for under a minute” and then simmer with rest of ingredients and liquid, lowering as I go.
If my chicken finally comes out right, I’ll let you know.
Thanks!
Dina
Hi RG,
I just cooked this for 3 today for lunch and threw in some corn kernels and finally asparagus spears with the pan sauce. It came our well, but there were some challenges along the way.
Firstly after 3 minutes either side, the chicken was beautifully browned but still did not feel cooked in the middle (these were thick chicken breasts) but I had smoking oil! I’m using a DeBuyer carbon steel fry pan, very heavy, with extra light olive oil, which apparently has a high smoke point, on maximum burn on my largest burner. No butter – I’m dairy free – but this shouldn’t make a difference. If anything, I should have more leeway with the oil.
So when the oil started to smoke, I threw in some hot water/stock I had for emergency, and put a cover on, which would have helped cook the chicken through, then I removed it from the pan and threw it in the oven to keep warm and maybe give it a few more degrees to finish cooking.
It came out looking and tasting great, but I think I was lucky – could have gone either way – and I’m a bit worried that maybe I’m cooking on too high heat as I know smoking oils are a no no! The pan sauce came out well but again I’m concerned that the smoked oil would have ended up in the sauce.
I think for future I will lower the heat and start the pan sauce with the chicken – as suggested by you – that seems like to safe bet to both prevent smoking oil and cook the chick right through.
Thanks for the tips and teaching us the fundamentals for this type of cooking!
Many recipes call for pounding the chicken before sauteing. This makes all the pieces a uniform thickness so it cooks evenly and faster. TIP: You can put the chicken breast in a large zip lock bag, lay it flat on your cutting board and pound it, not too thin, just even out the thickness. It makes for quick and easy clean up. You want to cook it quickly at fairly high heat. If you cook it too slowly the meat will be tough and dry. Happy Cooking!