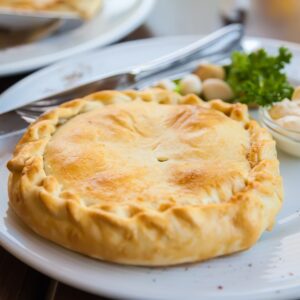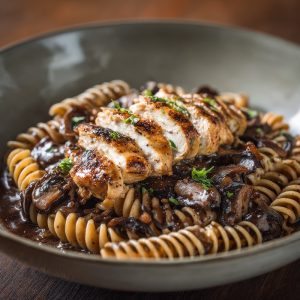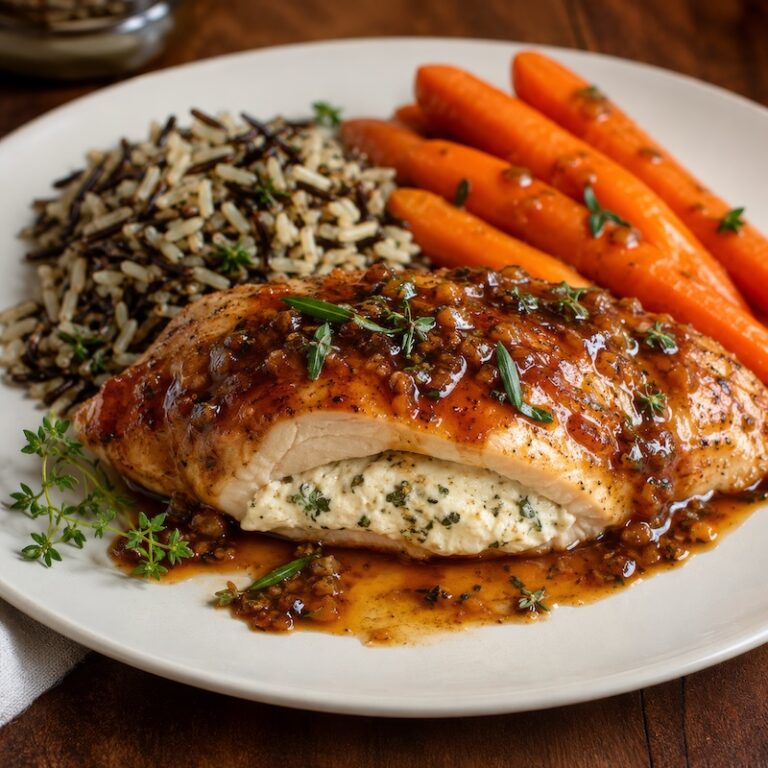


Chicken Breasts Stuffed with Herbed Goat Cheese
Chicken breasts with a horizontal pocket cut into each one, filled with fresh goat cheese mixed with tarragon, seared in butter and oil until golden, then served with a red wine, peach chutney, and roasted garlic pan sauce built in the same skillet
Servings: 4 servings
Equipment
- frying pan
Ingredients
- 4 ounces fresh goat cheese at room temperature
- 1 tablespoon fresh tarragon chopped
- 4 boneless chicken breasts at room temperature
- salt and pepper to taste
- 1 tablespoon olive oil
- 1 tablespoon butter
For the sauce
- 1 tablespoon shallots chopped
- 1 tablespoon olive oil
- 6 ounces red wine
- 2 tablespoons peach chutney
- 1 teaspoon fresh thyme minced
- 1 teaspoon fresh rosemary minced
- 1 cup chicken demi-glace or 2 cups of chicken stock reduced by half before using
- 1 bulb roasted garlic mashed
Instructions
Before You Start
- Two things need to happen before anything else:Roast the garlic. It takes an hour at 350°F. Cut the top quarter off a full head to expose the cloves, drizzle with olive oil, season with salt and pepper, wrap tightly in foil, and roast until the cloves are completely soft and golden — about 60 minutes. Squeeze the cloves out of their skins and mash them into a paste. This can be done up to 3 days ahead.
- Bring the chicken and goat cheese to room temperature. Pull both from the fridge 20–30 minutes before you cook. Cold goat cheese won't mix smoothly. Cold chicken cooks unevenly.
Make the Filling
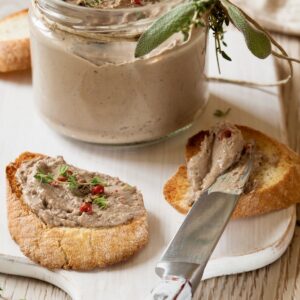
- In a small bowl, combine 4 oz of room-temperature goat cheese with 1 tablespoon of fresh chopped tarragon. Season with salt and pepper.
- Mix until smooth and well combined — the tarragon should be evenly distributed throughout. Taste it. The filling should taste seasoned and herbal on its own, because once it's inside the chicken it won't get much additional seasoning.Optional addition: sauté 2 minced garlic cloves in a small amount of butter until soft, let them cool briefly, and fold into the goat cheese mixture. This adds depth without sharpness.
- Set the filling aside at room temperature while you prep the chicken.
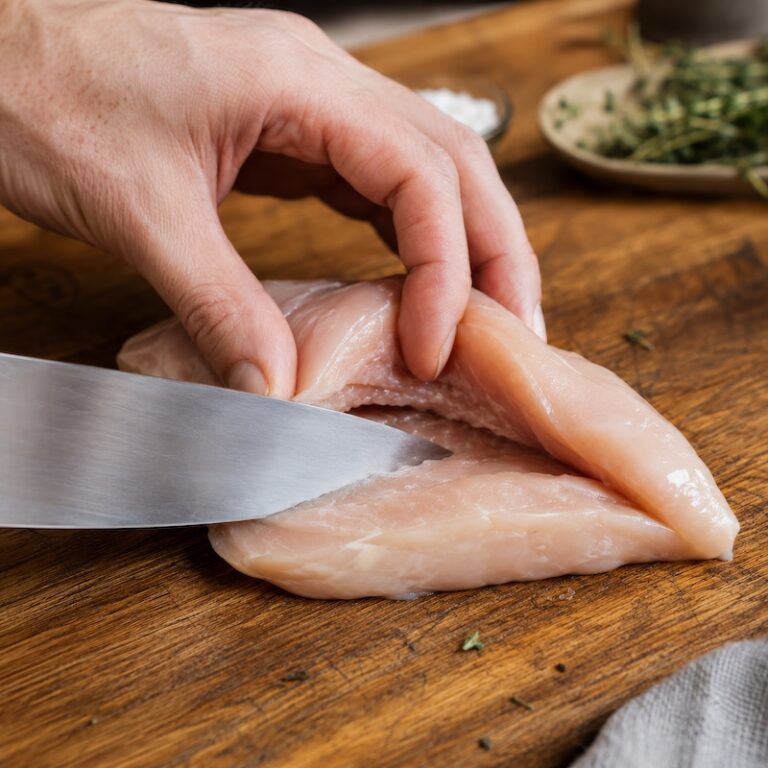
Cut the Pockets
- Lay each chicken breast flat on a cutting board, smooth side up. The thickest side faces you.
- Using a sharp paring knife or boning knife, insert the tip into the thickest side of the breast — not the top, the side. Cut a horizontal slit going about three-quarters of the way through the breast, moving the knife back and forth gently to open the pocket. You're creating a cave, not a tunnel. Don't cut all the way through to the other side, and don't cut through the top or bottom surfaces.How deep is deep enough? Insert your finger into the pocket — it should reach almost to the center of the breast on all sides without breaking through.
- Season the outside of each breast with salt and pepper.
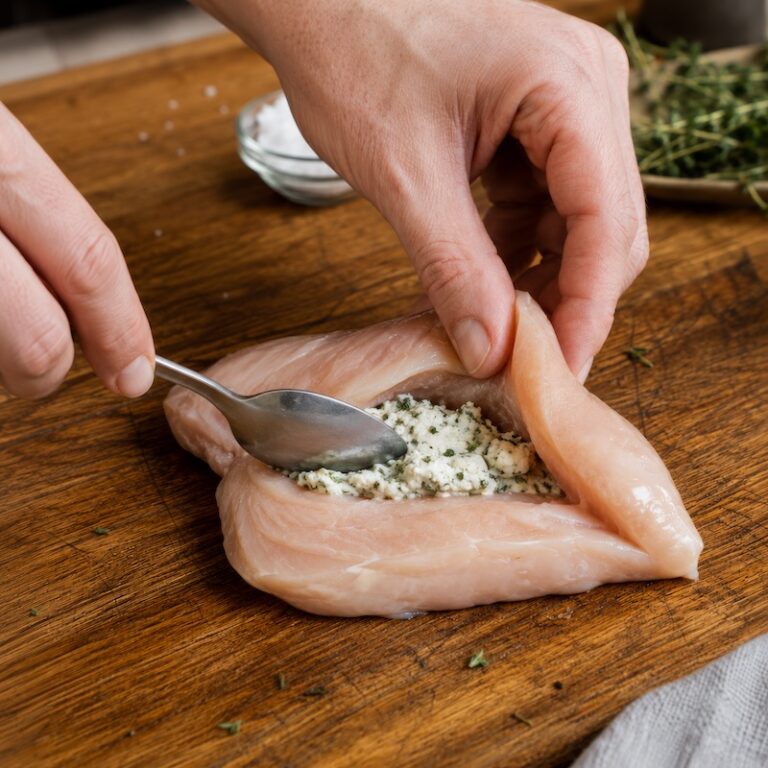
Fill & Seal
- Use a spoon to fill each pocket with the goat cheese mixture. Pack it in firmly, but don't push so much that the pocket is straining at the opening. Leave a small margin — the cheese expands slightly as it heats.
- If any filling sits at the very lip of the opening, push it back gently. Then press the opening closed with your fingers and secure it with one or two toothpicks angled across the gap.Note for later: write yourself a reminder to remove the toothpicks before serving, or warn guests they're there.
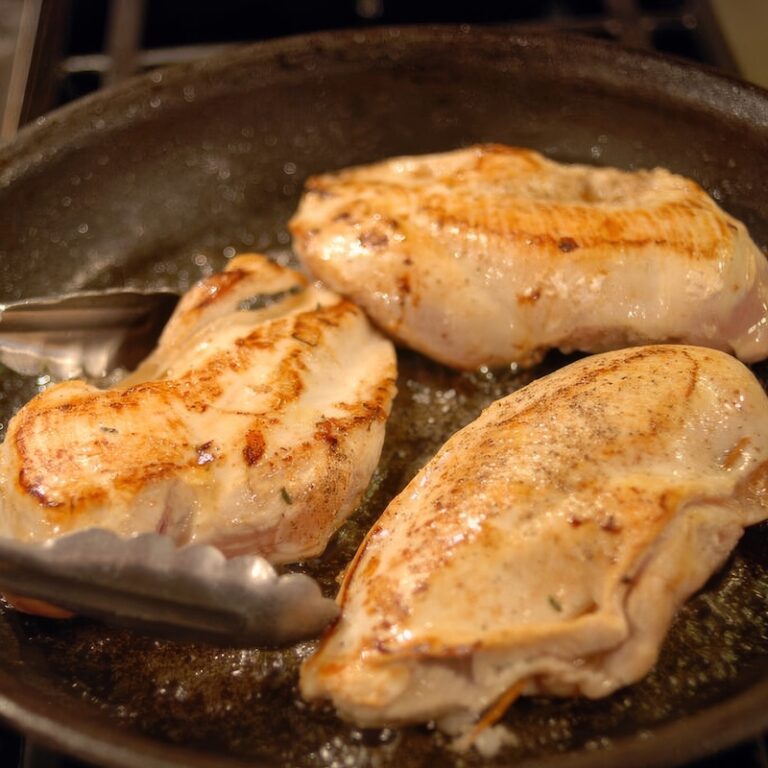
Sear the Chicken
- Heat 1 tablespoon of olive oil and 1 tablespoon of butter together in a sauté pan large enough to hold all four breasts without crowding — an 11 or 12-inch pan works well. Heat over medium-high until the butter stops foaming and the oil shimmers.
- Add the stuffed breasts to the pan, sealed side down first. This helps the pocket edge sear closed. Cook undisturbed for 4–5 minutes until the bottom is deeply golden brown. Don't move the chicken during this time — let the crust develop.
- Flip and cook an additional 3–4 minutes on the other side.
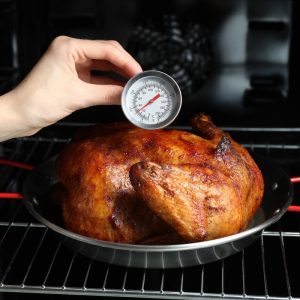
- Check the temperature. Insert a thermometer into the thickest part of the meat — not into the filling pocket, which will read hotter. You're looking for 165°F. If the breasts aren't cooked through yet after 8–9 minutes total on the stovetop, transfer the pan to a 375°F oven for 8–12 minutes to finish cooking through without burning the exterior.
- Transfer the cooked chicken to a warm plate. Remove the toothpicks now if you remember. Cover loosely with foil to rest while you make the sauce — 5 minutes of rest is enough.
Build the Pan Sauce
- Pour off any excess fat from the pan, but leave the fond — the browned bits left from searing the chicken. These are flavors. Reduce the heat to medium.
- Add 1 tablespoon of olive oil and 1 tablespoon of minced shallot directly to the pan. Stir and cook for about 3 minutes until the shallot softens and turns translucent. Don't let it brown.
- Pour in 6 oz of red wine. It will sizzle, and the fond will release immediately — scrape the bottom of the pan to lift it all into the sauce. Reduce the wine until it's nearly gone — "an essence." This takes about 3–4 minutes. You'll know it's right when the wine looks almost syrupy, and the sharp alcohol smell has cooked off.
- Add 2 tablespoons of peach chutney, 1 teaspoon fresh minced thyme, 1 teaspoon fresh minced rosemary, the mashed roasted garlic, and 2 cups of chicken stock that has been pre-reduced by half (or 1 cup of a good store-bought demi-glace).
- Stir everything together and let the sauce simmer, stirring occasionally, until it thickens enough to coat the back of a spoon and hold a line when you run your finger through it — about 8–10 minutes.
- Taste and adjust with salt and pepper.
Why reduce the stock first? Raw chicken stock doesn't have enough body to make a proper sauce without reducing it down significantly. Starting with reduced stock saves 20 minutes.
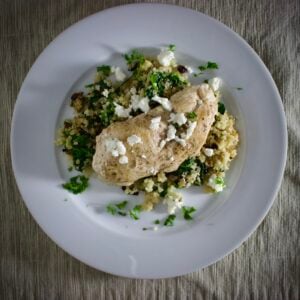
Plate & Serve
- Remove the toothpicks from the chicken if you haven't already. Spoon the sauce generously over each breast. Serve immediately.
If slicing for presentation, let the chicken rest for 5 minutes, then cut on a slight diagonal to reveal the goat cheese filling. Arrange the slices, fanned open, on the plate and spoon the sauce over the top.
Notes
Reluctant Gourmet’s Tips
To roast garlic, sprinkle the bulb with a little olive oil and white wine, salt and pepper, wrap it in tin foil and roast in a 350° F oven for approximately one hour.
Remember to remove the toothpicks before serving or at least warn your guests they are there. Nasty surprises at the dinner table are no fun for anyone.

What Most Cooks Get Wrong
- Cutting the pocket too deep or all the way through. You want three-quarters of the way through — enough space for filling, not a tunnel that opens on both ends. Go slowly with the knife tip and feel the resistance as you cut.
- Using cold goat cheese. It won't mix smoothly, it won't fill cleanly, and it takes much longer to warm through in the oven. Five minutes on the counter fixes this entirely.
- Overfilling and then wondering why the pan smells like burning cheese. The filling expands. If it's already at the lip of the pocket before it goes in the pan, it will leak out and burn. Pack it in firmly but leave a small margin at the opening.
- Skipping the toothpick. The pocket will open during the sear without something holding it. You don't need many — one or two per breast, angled across the opening, is enough.
- Cooking entirely on the stovetop at high heat. Thick chicken breasts need time to cook through. High heat the whole way gets you a beautiful exterior and a raw center. Finish thicker breasts in a 375°F oven for 8–12 minutes after the sear.
- Skipping the pan sauce. The fond left in the pan after the chicken comes out is concentrated flavor. Leaving it behind means skipping the best part of the dish. The sauce takes 10 minutes.