Fast Answer
Most grilling problems come from poor heat control, overcrowding, or handling food too much. Fixing a few common mistakes instantly improves flavor, texture, and consistency.
Backyard Grilling Mistakes Most Home Cooks Make
Grilling should produce juicy meat, flavorful char, and crisp caramelization, but small mistakes can ruin results fast. Many home cooks overcrowd the grill, start cooking before the grates are hot, or constantly flip and press the food.
These common grilling mistakes explain why food burns, sticks, dries out, or cooks unevenly and show you exactly how to fix each problem.
Start Here
- Best for: Home cooks frustrated by dry meat, flare-ups, sticking, or uneven grilling.
- Use this guide when: Cooking burgers, steaks, chicken, seafood, or vegetables on gas or charcoal grills.
- You’ll know it’s working when: Food browns evenly, releases cleanly, and cooks without burning.
- Main goal: Avoid the mistakes that sabotage flavor and texture.
Why It Works
- Hot grills sear better: Proper heat creates browning before the food overcooks.
- Airflow and spacing matter: Crowded grills trap steam and reduce caramelization.
- Less handling improves flavor: Leaving food alone allows crust formation and better grill marks.
- Heat zones create control: Moving food between direct and indirect heat prevents burning.
Think Like a Cook
- Most grilling mistakes are really heat-management mistakes. Great grillers constantly control temperature, airflow, moisture, and timing.
- The grill keeps changing. Every burger, steak, flare-up, and lid opening changes the cooking environment.
- Your job is not to fight the grill. Your job is to guide the heat.
Fix These Grilling Mistakes
- Mistake #1: Starting on cold grates
Preheat the grill fully before cooking. Hot grates reduce sticking and improve browning. - Mistake #2: Using one heat level
Create a hot side and cooler side so food can sear without burning. - Mistake #3: Overcrowding the grill
Leave space between foods so heat circulates properly. - Mistake #4: Constant flipping and poking
Let food sear undisturbed before turning. - Mistake #5: Pressing burgers or chicken
Pressing squeezes out juices and increases flare-ups. - Mistake #6: Walking away from the grill
Stay nearby and monitor cooking closely, especially over direct heat.
Visual Cues
- Color: Look for deep golden-brown surfaces instead of pale gray.
- Sound: A steady sizzle means proper searing. Loud crackling often signals flare-ups.
- Texture: Food releases naturally when properly seared.
- Smoke: Thin wisps are good. Thick black smoke usually means burning grease.
- Smell: Rich roasted aromas are good. Bitter smoke means something is burning.
What Most Cooks Get Wrong
- They rush the preheat: Cold grates almost guarantee sticking.
- They cook everything over maximum heat: High heat without zones burns food before it cooks through.
- They keep moving the food: Constant flipping prevents crust formation.
- They press burgers: Juices lost to the fire never come back.
- They overcrowd the grill: Too much food lowers the grill temperature fast.
- They trust timing instead of temperature: Thermometers prevent dry meat.
Quick Diagnosis Strip
| Problem | Likely Cause | Quick Fix |
|---|---|---|
| Food sticks | Cold grates | Preheat longer |
| Burnt outside, raw center | Only using direct heat | Move to indirect zone |
| No grill marks | Food moved too soon | Leave it alone longer |
| Dry burgers | Pressed with spatula | Flip only once if possible |
| Bitter smoke flavor | Grease flare-ups | Move food to cooler side |
| Steamed meat | Overcrowded grill | Cook in batches |
Quick Fixes & Pro Tips
- Use a thermometer early: Check temperature before the food looks finished.
- Dry food before grilling: Moisture blocks browning.
- Oil the food lightly: It helps reduce sticking without creating excessive smoke.
- Keep a cooler zone available: It gives you an escape route during flare-ups.
- Rest meat after grilling: Resting keeps juices inside the meat instead of on the cutting board.
Control the Variables
- Heat: Higher heat browns faster but burns more easily.
- Thickness: Thick cuts need indirect heat after searing.
- Moisture: Wet food steams instead of browning.
- Sugar: Sweet sauces burn quickly over direct flames.
- Fat: Fat creates flavor but also increases flare-ups.
- Lid position: Closed lids trap heat and cook more evenly.
Grilling Cheat Sheet
Preheat First
Hot grates reduce sticking and improve searing.
Create Zones
Use direct heat for searing and indirect heat for finishing.
Don’t Crowd
Too much food lowers grill temperature and causes steaming.
Flip Less
Leave food alone long enough to build a proper crust.
No Pressing
Pressing burgers or chicken forces flavorful juices out.
Use a Thermometer
Stop guessing and avoid overcooked meat.
Apply This to Real Food
- Burgers: Resist pressing so juices stay inside the patty.
- Steaks: Sear first, then finish on indirect heat.
- Chicken thighs: Use cooler heat to avoid burnt skin and raw interiors.
- Shrimp: Cook quickly over direct heat with close attention.
- Vegetables: Give them space so they char instead of steam.
FAQ
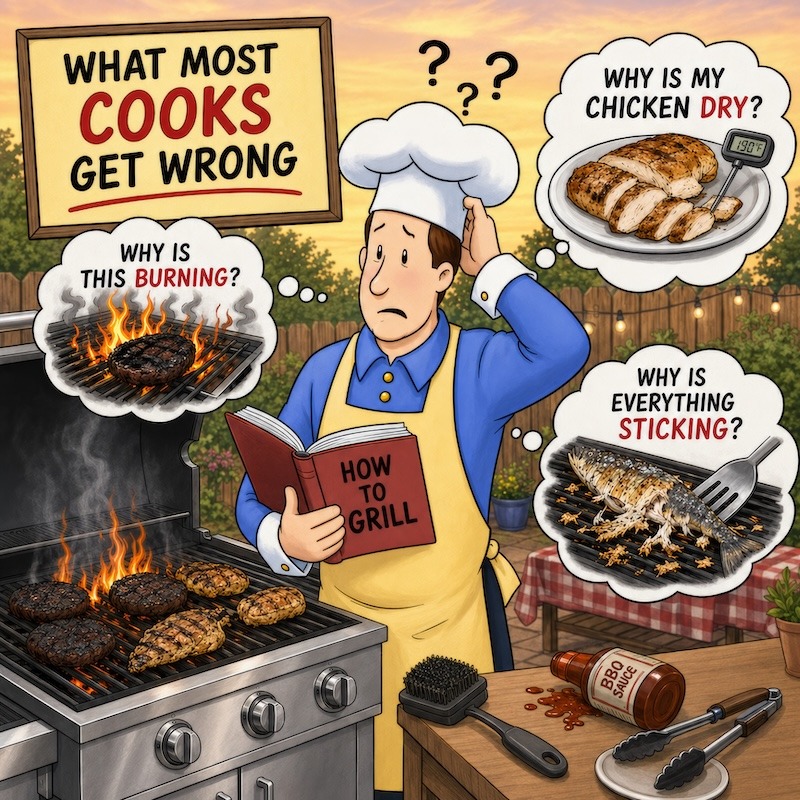
Why does my food stick to the grill?
Usually because the grill is not hot enough or the food has not seared long enough.
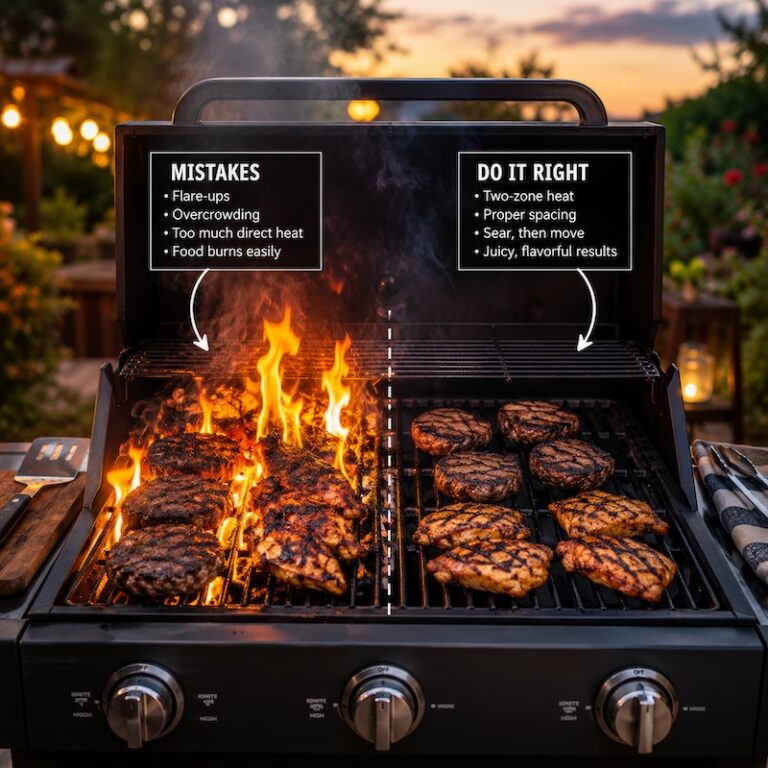
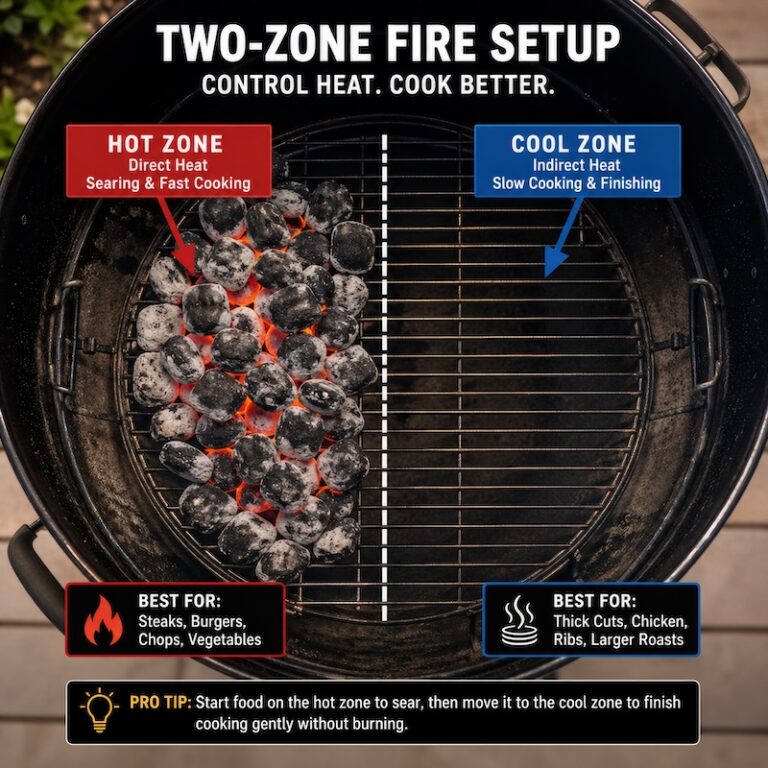
Why do flare-ups happen?
Fat dripping onto flames causes flare-ups. Keeping a cooler zone helps control them.
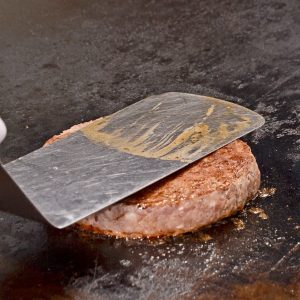
Should I press burgers while grilling?
No. Pressing squeezes flavorful juices out of the meat.
Why does overcrowding hurt grilling?
Too much food lowers grill temperature and traps steam.
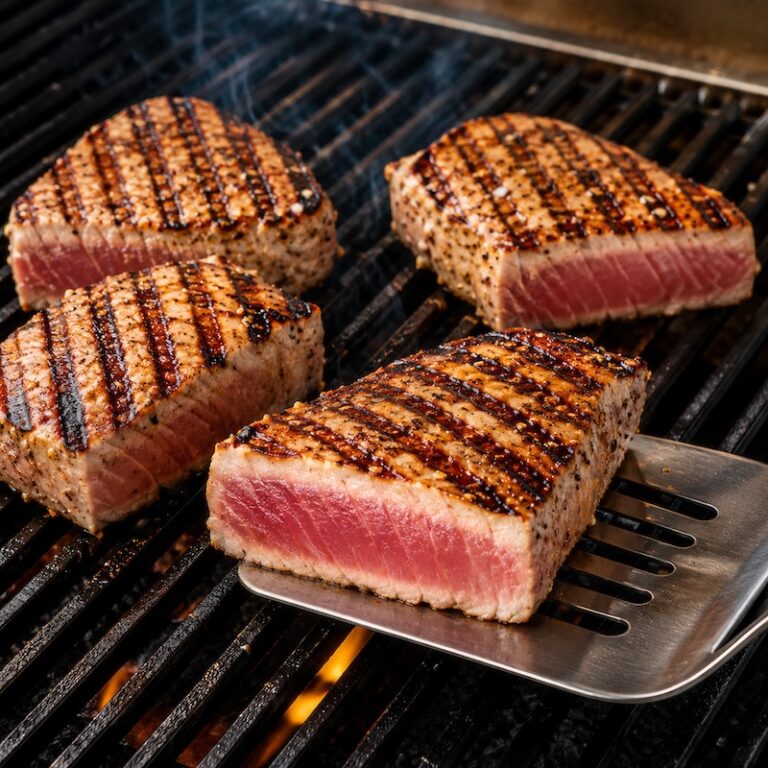
How hot should my grill be?
Most grilling starts over high heat for searing, then finishes over medium or indirect heat.
Why is my chicken burnt outside but raw inside?
The heat is too aggressive. Start over indirect heat and finish carefully.
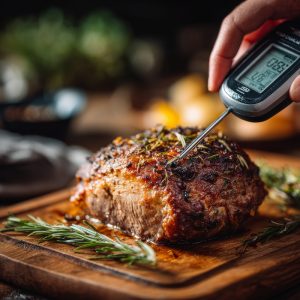
Do I really need a thermometer?
Yes. It is the fastest way to improve consistency and avoid overcooking.
Should I leave the lid open or closed?
Closed for thicker foods. Open for quick-cooking items like shrimp or vegetables.


10 Responses
I love to grill as it is an easy, low-fat, flavorsome way of cooking. Something the George Foreman of this world will never be able to recreate. However, I just purchased a new heavy-based skillet. I seasoned as per the instructions, which was basically coat in vegetable oil, then bake in a 200c oven for 1 hour, then allow to cool in the oven. I did this, but I now have a skillet with oil burnt into it. No amount of scrubbing with a light scourer, hot water, and detergent will move the persistent grease.
Have I killed this new skillet, or is there a way to get it clean?
Your Heavy Skillet Problem….
Try heating it up again at about 200c.
But take it out and wipe it down with paper towels or whatever you have. The old grease should soften up
enough to accomplish this. I had to go through the same procedure…now I use the pan every day.
If it is pure cast iron, you can do what we do to re-season cast iron skillets. Next time you have a bonfire, throw the skillet into the fire. The heat from the fire will “cook” out the seasoned oil. Take the skillet back to the kitchen the next day when the fire has gone out and clean and try seasoning it again. This sounds like a crazy idea, but it works wonderfully.
Try the folllowing web site for instructions on seasoning and care of cast iron.
http://www.lodgemfg.com/usecare1.asp
Why in God’ green earth would you want to remove the seasoning from your cast iron? If you have a skanky cast iron pan scour it with salt (no soap ever!!) coat with oil (veg oil, canola oil, peanut oil, something with a high smoke point) and pop that sucker in the oven.
When you clean the thing after cooking do not use soap and be sure to DRY the thing lest it rust
Also what does a cast iron pan have to do with grilling?
I have a wonderful wood grill I shipped to New England from Texas. It is thick steel. Slow cooking is the secret. Keep it less than 300 degrees and away from the fire. Juicy and tender is the result. Roasts, ribs, chicken, whatever. Philip
Indirect cooking is the best way to do things such as chicken breast, especially with a covered grill (like a Weber). Once the coals are ready, divide them in half, and place a rectangular disposable aluminum (foil) drip pan in the center. Place the chicken over the drip pan, and cook for the usual required time. The chicken will not be charred, but will be well cooked. Works like a champ!
Have you tried plank grilling? Buy any UNTREATED plank at the lumber yard/Home Depot. We keep 12″ cedar fence planks on hand. Cut a piece large enough for your meat, fish or wheel of Brie. Soak in water, several hours to all day. Place food on plank & take to the grill. Yes, the plank burns up. The food absorbs the fragrance from the wood.
We do salmon with a crab topping or make a homemade salsa to top the Brie. Proscuitto wrapped asparagus is also wonderful.
The cookbook that started us is “Sticks & Stones”. It has recipes using washed pine needles!
Grill Corn on the cob, smothered in Anchovy Paste – it is F-A-B-U-L-O-U-S! Salty and very, very tasty!
If you have a V-Rack for your roasting pan, you can turn it upside down and use it for a rib rack when grilling.